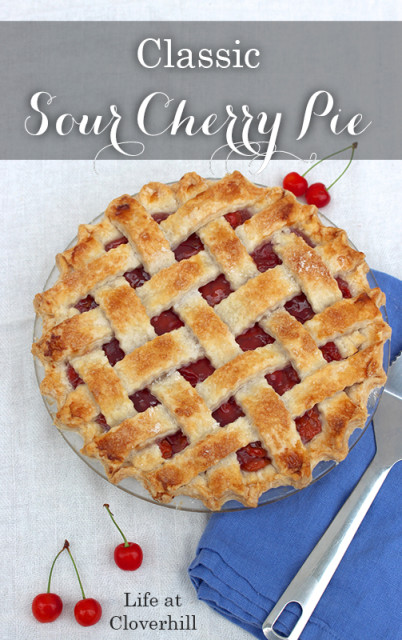
Summertime in Ontario means taking advantage of our beautiful fruits and vegetables. Whether it’s from a farmers market or your own backyard, using in-season produce is a great way to celebrate the warm weather. This Classic Sour Cherry pie recipe was a big hit at our house and I was able to make it using just the cherries from my parents’ yard and some pantry staples, making it a very economical dessert too!
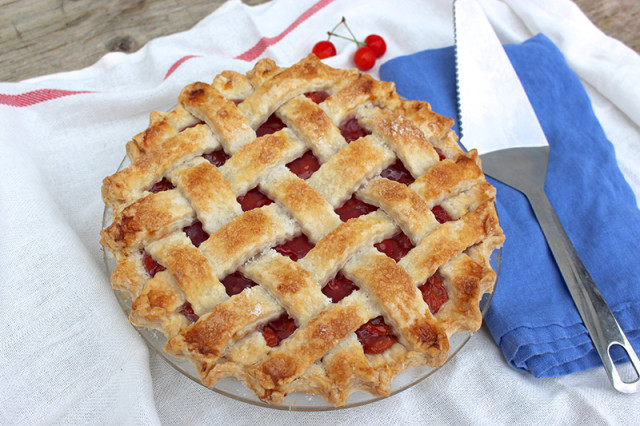
I cooked the filling down before adding it to the homemade pie crust, helping it stay together when cut and giving it a nice glossy finish.
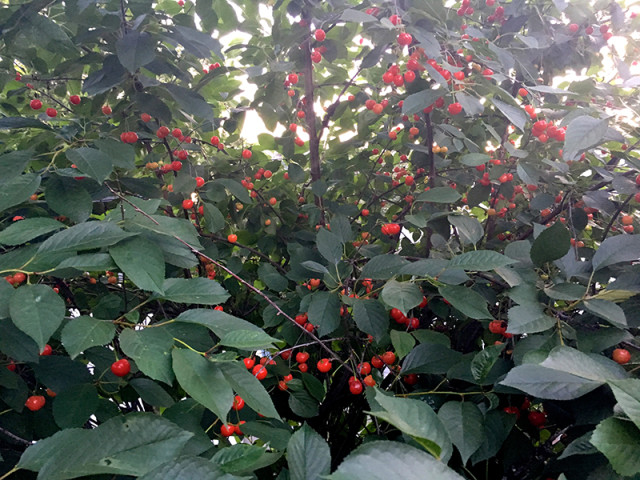
It all started when we went over to my parents’ house for dinner. When I saw the tree in their yard bursting with cherries, I couldn’t help picking some.

It started as a plan to pick a little bit to make a few tarts, but when I got up on the ladder and saw how full the tree was, it didn’t take long to get enough for a whole pie.
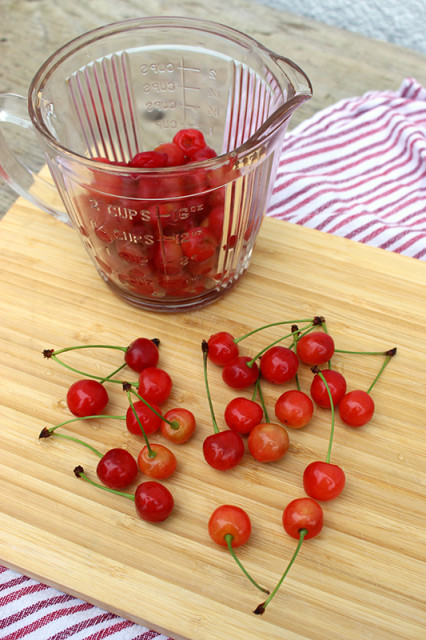
Just look at these perfect little jewels!
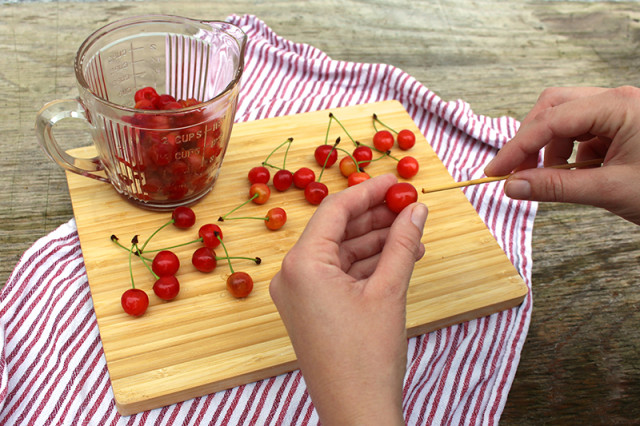
I recently learned a new-to-me trick on how to pit cherries with less mess. Remove the stem from the cherry. While holding the cherry between your index finger and thumb in one hand, take the blunt end of a wooden skewer in the other hand, and push it through the stem hole.

The pit will pop out the bottom of the cherry with minimal mess.
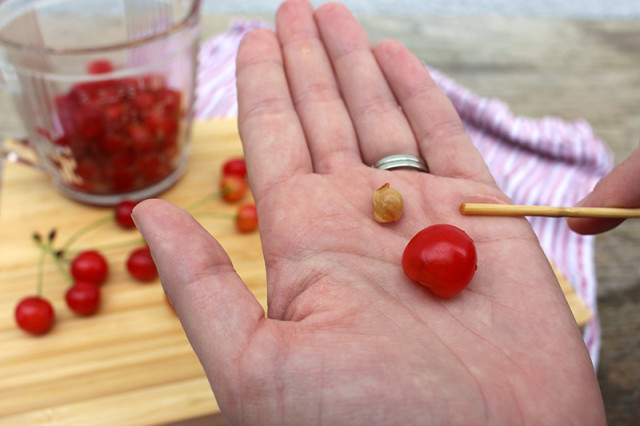
It helped me make quick work of going through all those cherries!
- FOR PIE CRUST
- 2-1/2 cups flour
- ½ tsp salt
- 1 cup shortening, chilled
- 6 tbsp ice water
- FOR FILLING
- 4 cups sour cherries, washed and pitted
- 1 cup sugar
- ¼ cup cornstarch
- 1 tbsp water
- 1 tsp lemon juice
- 1 tsp vanilla
- ¼ tsp salt
- FOR TOP
- 1 tbsp milk
- 1 tbsp sugar
- In a medium mixing bowl, whisk together flour and salt.
- With a pastry blender, or two knives, cut in the chilled shortening into the flour until the mixture resembles coarse crumbs.
- Drizzle in 2-3 tbsps of ice water over flour mixture and toss with a fork. Continue to add water, one tbsp at a time until the dough starts to come together.
- Gather up dough to form into a ball, cut in half. Wrap in plastic wrap and chill for at least 30 minutes.
- Meanwhile, prepare the filling.
- Wash sour cherries and pit using a chopstick or blunt end of a skewer.
- In a medium mixing bowl, whisk together sugar, cornstarch, water, lemon juice and vanilla until smooth. Add to saucepan with cherries. Bring to a boil over medium heat, stirring frequently. Once it comes to a boil, cook for two minutes while continuously stirring. Set off heat and allow to cool, stirring occasionally.
- Preheat oven to 375°F.
- Take one dough ball from fridge and roll out on a clean floured surface into a 14-inch round. Wrap around rolling pin and carefully unroll over 9-inch pie plate. Press gently into bottom and sides of pie plate.
- Pour cooled cherry filling into the prepared pie crust.
- Roll out the second pie dough into a 12" round. Using a fluted dough cutter, a pizza cutter or a sharp knife, cut the crust into approx. ¾" wide strips.
- To make the lattice top, start by placing one strip vertically and one piece horizontally. Fold back the bottom half of the vertical strip, and add another horizontal strip. Fold the vertical piece back down. Repeat with the top half, adding another horizontal strip. Fold back the top and bottom horizontal pieces on one side, then add another vertical piece. Repeat on the other side. Continue vertically and horizontally until the lattice design is complete.
- Press down the strips into the crust edge. Using a sharp knife, trim any excess along the edge of the pie plate. Crimp the edge with your index finger pressing into the space between your other index finger and thumb, continuing around the entire rim.
- Place pie on a foil lined baking sheet, to catch any drips.
- Brush dough with milk, then sprinkle with sugar.
- Bake for 30 minutes, then rotate in oven and bake an additional 20 minutes or until crust is golden.
- Allow pie to cool for at least 3 hours before serving.
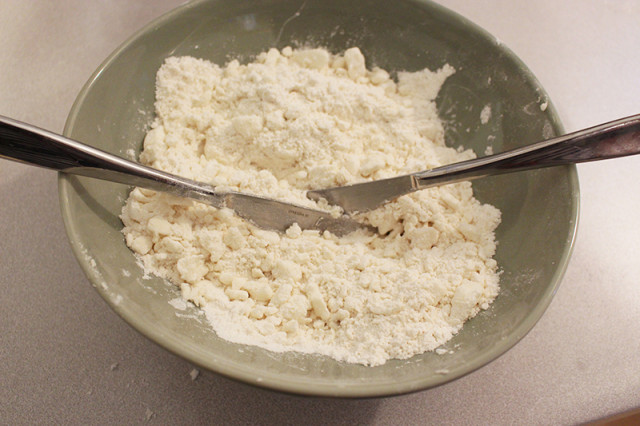
In a medium mixing bowl, whisk together flour and salt. With a pastry blender, or two knives, cut in the chilled shortening into the flour until the mixture resembles coarse crumbs.
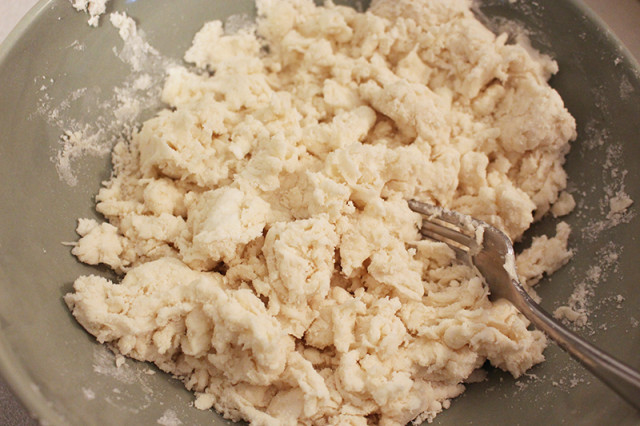
Drizzle in 2-3 tbsps of ice water over flour mixture and toss with a fork. Continue to add water, one tbsp at a time until the dough starts to come together.
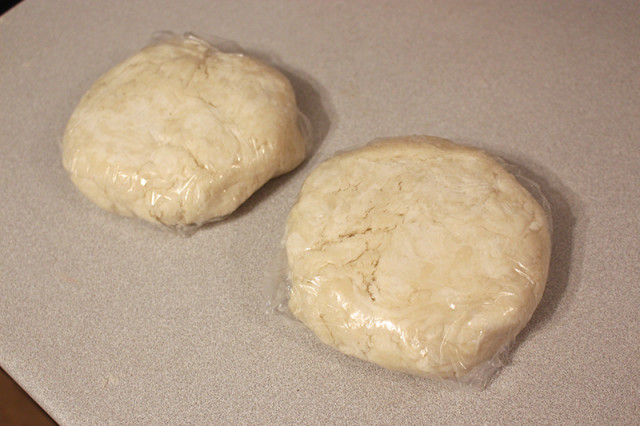
Gather up dough to form into a ball and cut in half. Wrap in plastic wrap and chill for at least 30 minutes.
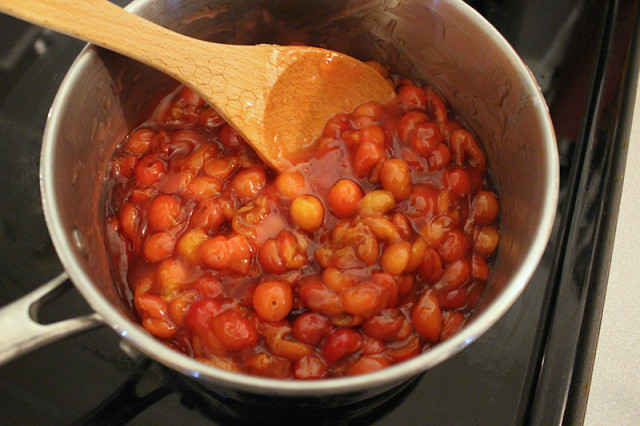
Meanwhile, prepare the filling. In a medium mixing bowl, whisk together sugar, cornstarch, water, lemon juice and vanilla until smooth. Add to saucepan with cherries. Bring to a boil over medium heat, stirring frequently. Once it comes to a boil, cook for two minutes while continuously stirring. Set off heat and allow to cool, stirring occasionally.
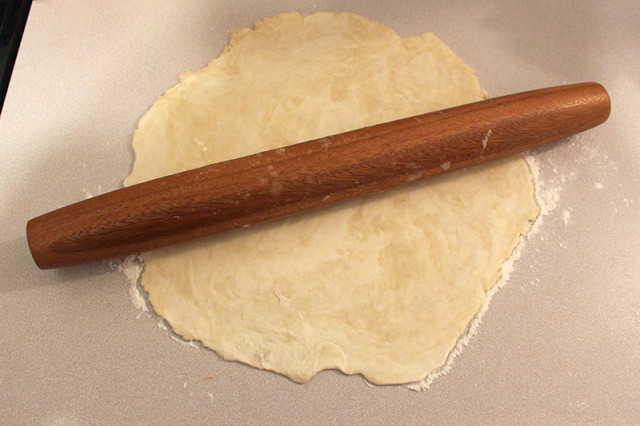
Preheat oven to 375°F. Take one dough ball from fridge and roll out on a clean floured surface into a 14-inch round.
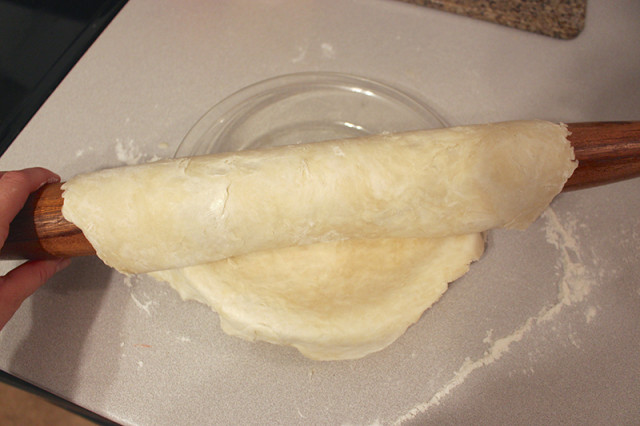
Wrap around rolling pin and carefully unroll over 9-inch pie plate. Press gently into bottom and sides of pie plate.
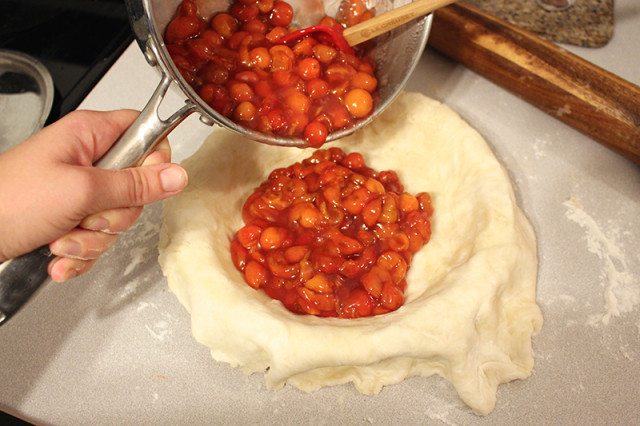
Pour cooled cherry filling into the prepared pie crust.
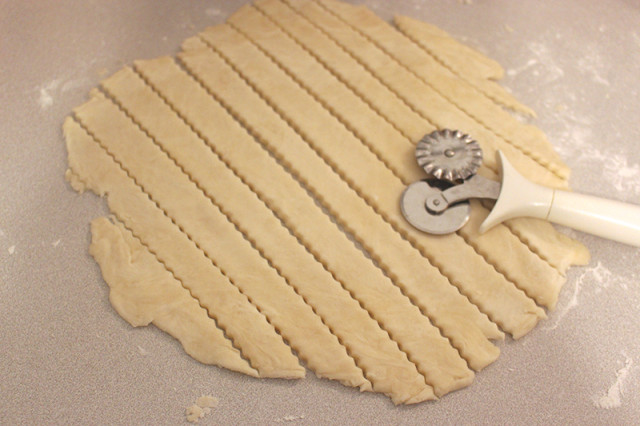
Roll out the second pie dough into a 12″ round. Using a fluted dough cutter, a pizza cutter or a sharp knife, cut the crust into approx. 3/4″ wide strips.
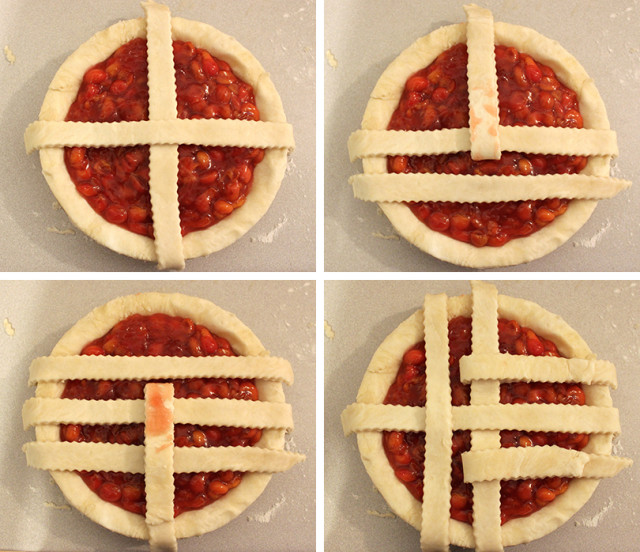
To make the lattice top, start by placing one strip vertically and one piece horizontally. Fold back the bottom half of the vertical strip, and add another horizontal strip. Fold the vertical piece back down. Repeat with the top half, adding another horizontal strip. Fold back the top and bottom horizontal pieces on one side, then add another vertical piece. Repeat on the other side. Continue vertically and horizontally until the lattice design is complete.
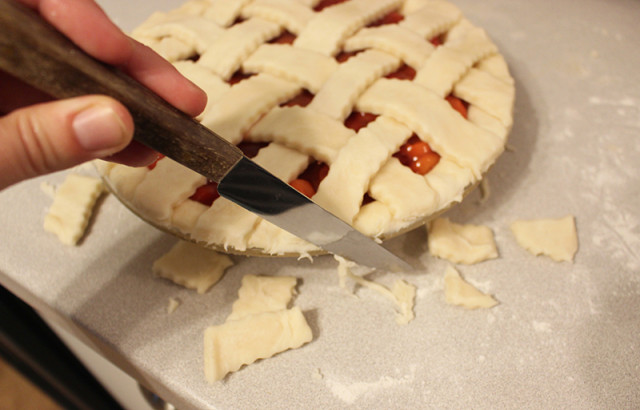
Press down the strips into the crust edge. Using a sharp knife, trim any excess along the edge of the pie plate.
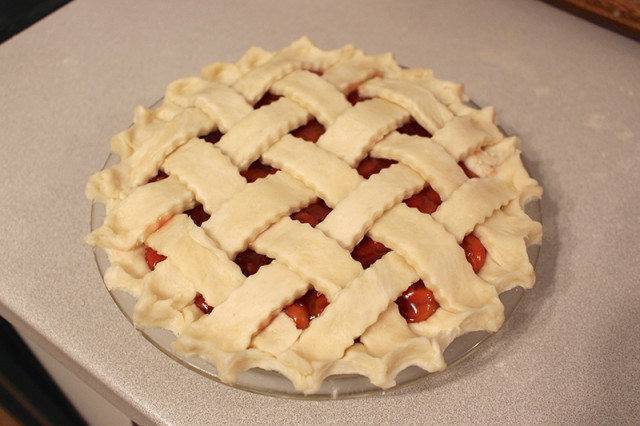
Crimp the edge with your index finger pressing into the space between your other index finger and thumb, continuing around the entire rim.
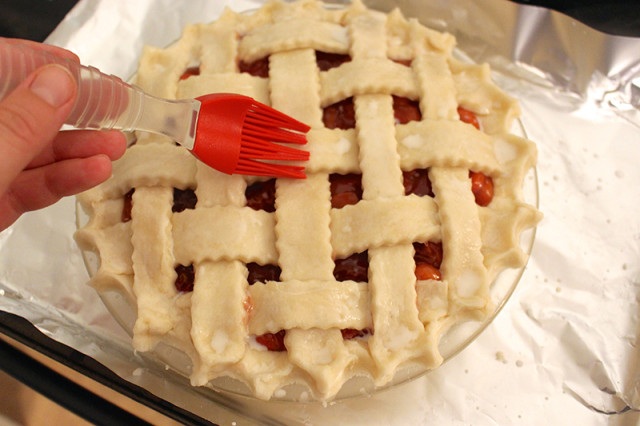
Place pie on a foil lined baking sheet, to catch any drips. Brush the top of the crust with milk…
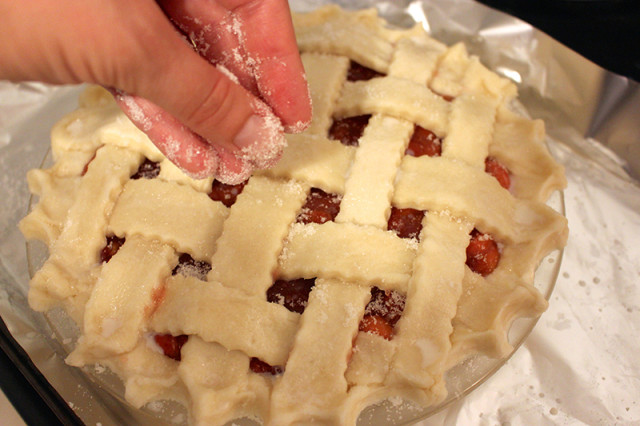
…and a generous sprinkle of sugar.
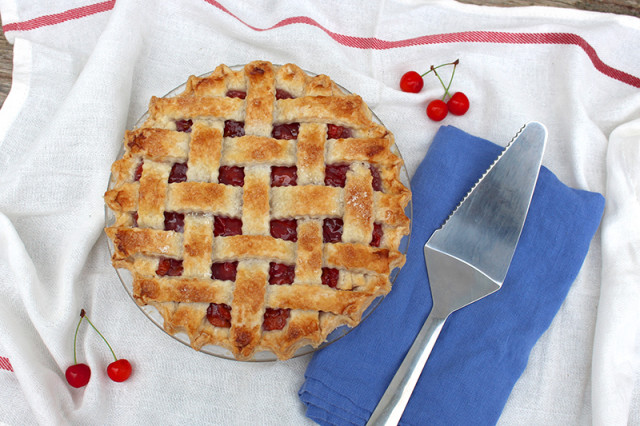
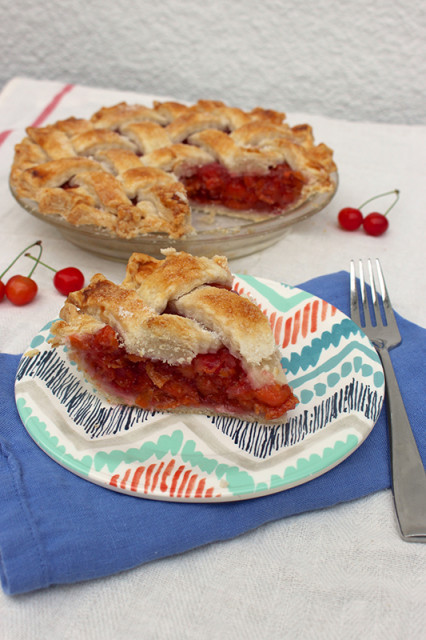
Bake for 30 minutes, then rotate in the oven and bake an additional 20 minutes or until crust is golden. Allow pie to cool for at least 3 hours before serving. This will help the filling set and stay in place when you slice into it.

Enjoy a nice big slice for afternoon tea or as the grand finale of a summer evening dinner!