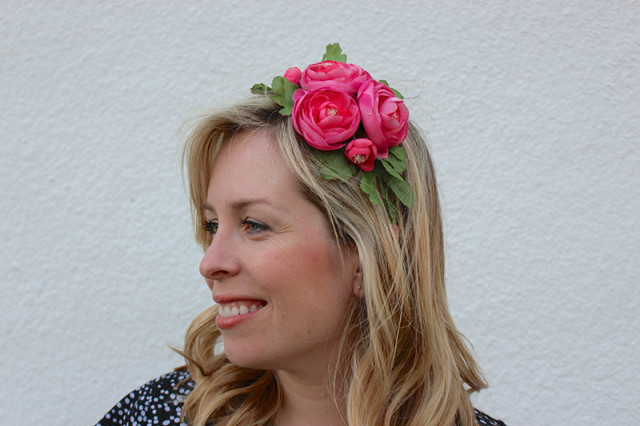
This weekend it’s the Royal Wedding of Prince Harry and Meghan Markle and in honour of the big occasion I went on a local TV station and shared a tutorial on how to make your own DIY Headband Fascinators. After so many requests to share the video, I decided to put together a little tutorial here on the blog, including the video from the show at the end of this post. Whether you make one for a Royal Wedding breakfast with girlfriends, a derby race or for a costume party, they’re a great way to dress up and having fun for the occasion.
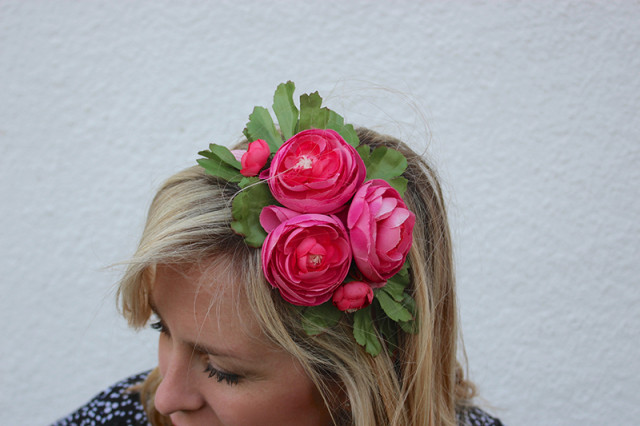
This was such an easy craft, and I was able to make three very different styles – all using things you can find at the dollar store. This pink ranunculus one was my favourite, using faux flowers and leaves to create a luxe look.
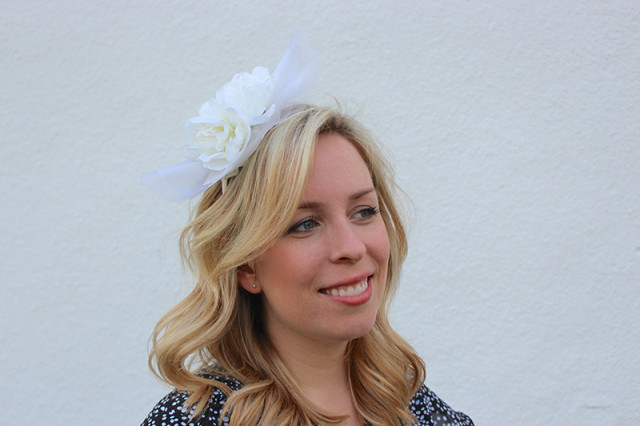
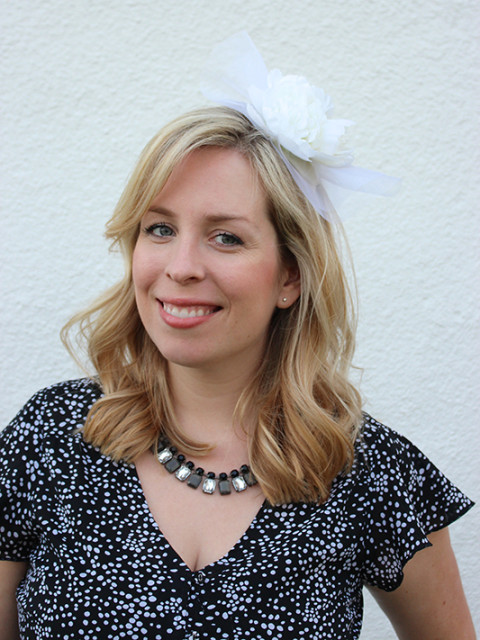
A white peony and tulle version is great for a bridal shower too.
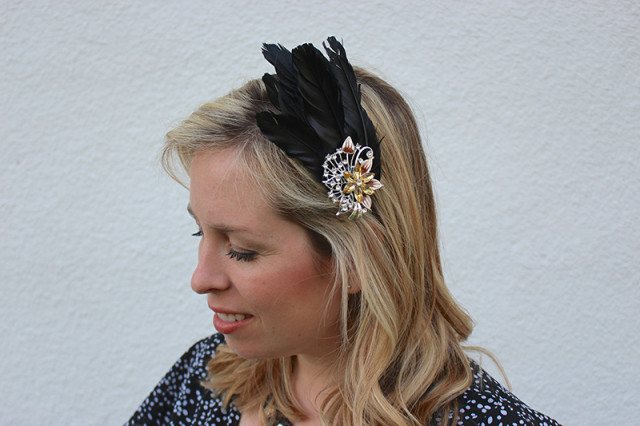
Black feathers and a dollar store brooch make this fascinator work for a 1920s or ’30s themed party too.
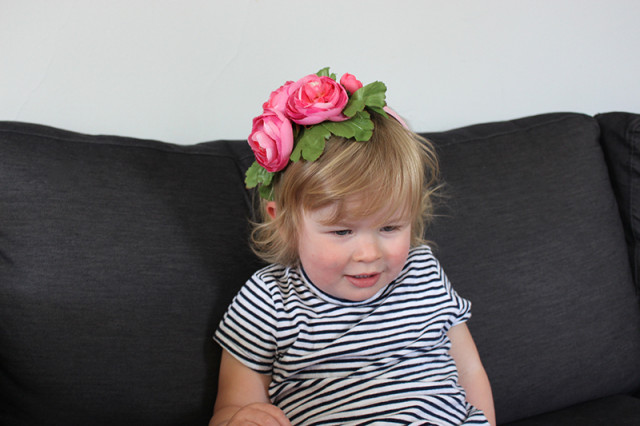
Even Lucy was right into wearing them – I could hardly get a still picture of her because she was dancing all around in them. I’m going to tuck them away in a bin of dress-up clothes I’ve set aside for when she is a little older.
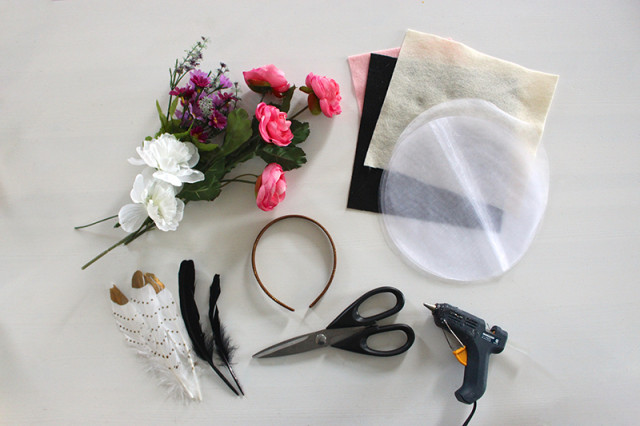
You can use a variety of materials to create the look you’re after, but here is what I used to create the three versions I made. I found everything at the dollar store, but I’ve included links to similar items on Amazon as well:
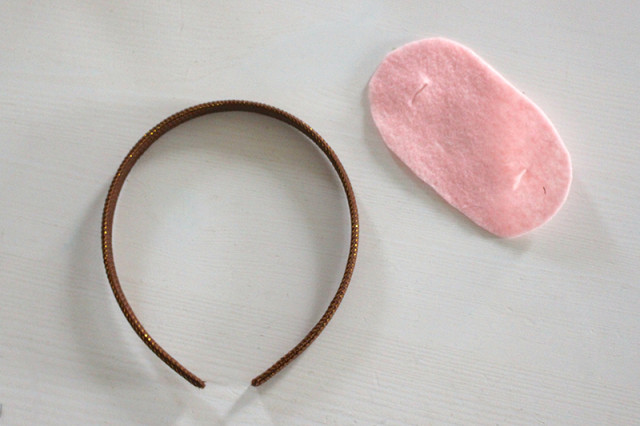
When picking your headband colour, you can go one of two ways. Either pick a colour that goes with the colours of your decorations or pick a colour that blends in well with your hair. It really depends on if you want the headband to be visible or not.
For the base of the decorations, you’ll need to cut an oval out of felt and add two small slits about 1-2″ in from the short ends, for feeding the headband through. I recommend picking a felt colour close to the colour of your decorations, to help it blend in better.
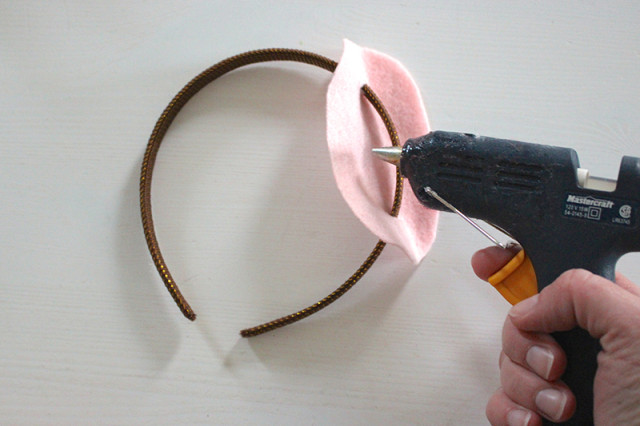
Thread the felt oval through the headband at the slits, with the tail ends of the oval on the top of the headband. Move the oval up or down along the headband, depending on where you want your decoration to be placed on your head. Using the hot glue gun, add a dab of glue between the felt and the headband to help secure it in place.
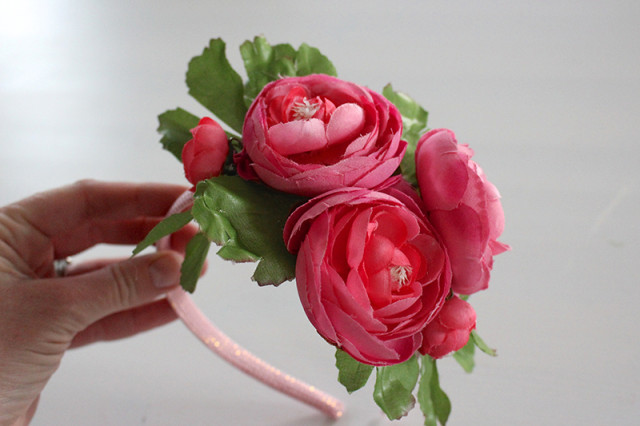
Then it’s just a matter of layering on the decorations you’d like to use. For this pink ranunculus one, I pulled the leaves off the faux flower stems and glued those around the edge of the felt oval first. Then I started to add the flowers, with three larger ones first and then two smaller ones in amongst them. When removing your faux flowers from their stem, make sure to give them an extra dab of hot glue to keep them in place at their base, so that they don’t start to fall apart on you.
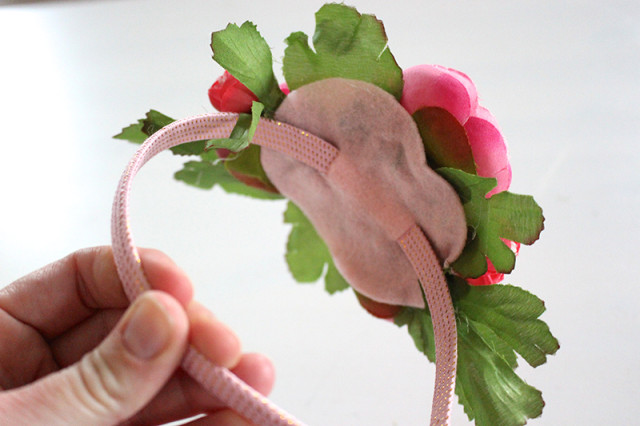
You can see how the felt oval provides a base on the bottom and helps keep the fascinator flat on your head and comfortable.
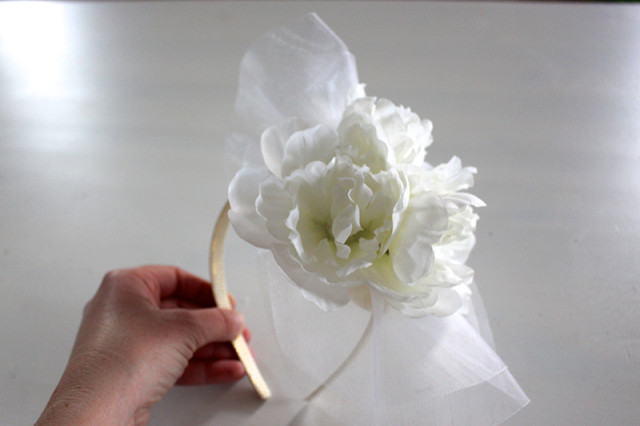
For the white fascinator, I started with a white headband and white felt oval. I added the folded tulle all around the edge first, and then glued three large white faux peonies on the top.
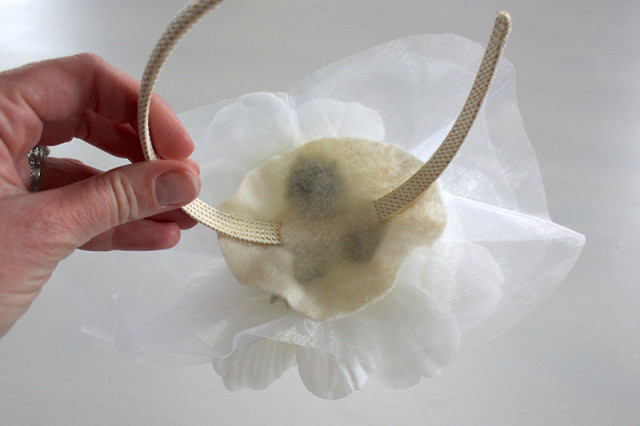
You can see underneath that the white tulle goes all around. You could also add a small tulle veil going over the front of the face if you’d like.
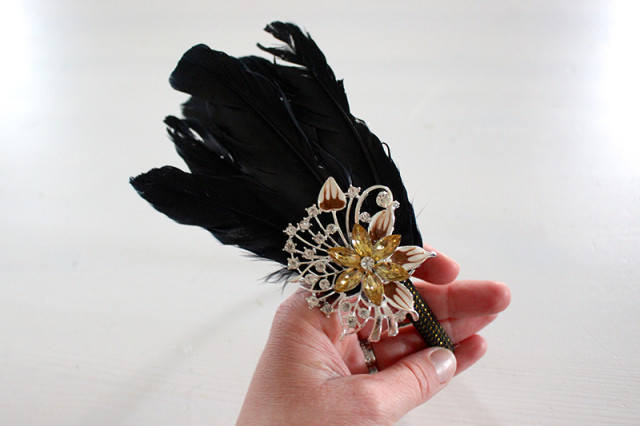
The black feather fascinator started with a black headband and a black felt oval that was lower down the headband on one side, so that the feathers and brooch were almost tucked in just above one ear. I layered the black feathers with a few on the top and then a few more overlapping on the bottom, and snipped the bottom of them all off with scissors. Then I broke the pin mechanism off a brooch and hot glued that onto the base of the feathers.
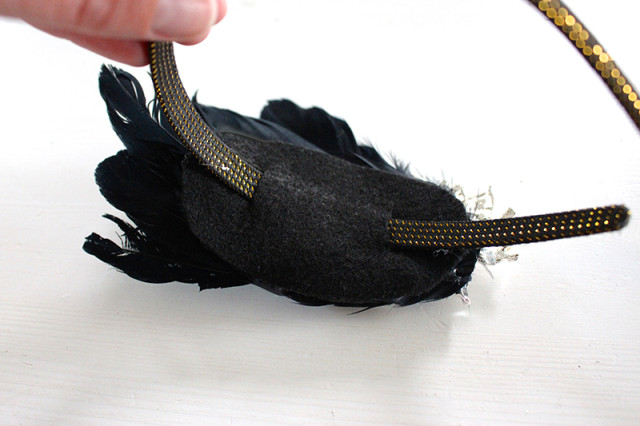
You can see underneath how the oval was a bit farther down the headband, and the feathers fan out and cover the felt.
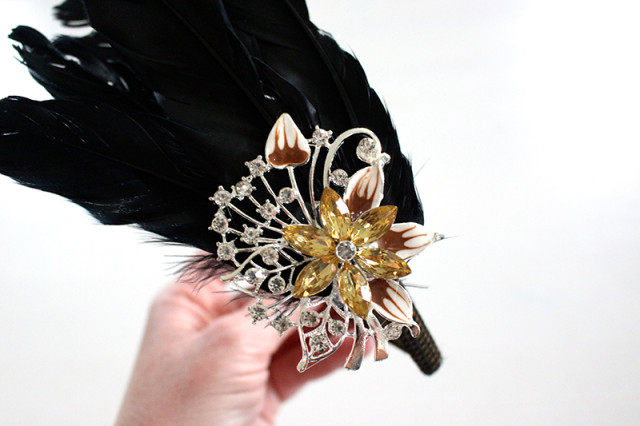
Can you believe this brooch was from the dollar store? Great for a costume jewelry project like this one. The brooch in the video almost looks like something I’d have found in my great grandmother’s costume jewelry collection.
I hope you find this DIY Headband Fascinator tutorial helpful for creating your own Royal Wedding look. To see the video from when I made them with the hosts on television, check it out below:
