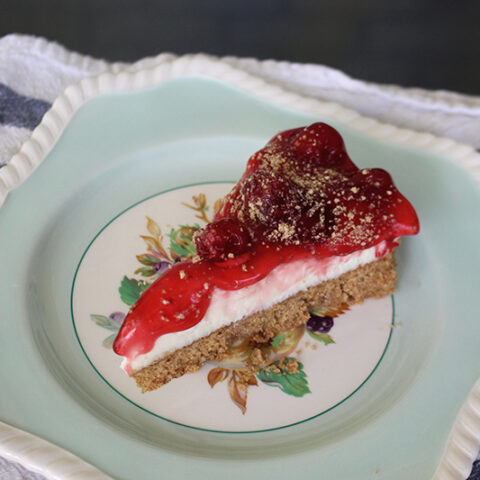
When I was growing up, my great aunt always made this No Bake Cherry Cheesecake for special occasions (Easter dinner, graduations, birthdays) and as a special treat when we’d come up to visit her at her farmhouse in the summer. It was always a race to see who could get up earliest in the morning to get the last piece. My mom says it was the only time we ever got up early as teenagers, ha!
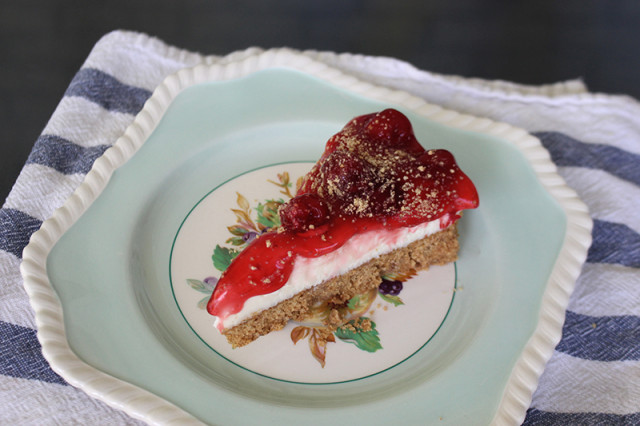
I made it this weekend for a Mother’s Day lunch at my parents and it was a big hit as always. While it is called a “no bake” recipe, you do need to bake the graham crust layer in a slow oven for 15 minutes to help it set. Even that is so easy that I think you can still get away with calling it “no bake”. It uses things that you can keep on hand in the pantry and fridge, making it a great dessert to pull together on the day of a getogether.
No Bake Cherry Cheesecake
Ingredients
- 2-1/2 cups of wafer crumbs, divided
- ½ cup butter, melted
- 1 (250g) package cream cheese
- 1 (300mL) can sweetened condensed milk
- ⅓ cup lemon juice
- 1 tsp vanilla
- 1 (540mL) can cherry pie filling
Instructions
- In a medium bowl, mix together 2-1/4 cups graham cracker crumbs and melted butter.
- Press into an 8" or 10" springform pan lined with parchment paper on the bottom. Bake in a slow oven (325°F) for 15 minutes. Remove from oven and allow to cool while making the cream cheesecake layer.
- Beat softened cream cheese, condensed milk, lemon juice and vanilla in a stand mixer until smooth. There may be a few small lumps if the cream cheese wasn't completely softened, but that's okay.
- Pour the cream cheese filling into the springform pan, on top of the graham cracker crumbs.
- Pour the cherry pie filling over top. Lightly cover the top with plastic wrap and refrigerate for at least 4 hours or overnight.
- When you're ready to serve, remove the sides of the springform pan and sprinkle the top with remaining ¼ cup graham cracker crumbs. The filling will start to ooze down the sides slightly. Enjoy!
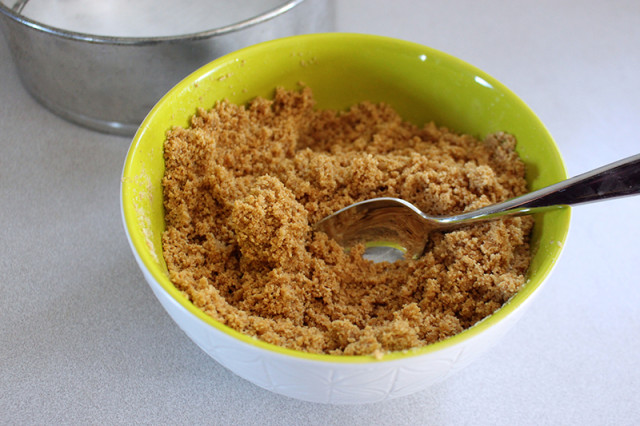
In a medium bowl, mix together 2-1/4 cups graham cracker crumbs and melted butter.
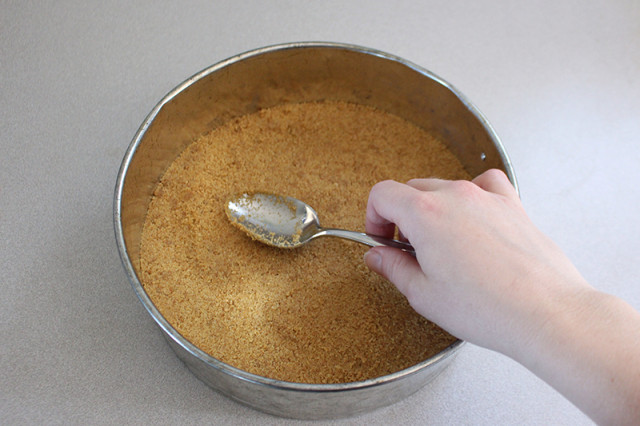
Press into an 8″ or 10″ springform pan lined with parchment paper on the bottom. Bake in a slow oven (325°F) for 15 minutes. Remove from oven and allow to cool while making the cream cheesecake layer.
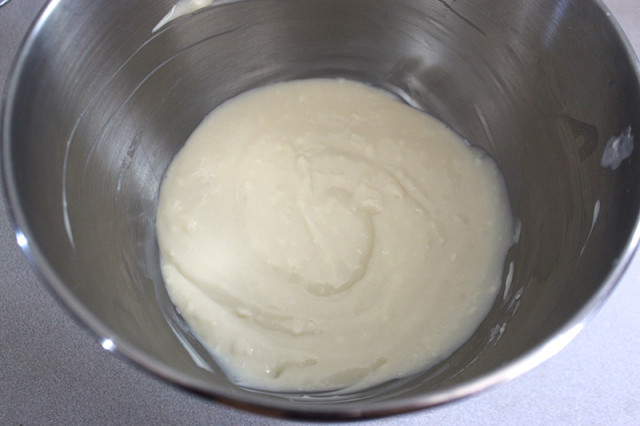
Beat softened cream cheese, condensed milk, lemon juice and vanilla in a stand mixer until smooth. There may be a few small lumps if the cream cheese wasn’t completely softened, but that’s okay.
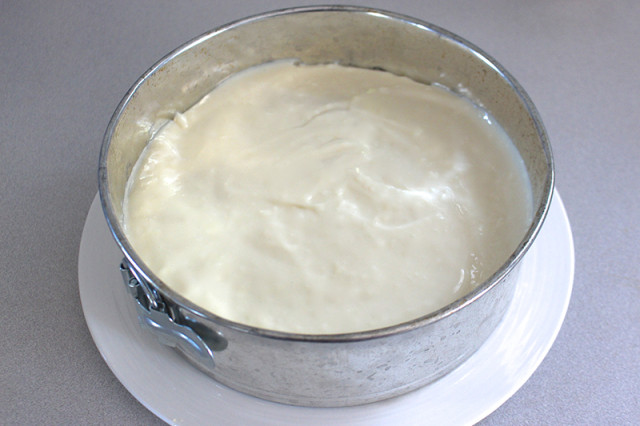
Pour the cream cheese filling into the springform pan, on top of the graham cracker crumbs.
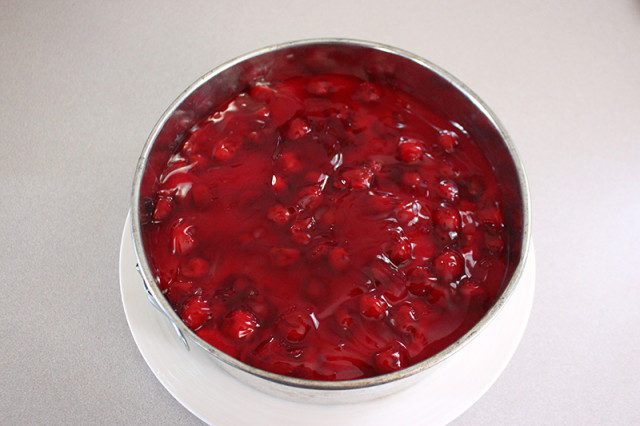
Pour the cherry pie filling over top. Lightly cover the top with plastic wrap and refrigerate for at least 4 hours or overnight.
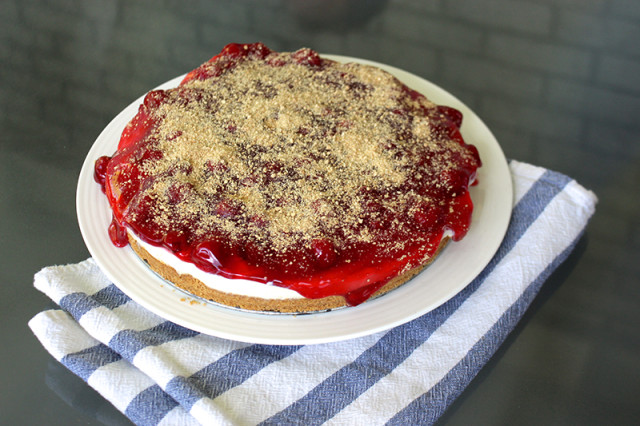
When you’re ready to serve, remove the sides of the springform pan and sprinkle the top with remaining 1/4 cup graham cracker crumbs. The filling will start to ooze down the sides slightly. Enjoy!

