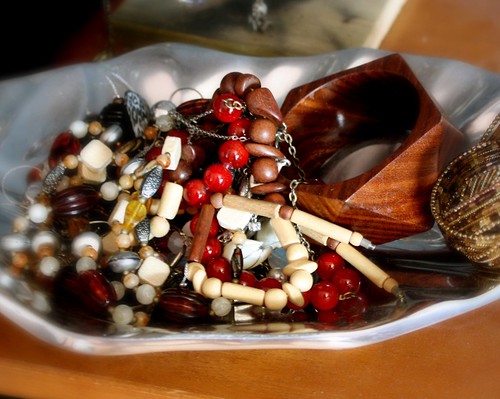

I finally got around to organizing my jewellery this week and decided to make my own necklace hooks. Most of the ones I found online were $25-55 and I just couldn’t justify spending that much money on something so simple.
Using some pieces I already had, along with a few hooks, I was able to do the whole project for only $3.19! Not only was it cheap, but it was also really fun to make.

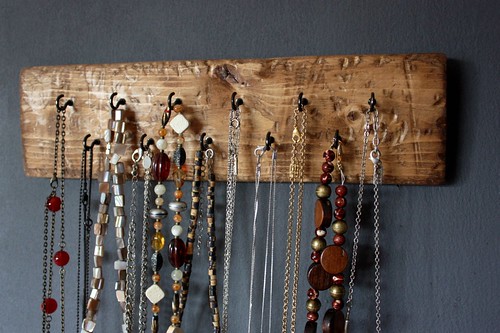
Best of all, I love the results. I look forward to picking out my jewelery every morning, instead of wrestling with all the chains. Please note the horrible paint job that was done is this room, which my landlords won’t let me fix. I honestly can’t imagine why someone would want to put random blue shapes all over the walls in rough sandpaper-like paint.

To start everything off with the necklace hooks, I found a 12″ piece of wood leftover from when I fixed the futon. It was just sitting in the closet waiting for a fun project to put it to good use!

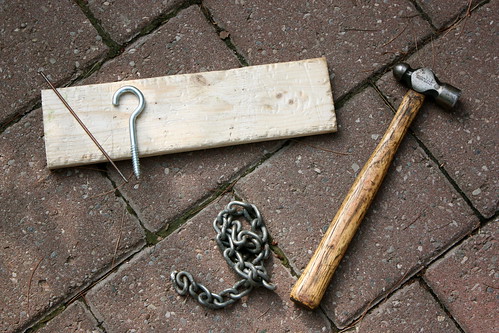
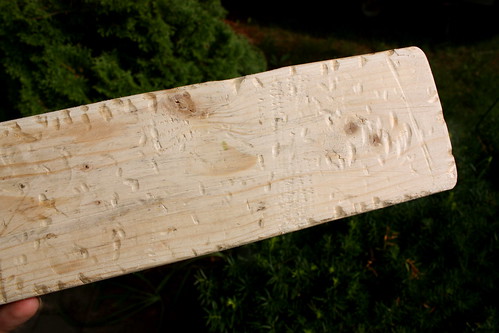
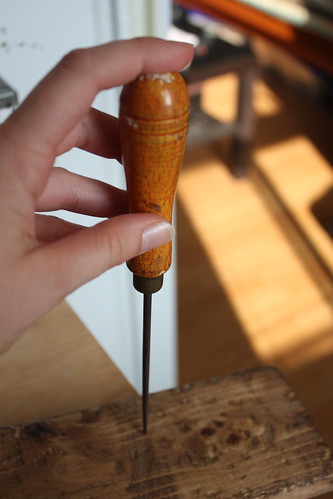
Using the advice from John and Sherry from Young House Love, I beat the living daylights out of that wood by throwing a chain at it, pounding it with a hammer and scratching it with a threaded hook.
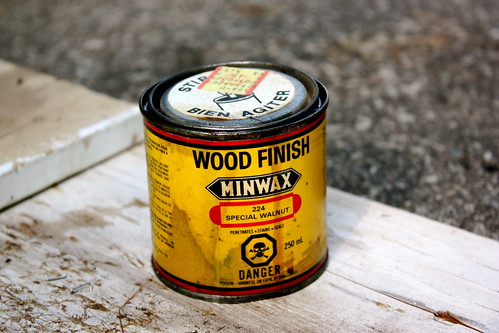
To get an even more distressed look, I used some really old wood stain from my parents’ place.
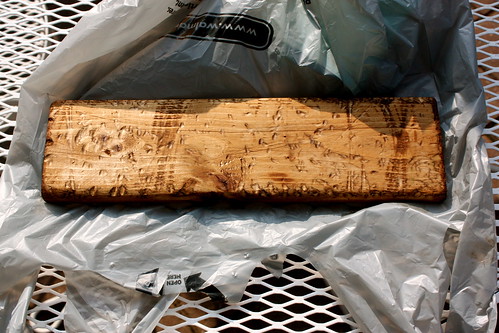
It turned out to be the perfect colour to use and it saved me from having to buy any new stuff. I let it dry and then did a quick coat of polyurethane to seal it all in.
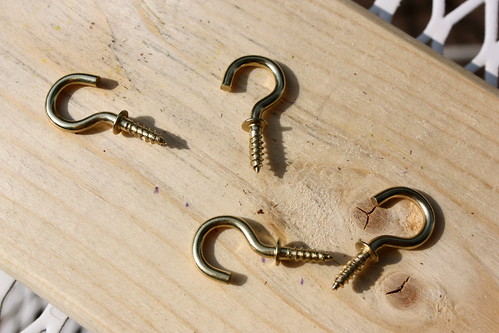
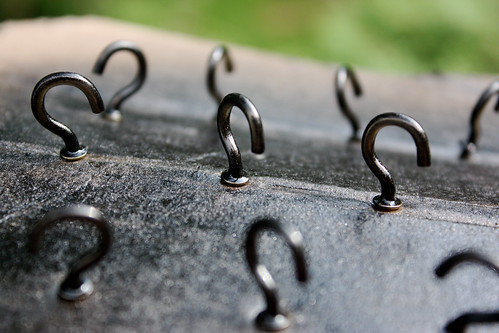
The only hooks that I could find were really shiny and gold, which didn’t look like the distressed look I was going for, so I decided to spray paint them something more subtle.
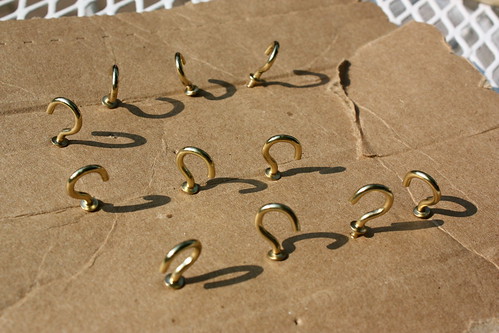
To make sure I got all the angles of the hooks, I popped them into a piece of cardboard.
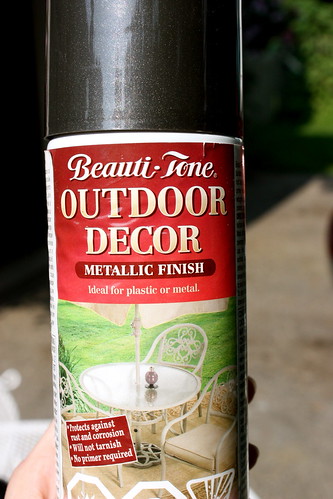
This is the paint that I used, Beauti-Tone Outdoor Decor in Metallic Finish, which gave it a lovely dark metal tone with a subtle shiny fleck that was much better than the old gold look.

To make sure I got all the hooks evenly apart, I measured the spaces evenly and marked them with a pencil.
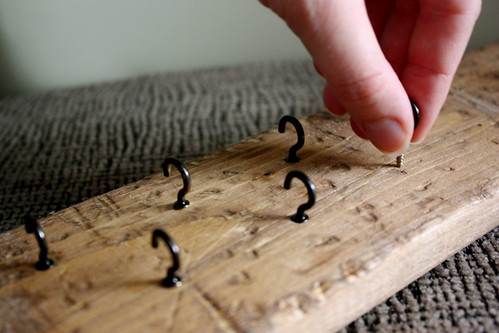
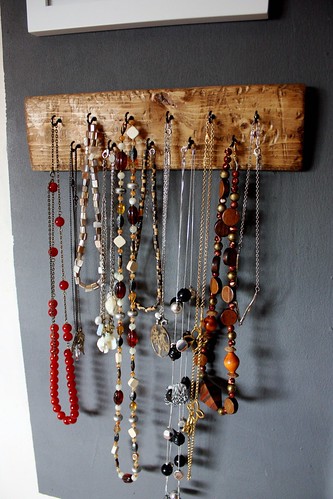
Within minutes it was ready to hang up! I place a couple of picture hangers at the back and hung them on nails I hammered into the wall.
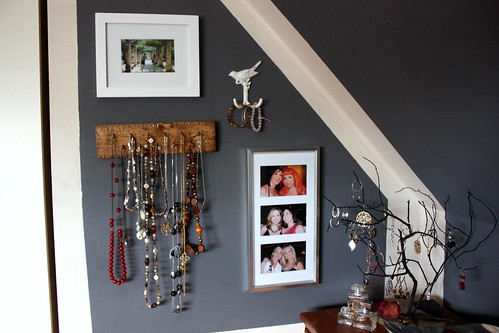
I am in love with this space. All my favourite pieces are out on display and I can grab them easily in the morning while I get ready.
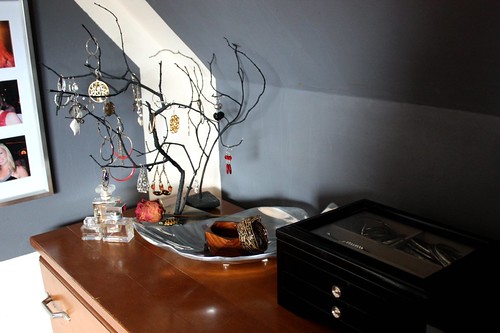
I’m leaving the dresser like this for now, but I’m brainstorming some more ideas for what do to here, including refinishing the dresser.

Good price and no more tangled necklaces.Looks great! Could work with antique, bohemian or western decorating theme.
Are those shapes on the wall made of chalkboard paint?
Great pictures with your directions! Thanks, I’ve seen some of these around and now I know how to make my own. Anne, Mom to 3.
The paint on the walls looks good in the photos you’ve uploaded— maybe its due to your talent for display and artistic flair. Great work!
Traci at Posh11.com