Our little community garden has been going great! I love popping in there every couple of days and seeing how things are going. It’ll be awhile until we see any real progress, but I’m hopefully.
Originally I was using those little plastic tags that come with the plants to mark each one, but I was worried that over time they would be lost…and frankly they looked a little ugly.
I wanted to make some fun plant markers that were simple enough to whip up on a weeknight and sturdy enough to withstand the elements.
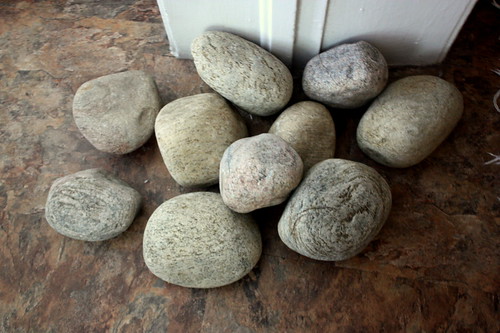 Rocks!
We found these local stones for free and I got to work cleaning them up a bit. Just an old rag with a little bit of water got most of the dirt off of them. I left them in the sun on the porch to dry quickly.
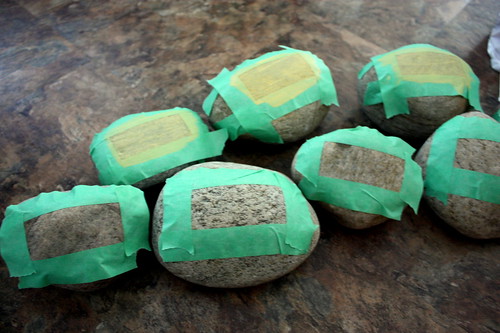 Using painters tape, I measured off 3″ x 1.25″ rectangles. I painted within the tape lines, using outdoor acrylic paint (Michaels). When the painting was finished, I carefully removed the tape and let the stones dry overnight.
 Using a sharpie, I drew various border designs. They also helped cover up any spots where the paint leaked under the tape!
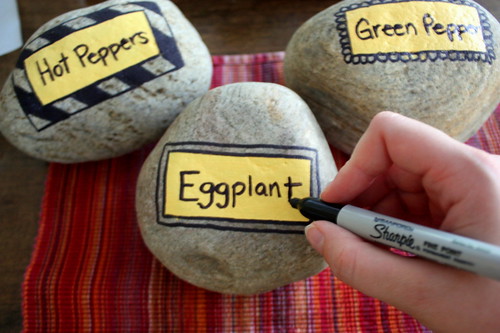 Then I wrote the names of all the vegetables we had planted.
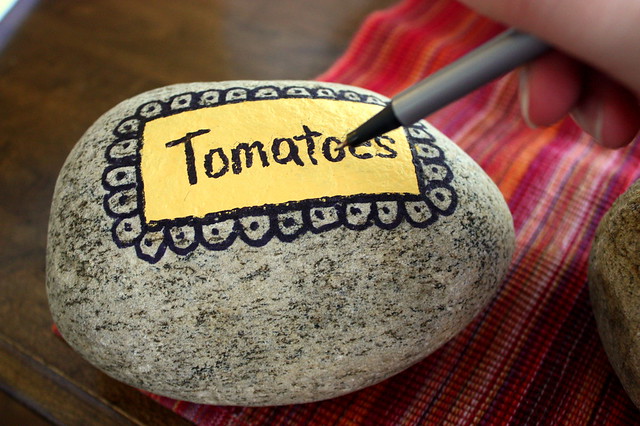 Using a finer tip permanent marker, I filled in all the little gaps that the larger marker missed. The bumpier the rock, the more gaps there are.
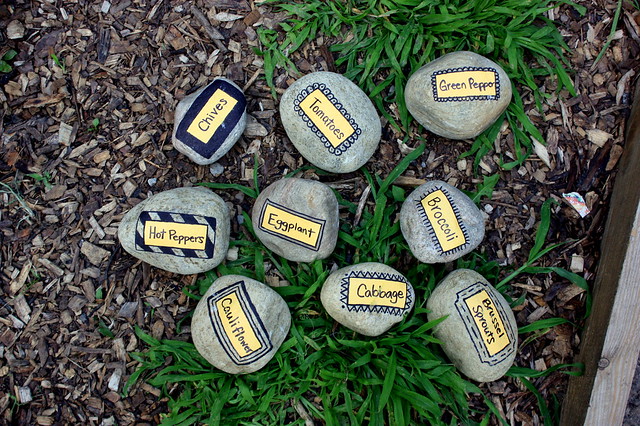 All done and ready to head to the garden!
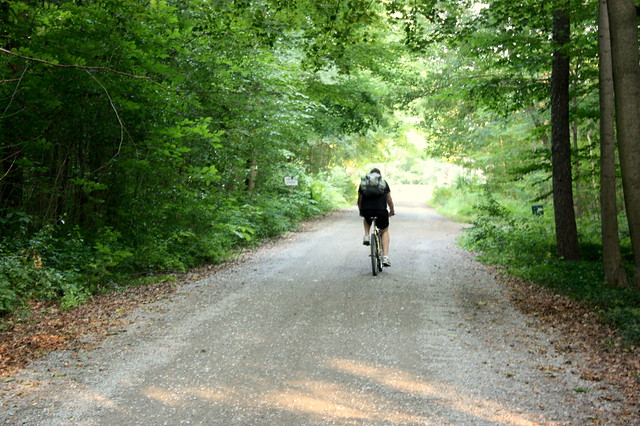 It was quite the bike ride over to the garden to lay these down.
 Always thankfully for my strong man and his ability to carry a million pounds of rocks in a backpack the whole way there.
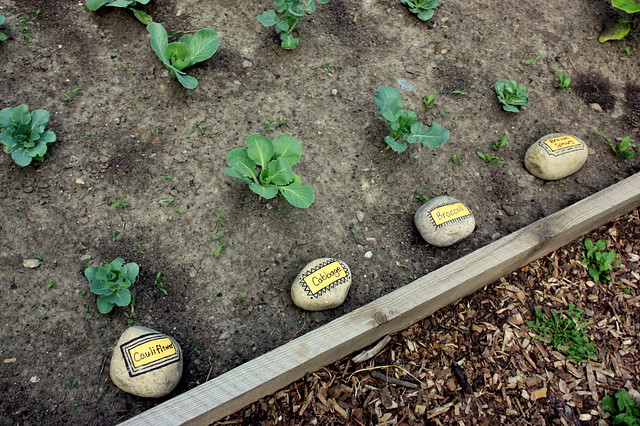 We laid the stones among their plants and then got to work with our watering.
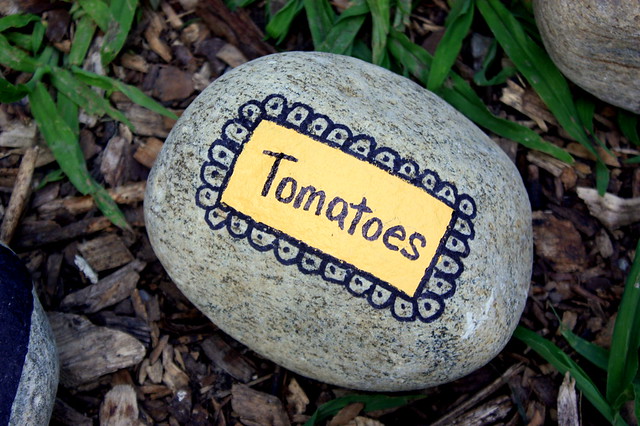

 This one is my favourite. I made it like a warning sign on purpose. Look Out! Those Hot Peppers are HOT!
Those are the cutest things ever!
Thanks! And they were super easy to make 🙂
Love this! Thanks for sharing! We would love to have you link up some of your projects over at our party!
http://baked-inthesouth.blogspot.com/2012/07/made-it-by-monday-link-party.html
Just did 🙂 Thanks for stopping by!
Great idea !
This is awesome! They turned out so nice! and they look pretty laying in the garden! Please come share this at our link party – “Home is Where the Heart is” Homesteading and Homemaking http://www.homesteadsimple.com/home-is-where-the-heart-is-link-it-up-wednesdays-2/ Please feel free to link any other posts you’d like to share!
Thanks for stopping by! Just linked up to your link party 🙂
Love these…so cute! Maybe I’ll be organized enough to make them for next year 😉
Found you on the Home is Where the Heart is Hop!
Wanted to stop by and let you know you’ve been featured! 🙂 http://www.homesteadsimple.com/home-is-where-the-heart-is-link-it-up-wednesdays-3/
thanks for share.
Too cute and a great idea!
Ohhhh, I love these! If I can’t find some similar stones, these would be perfect to mark my new herbs.
– Lora
Love this!
These are SO cute!! My dad just put in a raised garden bed and I’ve been looking for ideas for garden markers; these are the first I’ve found that would suit his style. I’m gonna go grab some rocks from our garden and get painting! Thanks so much for sharing! 🙂
adorable! love them.
When finished I would suggest a couple of coats if modge podge or varnish so sun doesn’t fade and water doesn’t wash away colour.
Great tip Pat! I found that the paint didn’t wash off, but by the end of the summer the letters had faded. A layer of eco-friendly poly coat would be helpful.