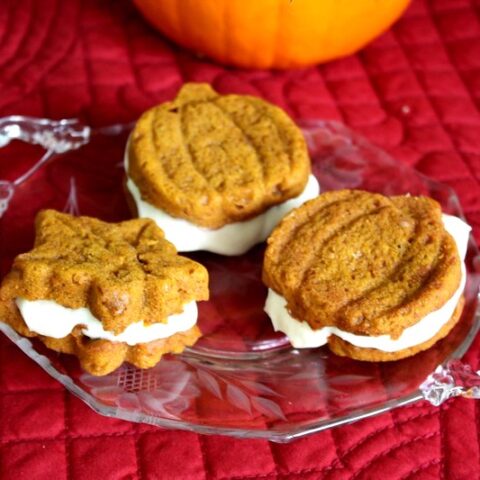
These Pumpkin Spice Whoopie Pies with Maple Cream Cheese Filling are a great fall treat!
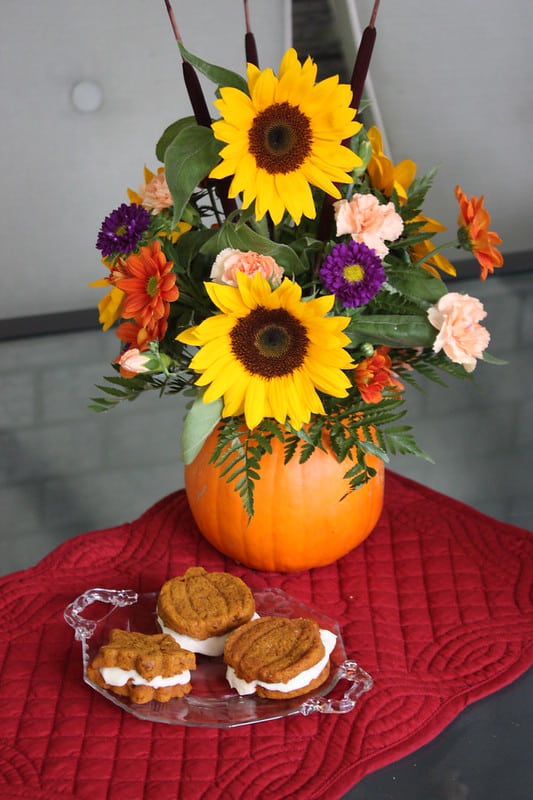
My sister is an awesome baker. You may remember her Peppermint Pattie Brownies, or her Armadillo Cake. Well, this Thanksgiving she really out did herself. She made Pumpkin Spice Whoopie Pies with Maple Cream Cheese Filling. (Want to make a Thanksgiving Pumpkin Arrangement like this one? Follow my step-by-step instructions for this fun harvest floral design)
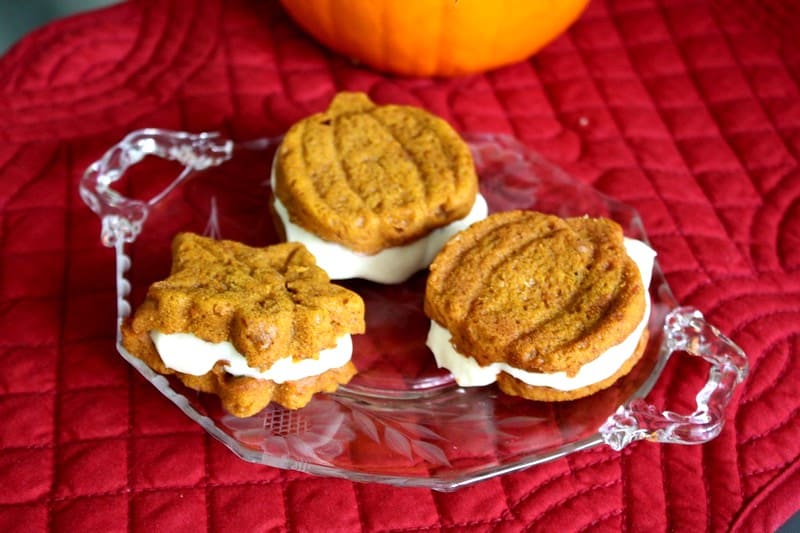
To say they were amazing is an understatement….they were easily the highlight of our Thanksgiving weekend. (Sorry turkey, you just can’t beat fall themed Whoopie Pies)
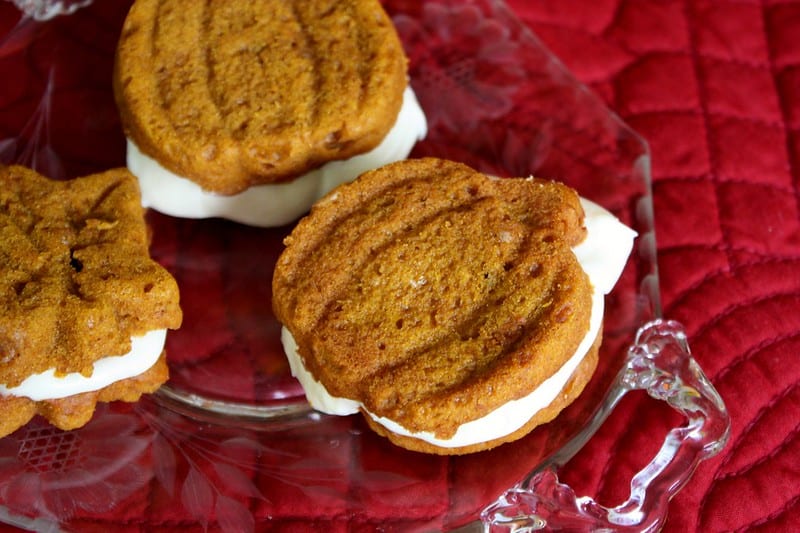
She bought the Wilton Harvest Whoopie Pie Pan which came with pumpkin and maple leaf shapes.
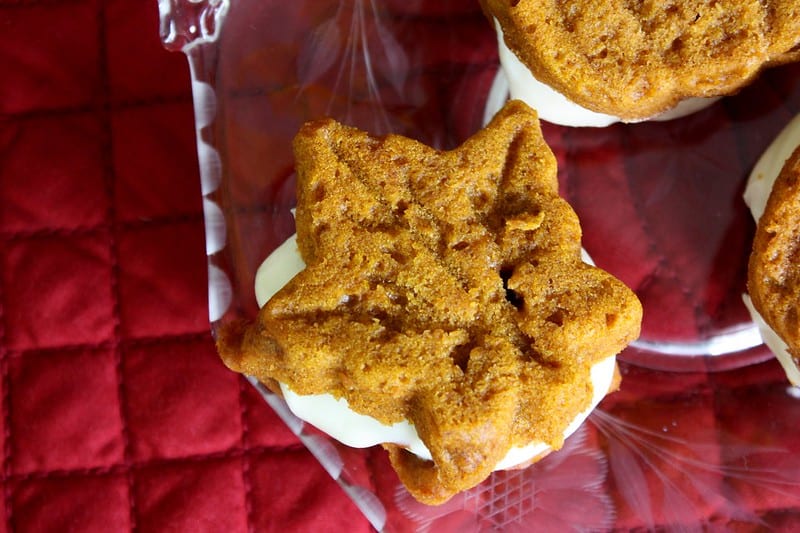
How appropriate! It was like they were made for this recipe. You can also make these by piping the dough out, but more on that in a minute.
What you Need to Make Pumpkin Spice Whoopie Pies with Maple Cream Cheese Filling
- Wilton Harvest Cake Pan
- Flour
- Baking Powder
- Baking Soda
- Salt
- Ground Cinnamon
- Ground Ginger
- Ground Nutmeg
- Granulated Sugar
- Dark Brown Sugar
- Canola or Vegetable oil
- Pumpkin Puree (Canned Pumpkin)
- Eggs
- Vanilla Extract
- Powdered Sugar
- Cream Cheese
- Unsalted Butter
- Real Maple Syrup
- Vanilla Extract
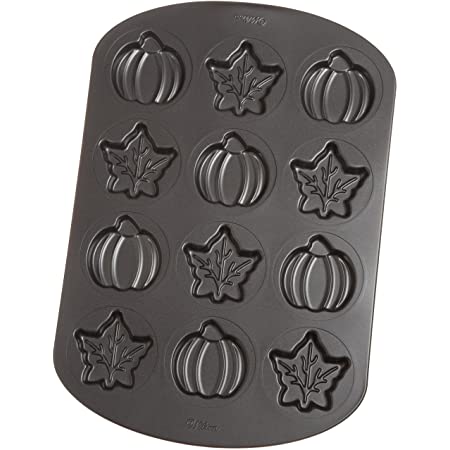
You can use the Wilton Harvest Whoopie Pie Pan, or just make them the traditional drop cookie way by lining baking sheets with parchment paper or a silicone baking mat.
Pumpkin Spice Whoopie Pies with Maple Cream Cheese Filling
Ingredients
Pumpkin Spice Whoopie Pies:
- 3 cups all purpose flour
- 2 tbsp ground cinnamon
- 1 tsp baking powder
- 1 tsp baking soda
- 1 tsp salt
- 1 tsp ground ginger
- 1 tsp ground nutmeg
- 1 cup white sugar
- 1 cup dark brown sugar
- 1 cup vegetable oil
- 3 cups chilled pumpkin puree (canned pumpkin)
- 2 eggs
- 1 tsp vanilla extract
Maple Cream Cheese Filling:
- 4 cups powdered sugar
- 8 oz cream cheese, room temperature
- 1/2 cup (4 oz) unsalted butter, room temperature
- 3 tbsp real maple syrup
- 1 tsp vanilla extract
Instructions
Pumpkin Spice Whoopie Pies:
- Preheat oven to 350 °F. You can use the Wilton Harvest Whoopie Pie Pan, or just make them the traditional drop cookie way by lining baking sheets with parchment paper or a silicone baking mat.
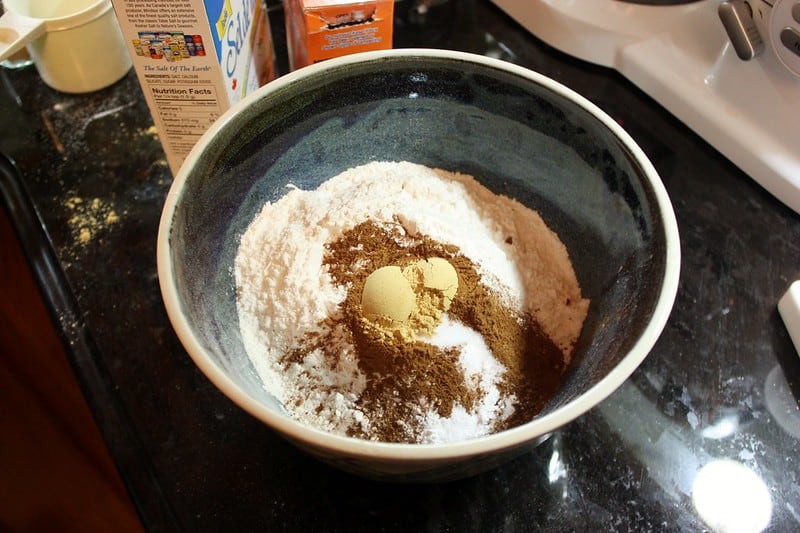
- In a large bowl, whisk together the flour, cinnamon, baking powder, baking soda, salt, ginger and nutmeg. Set aside.
- In a separate bowl, whisk the granulated sugar, the dark brown sugar, and the oil together. Add the pumpkin puree and whisk to combine thoroughly. Add the eggs and vanilla and whisk until combined.
- Gradually add the flour mixture to the pumpkin mixture and whisk until completely combined.
- If using whoopie pie pan: Drop a heaping tablespoon of dough into each cup in the pan, and carefully spread along the entire bottom. Make sure that they are only about half full, as they tend to puff up if filled too much, which will make it harder to put together with the filling later.
- If not using whoopie pie pan: Use a small cookie scoop or a large spoon to drop a rounded, heaping tablespoon of the dough onto the prepared baking sheets, about 1 inch apart.
- Bake for 10-12 minutes, making sure that the cookies are just starting to crack on top and a toothpick inserted into the center of a cookie comes out clean. The cookies should be firm when touched. Remove from the oven and let the cookies cool completely on a cooling rack.
- Beat the butter on medium speed until smooth with no visible lumps, about 3 minutes. Add the cream cheese and beat until smooth and combined, about 2 minutes. Add the powdered sugar a little at a time, then add the maple syrup and vanilla and beat until smooth.
- Easy piping bag: Cut the corner off of a ziploc bag to make a small hole, and then spooned in the icing.
- To assemble the whoopie pies: Turn half of the cooled cookies upside down. Pipe or spoon the filling (about a tablespoon) onto that half.
- Place another cookie, flat side down, on top of the filling. Press down slightly so that the filling spread to the edges of the cookie. Repeat until all the cookies are used. Put the whoopie pies in the refrigerator for about 30 minutes to firm before serving.
Maple Cream Cheese Filling
Notes
Adapted from recipe from Brown Eyed Baker
Recommended Products
As an Amazon Associate and member of other affiliate programs, I earn from qualifying purchases.
How to Make Pumpkin Spice Whoopie Pies
Preheat oven to 350 °F. You can use the Wilton Harvest Whoopie Pie Pan, or just make them the traditional drop cookie way by lining baking sheets with parchment paper or a silicone baking mat.
In a large bowl, whisk together the flour, cinnamon, baking powder, baking soda, salt, ginger and nutmeg. Set aside.
In a separate bowl, whisk the granulated sugar, the dark brown sugar, and the oil together. Add the pumpkin puree and whisk to combine thoroughly. Add the eggs and vanilla and whisk until combined.
Gradually add the flour mixture to the pumpkin mixture and whisk until completely combined.
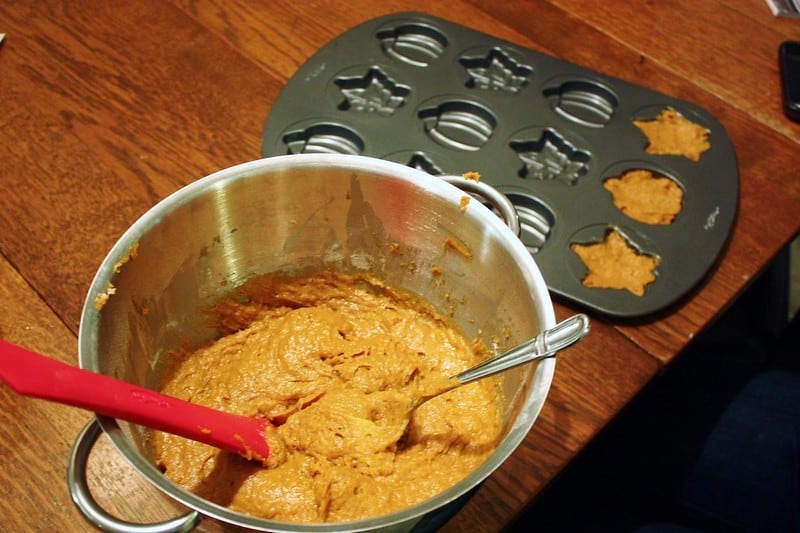
If using whoopie pie pan: Drop a heaping tablespoon of dough into each cup in the pan, and carefully spread along the entire bottom. Make sure that they are only about half full, as they tend to puff up if filled too much, which will make it harder to put together with the filling later.
If not using whoopie pie pan: Use a small cookie scoop or a large spoon to drop a rounded, heaping tablespoon of the dough onto the prepared baking sheets, about 1 inch apart.
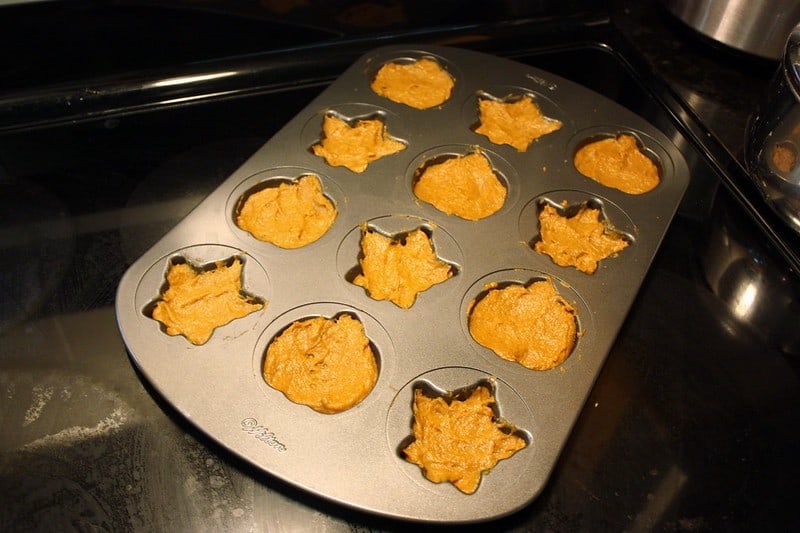
Bake for 10-12 minutes, making sure that the cookies are just starting to crack on top and a toothpick inserted into the center of a cookie comes out clean. The cookies should be firm when touched. Remove from the oven and let the cookies cool completely on a cooling rack.
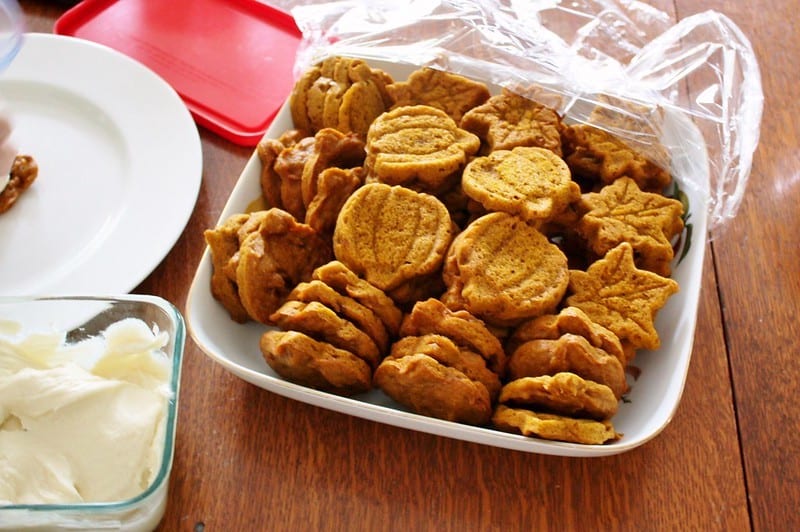
She made the cookies the night before, let them cool and wrapped them up for the night. They smelled absolutely heavenly when we unwrapped them the next morning. I love pumpkin spice!
How to Make Maple Cream Cheese Filling
Beat the butter on medium speed until smooth with no visible lumps, about 3 minutes. Add the cream cheese and beat until smooth and combined, about 2 minutes. Add the powdered sugar a little at a time, then add the maple syrup and vanilla and beat until smooth.
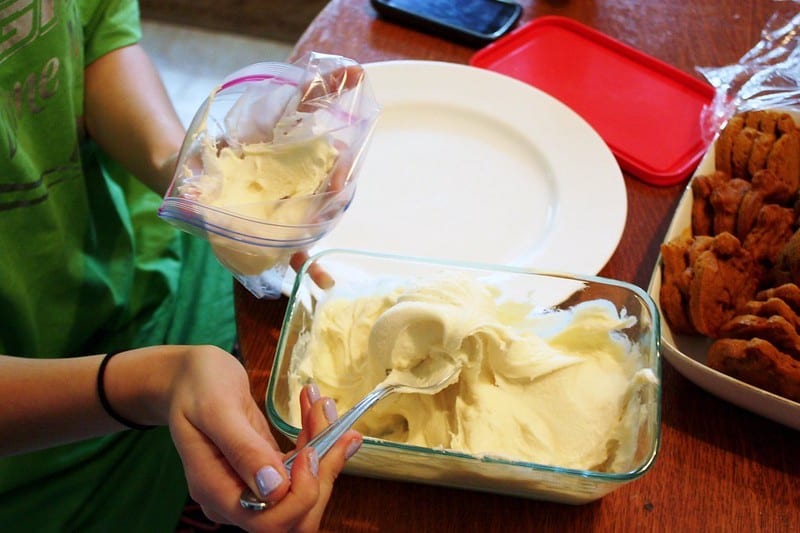
To make it easier to pipe the icing, she cut the corner off of a ziploc bag to make a small hole, and then spooned in the icing. It is a great makeshift piping bag that makes cleanup easy.
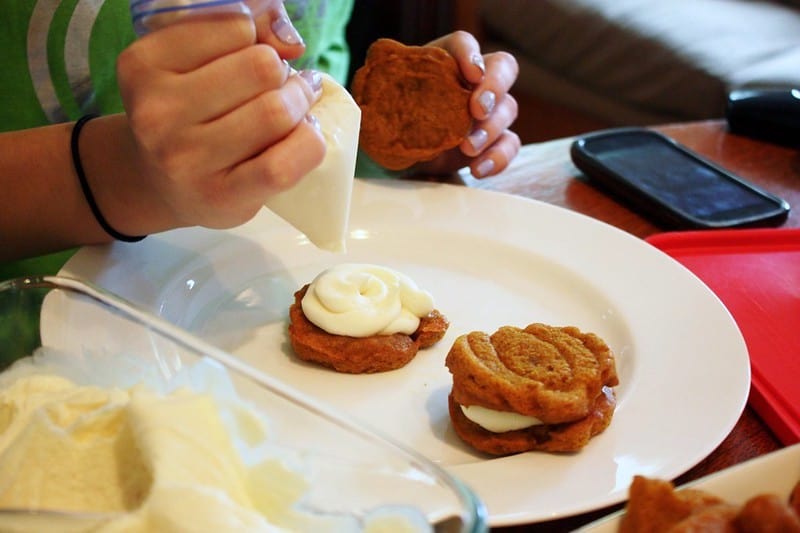
To assemble the whoopie pies: Turn half of the cooled cookies upside down. Pipe or spoon the filling (about a tablespoon) onto that half.
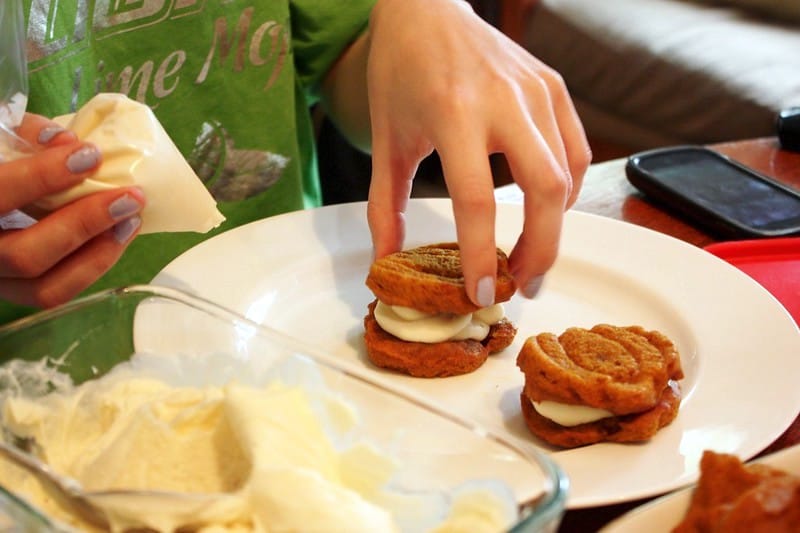
Place another cookie, flat side down, on top of the filling. Press down slightly so that the filling spread to the edges of the cookie. Repeat until all the cookies are used. Put the whoopie pies in the refrigerator for about 30 minutes to firm before serving.
Makes about 4 dozen whoopie pies, depending on how big you make them.
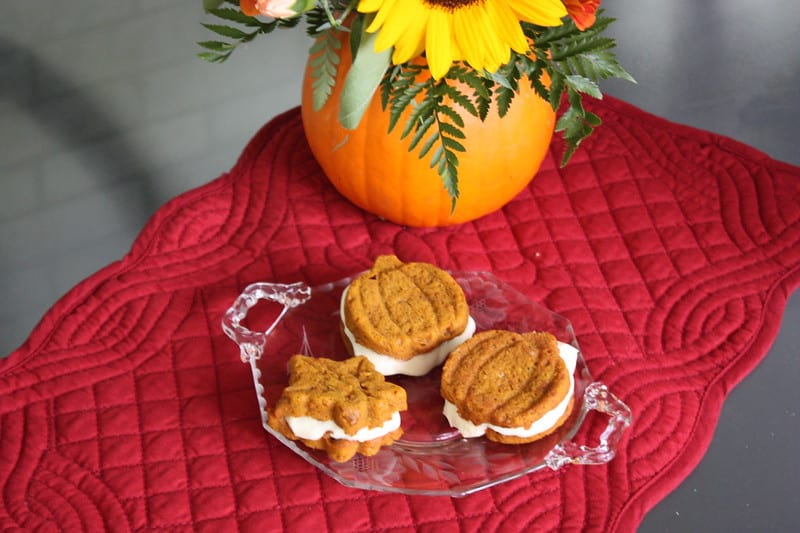
I think that from now on these are going to become a fall baking must with my family. Even my great aunt, who isn’t a big sweets person, packed up an extra one to take home.
My favourite part was the Maple Cream Cheese Filling. This would be great drizzled on Pumpkin Spice Raisin Muffins too!


That’s too funny! But I see our recipes are different, I will have to give yours a try, the maple filling sounds divine! I love that pan… don’t you!? I will be baking with it this Friday.
Now following your wonderful blog.
xoxo
Heather
Wow! I love this! New fan here – I found you through Cowgirl Up! I would love for you to come share at my Farm Girl Blog Fest: http://fresh-eggs-daily.blogspot.com/2012/10/farm-girl-blog-fest-3.html
Thanks Lisa. I’ll link you next week 🙂
I am always grateful for the wonderful blog.
Japan is a favorite of the Japanese autumn now.
It is very nice autumn in Kyoto.
I’m full of dazzling foliage.
Please search the Kyoto, Japan on a PC.
I also referred to the fall of appetite.
Your menu is very delicious and beautiful.
I will be careful to eat too much.
I’m sorry I was wrong spell.
Ryoma Sakamto.
yum! these look amazing! i’m going to have to make them soon.
Yummmmmm, those look delish!