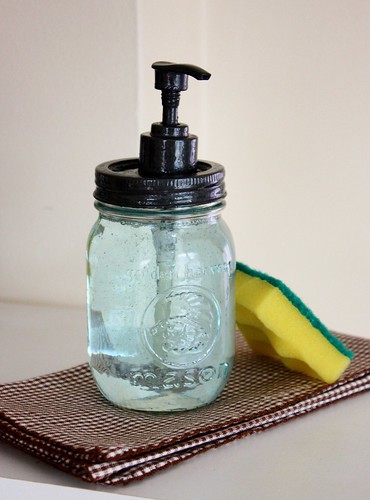
After seeing many versions of mason jar soap dispensers floating around Pinterest, I finally got around to making one for our own kitchen. I’ve never been a fan of the bottle of dish soap sitting on the side of the sink, and this is just a way for us to have the soap out, but a little more discreet (and fun too!)
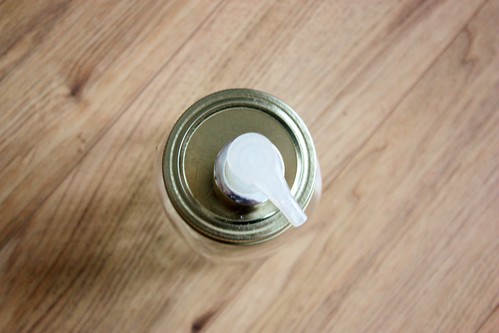
The shelf above our sink has cast iron brackets, so I decided to spray paint the lid a dark colour to compliment the other metal tones around it.
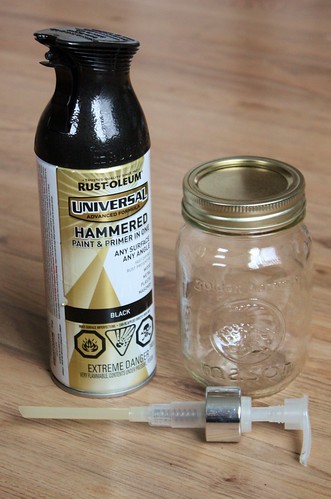
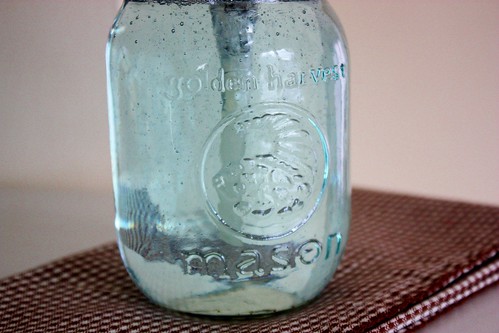
Thankfully I’d just done the Painted Horseshoe recently, so I still had the hammered metal Rustoleum spray paint hanging around. All I needed was an old mason jar (leftover from the Wildflower Wedding Centrepieces from last summer), and the pump mechanism from an old hand soap dispenser that was on it’s way out.
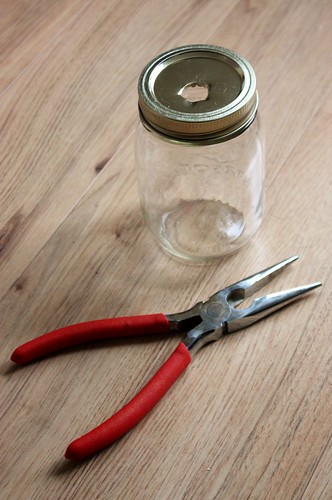
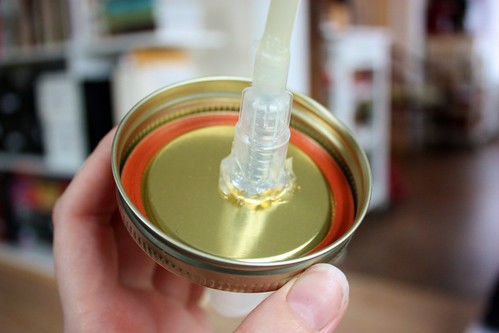
I hammered a nail into the spot where I wanted to make the hole, and then used needle nose pliers to push the hole open a bit.
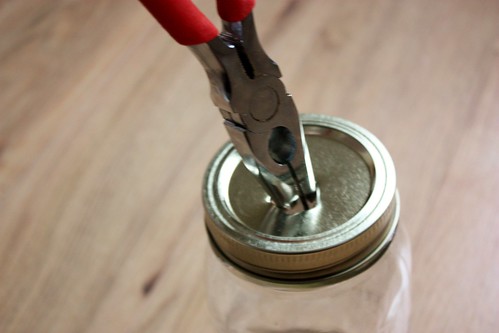
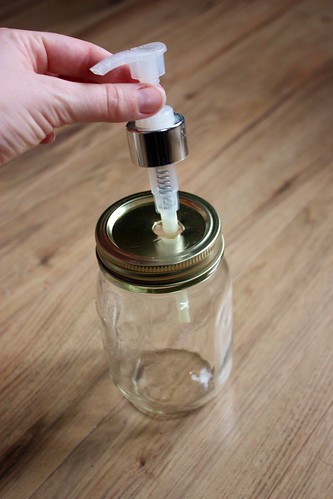
I kept putting the pump into the hole to check that it was getting close to the right size. I wanted the bottom clear part to fit snug inside the hole, with the sliver cap on top.
When I was deciding where to put the pump, I made the hole closer to the edge of the jar lid to make sure that the pump would clear the edge. If the pump head had been longer, I would have centered it more.
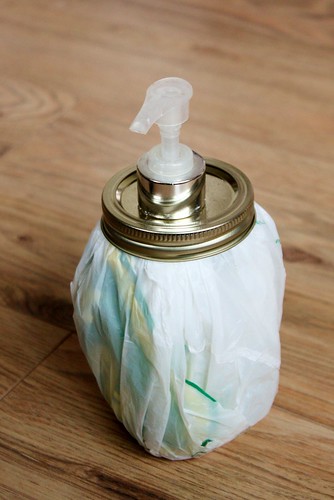
Not it is time for spray painting! To protect the jar from getting any spray paint on it, I double wrapped it in a plastic bag, shoved the ends inside and sealed it with the lid. I lightly sanded down any of the plastic surfaces to give the paint a better surface to adhere to.
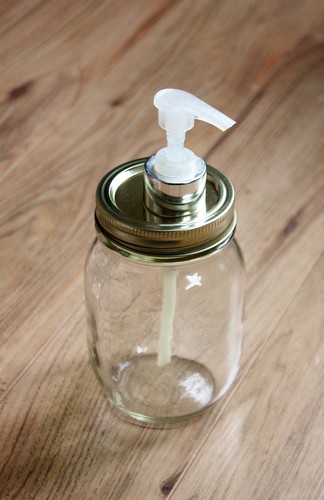
I ended up doing 3-4 light coats of spray paint, with some light sanding in between coats if needed. I also made sure to check the pump after the paint was dry between coats, just to make sure that it wasn’t sticking.
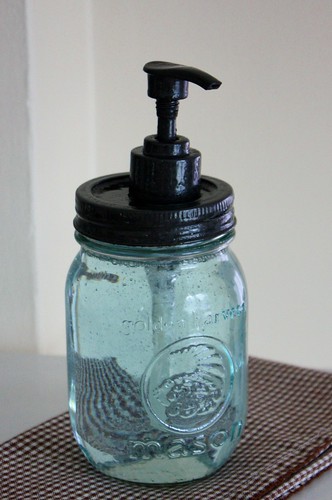
After letting everything dry for a couple of days, I filled it up with my favourite bio-friendly dish soap, which just happens to be this lovely shade of pale blue. It gave the jar an unintentional antique blue mason jar look!
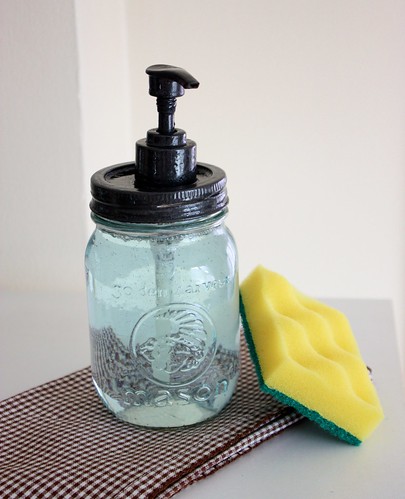
We have to hand wash all our dishes (no dishwasher!), so having something like this to brighten up that boring chore goes a long way. I would love to make one like this for our bathroom as well!
– – –
Linked Up To:
Alderberry Hill
DIY Showoff
Crafty Scrappy Happy
Homestories A to Z
Sugar and Dots
Southern Lovely
Milk and Cuddles

Yours turned out great! I had a problem with mine rusting around the cut hole…maybe the hot glue will help with that…or not filling it up as much! Is yours rusting?
Very creative! I don’t like the look of the plastic dish soap bottle either. For years, I’ve kept mine in a tall decorative oil bottle with a shot pourer.
So so cute! Thank you for the inspiration and for linking up at the “Thrift It” party!
Jaime from Crafty Scrappy Happy