I am so excited that holiday craft season is upon us. Now that the days are getting shorter, the evenings are spent staying in and getting cozy while being creative. I love to pop some Christmas music in, make a big cup of peppermint tea (my fav) and get crafting! I usually like to make a few homemade gifts each year, whether it’s handwarmers for stockings, hand painted tea towels or festive Christmas aprons, there is something special about giving and receiving gifts made from the heart. This year I was trying to brainstorm a fun handmade gift that kids could do and I remembered one of my favourite childhood crafts – rolled beeswax candles!
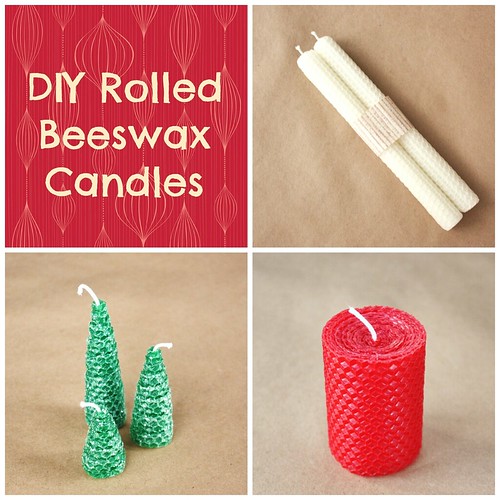
They are easy to make (with adult supervision) and can be used to create a variety of designs, such as tall candlesticks, sparkly Christmas trees and colourful votives.
The only two things that you need to make the candles are beeswax sheets and lead-free candle wick (not the same thing as plain string). The honeycomb patterned sheets are sometimes called drone wax and were originally used in new beehives. Now they can be found in a variety of colours at beekeeping stores, craft supply stores or you can buy kits online. I picked some up from a local beekeeping store for about $1.50 per sheet of beeswax (8″ x 15″) and about $0.20 for a yard of candle wick.
Candlesticks
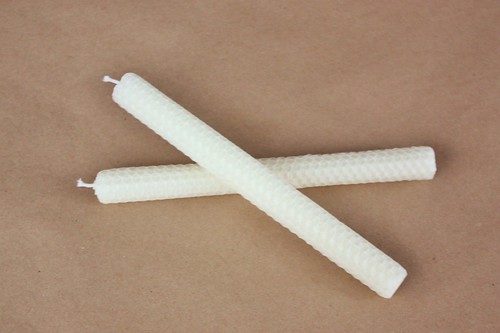
These simple candlesticks make great year-round gifts. I like to make them in natural-coloured beeswax, which can range from a white colour to a pale yellow.
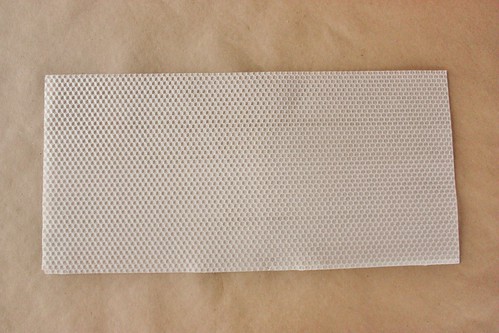
For a set of two candlesticks, you’ll need a standard 8″ x 15″ sheet of beeswax.
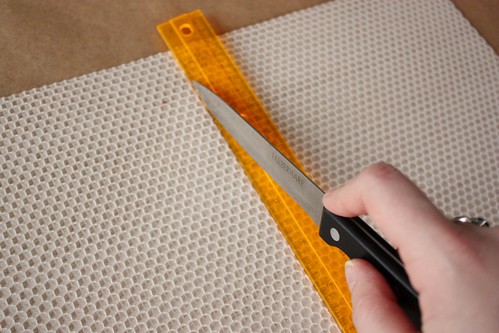
Cut the beeswax in half using a ruler and a sharp knife, making two squares.
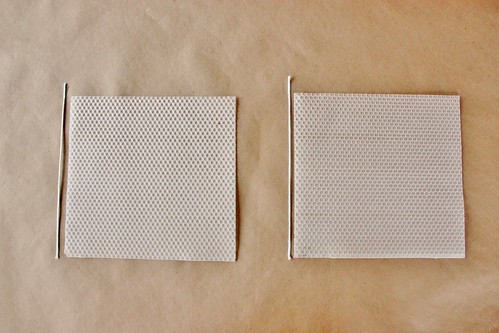
Cut a piece of wick to match each square, leaving about 1/4″-1/2″ extra at the top.
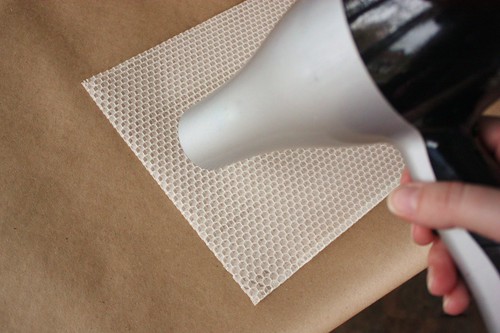
Use a hair dryer set to a low temperature and speed to gentle warm up the wax for a few seconds. You want it to be pliable but not melting.
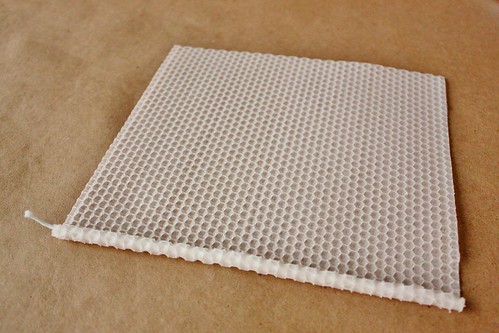
Place the wax along the edge of the wax sheet, and slowly roll up the candle.
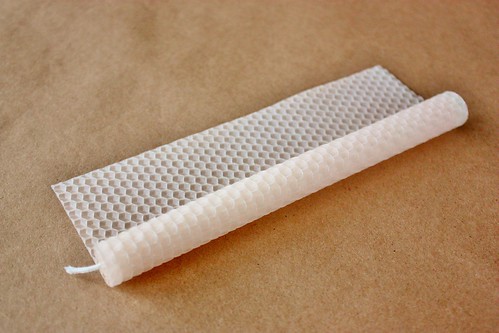
Continue to evenly roll the candlestick, taking care to keep the edges even along the bottom (on the right hand side).
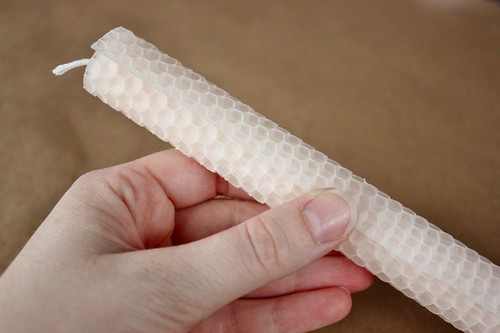
When you get to the end, gentle press the seam into the wax. Once it’s done, you’ll hardly be able to see the seam! Press the bottom against a table to get a flat edge.
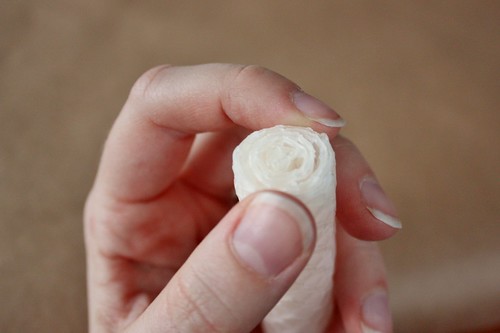
To help the candlestick fit into a candlestick holder, you can press the edges at the bottom of the candle to make it smaller.
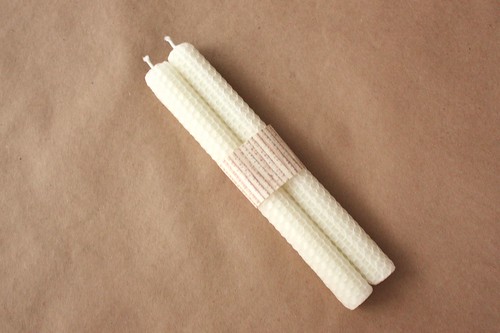
To wrap them up for gifts, make a band with decorative paper to keep them together. Keep in mind that lighter coloured candles could possibly absorb the tint from coloured tissue paper. I recommend wrapping them in white tissue paper beforehand if you do.
Sparkly Christmas Trees
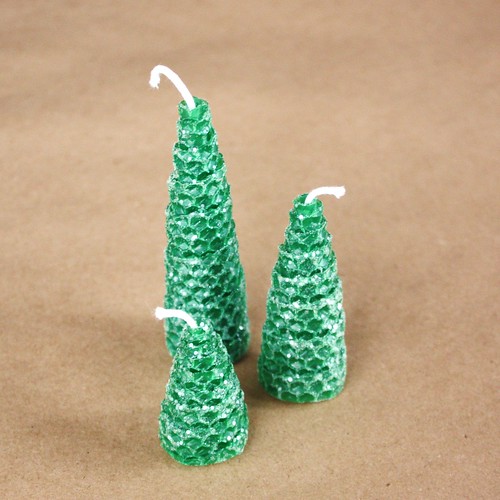
The sparkly Christmas trees are my favourite candle to make and I have a really hard time lighting them, because they’re almost too pretty to burn.
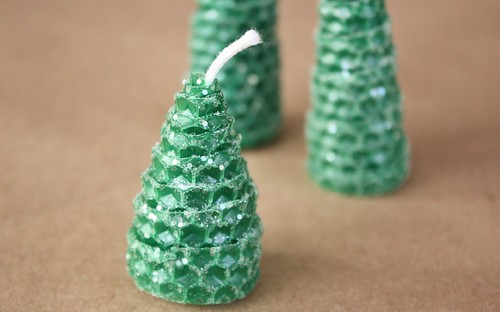
Set of three trees of different sizes looks great, especially when you add some sparkly glitter to a snow-like effect.
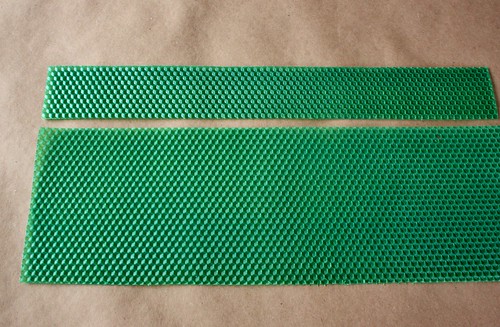
Cut the beeswax sheets into the strips for each height of tree.
- Tall, thin trees – cut the sheet in half lengthwise (2 strips makes 4 trees per sheet)
- Medium trees – cut the sheet into thirds lengthwise (3 strips makes 6 trees per sheet)
- Short, chubby trees (my favourite) – cut the sheet into quarters length wise (4 strips makes 8 trees per sheet)
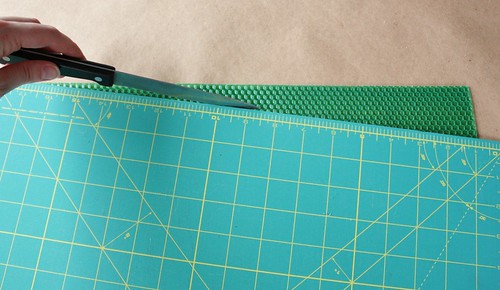
Use a straight edge (I used my sewing cutting mat), positioned from the top left corner to the bottom right corner, and cut with a sharp knife. For each strip of beeswax, this will give you two long triangles.
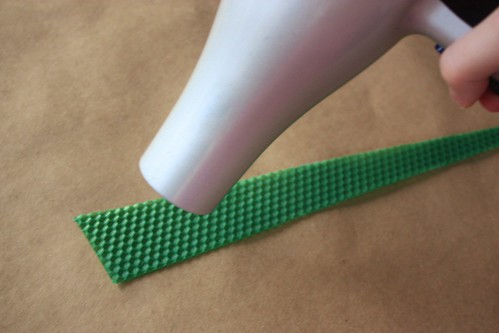
Use a hair dryer set to a low temperature and speed to gentle warm up the wax for a few seconds. You want it to be pliable but not melting.
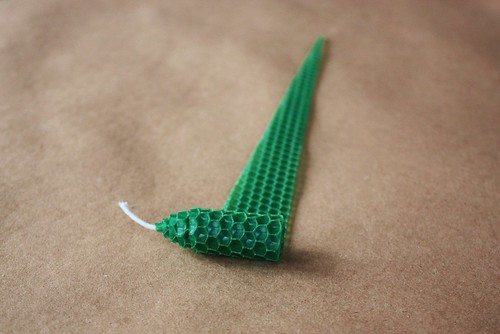
Place the wax along the edge of the wax sheet, and slowly roll up the candle, taking care to keep the edges even along the bottom (on the right hand side). It will start to spiral at the top as you roll.
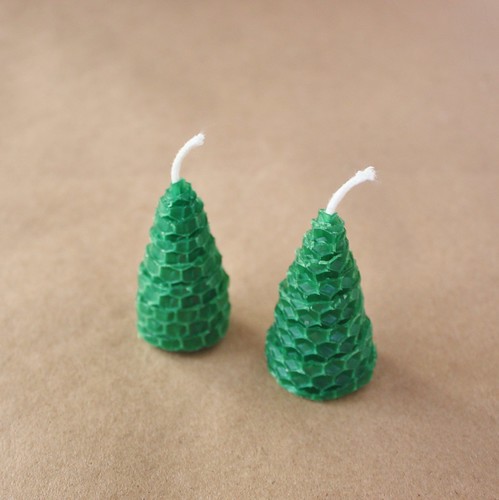
Aren’t they so cute! The little short ones are my favourite.
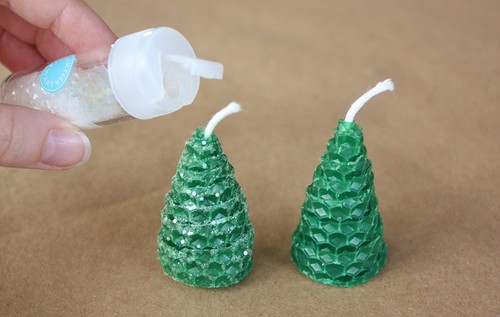
For an added touch, gentle warm the candle with the hair dryer and then sprinkle with glitter. You can also add a gold star sticker to the top (just make sure to remove before lighting).
Colourful Votives
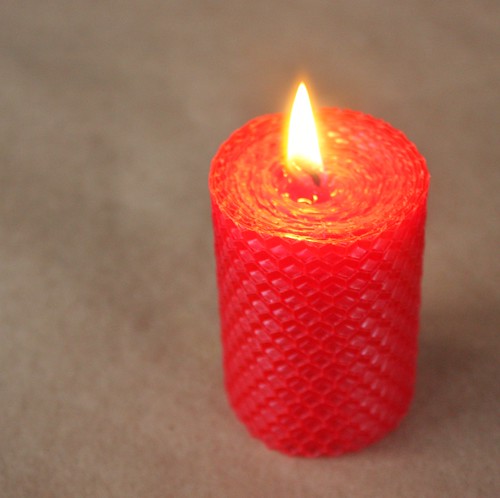
The shorter, fat votives are great to add into votive holders or even on their own on a small plate. A candle of this size should burn for about 6-8 hours, and gives off that great beeswax scent.
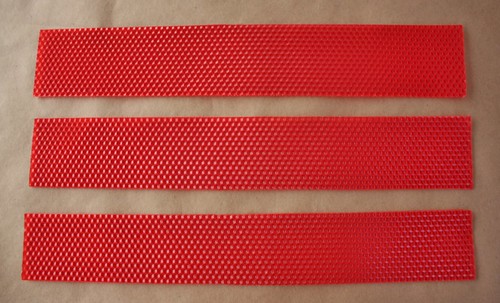
The more layers that you add, the thicker you candle will be. To make an extra thick votive, I cut the sheet of beeswax into thirds.
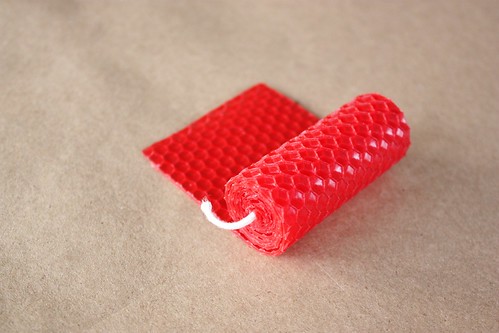
Like with the tapers, I warmed the wax with the hair dryer on low and then started rolling the beeswax up.
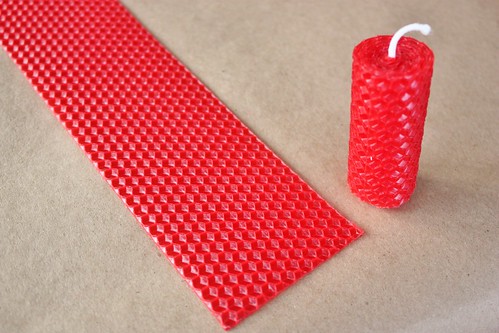
When I got to the end of the first piece, I simply started rolling the second piece on in the same way. Continue with the third piece, or as many pieces as you’d like to add to make a larger candle.
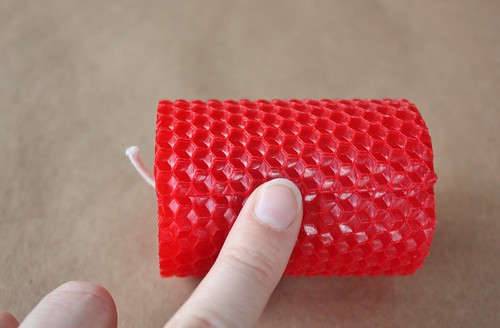
Press the final seam into the candle.
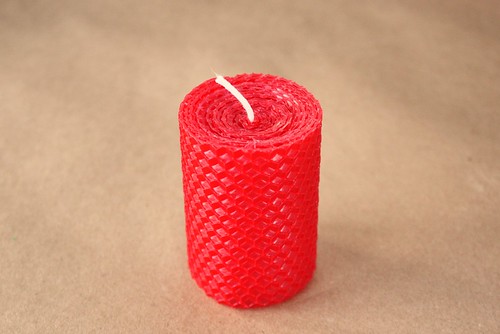
You can add glitter to these as well, or tie a piece of raffia around them for a decorative touch (being sure to remove before you light the candle).

What a great gift idea! Thanks for the tutorial.
Love these ideas, especially the little trees! Am looking to try some candles, and these are right up my street, especially being so easy!!
Thanks for the ideas!
Hands Down the best DIY directions for sheet candles. I have been to a zillion websites today and yours has been the best!
Thank You!!!
Thanks Milissa! I’m so glad that you found it helpful 🙂