When brainstorming what to make for our Valentine’s Day dessert, I recalled one of my favourite recipes that I’d never shared with Garrett (or here on the blog). It was a much loved cake made by my great grandmother, who passed it down to my mother, who would make this for special family celebrations at home. It’s a small log shaped cake that is perfect for Valentine’s Day, a quiet birthday at home or for a treat after Sunday night dinner.

The traditional recipe calls for whipped cream, but I did a modern twist on this and used my favorite Whipped Coconut Cream recipe using coconut milk. While the cake sits in the fridge, the chocolate wafer cookies absorb the moisture from the whipped coconut cream. This gives them a cake like texture and makes the whipped coconut cream into more of an icing texture.
Bonus points – It takes about 10 minutes to put together. That’s it. Just pop it in the fridge and let it do all the work!
– – –
What you’ll need:
Printable Version · Makes 8 Servings
- 2 cans full fat coconut milk
- 1 tsp vanilla
- 1/4 cup confectioners sugar
- 1 package of chocolate wafer cookies
- optional toppings: berries, chocolate curls, candies
Put the cans of coconut milk in the fridge overnight. This will thicken the coconut milk and allow you to whip it into cream.

Chill a large bowl and the mixer’s beaters in the fridge for 15 minutes.
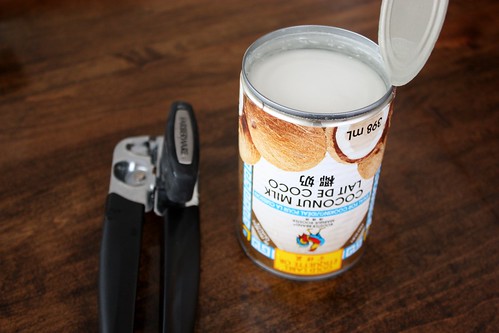
When you’re ready to make the cream, flip the can over and open up the BOTTOM with a can opener.
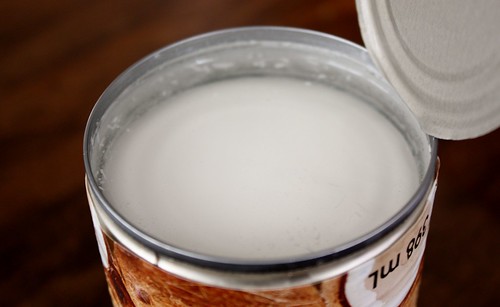
This will put the liquid part, that didn’t solidify, at the top, making it easier to pour off.
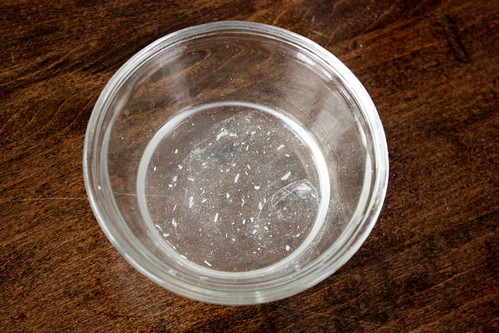
Pour the liquid into a bowl and save it for later – it’s great in smoothies.
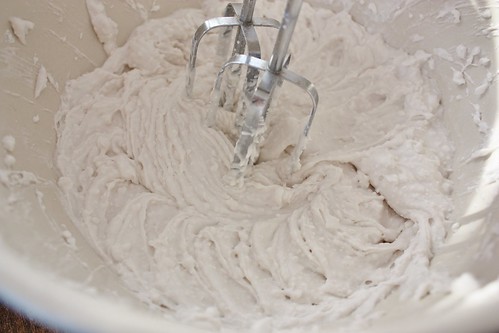
You’ll have only the hardened coconut milk left in the can. Scoop it out into the chilled mixing bowl. Using a hand mixer, or a stand mixer, whip the cream until fluffy. Add in vanilla extract and confectioner sugar; and whip.
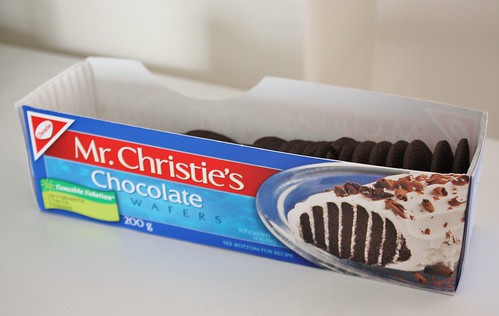
I use Mr. Christie’s Chocolate Wafers because they’re nut-free and I can usually find them in most grocery stores in the cookie aisle or in the baking aisle. Just check that it doesn’t have too many broken pieces inside!
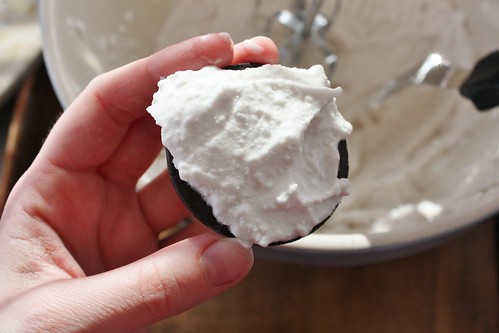
Using a knife or small spatula, spread about 1 tbsp of whipped coconut cream onto a wafer.
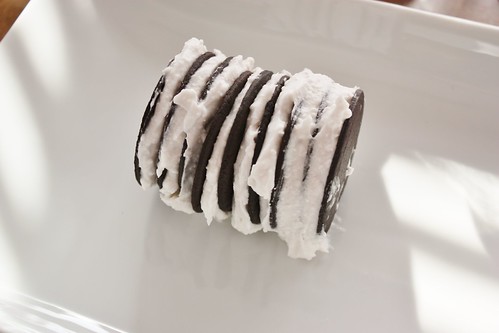
Stack the wafers on their side and continue to add more cookies to make it into a log.
Keep going until you’ve added all the wafers or have about 1/3 of the cream left.
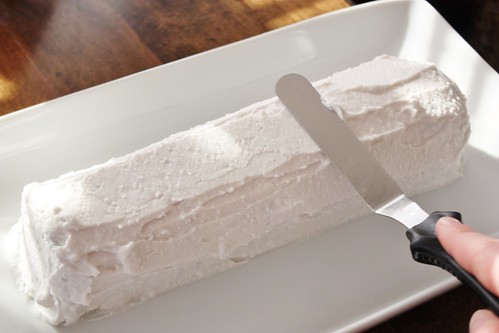
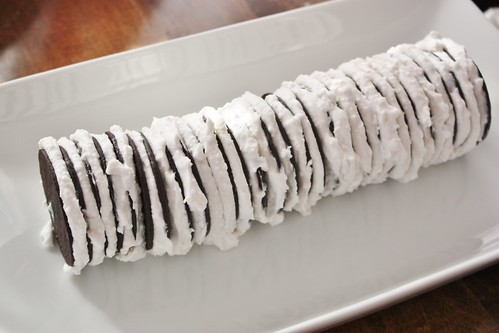
Cover the entire log with the leftover whipped cream, making sure to get all the way around the sides of the cookies.
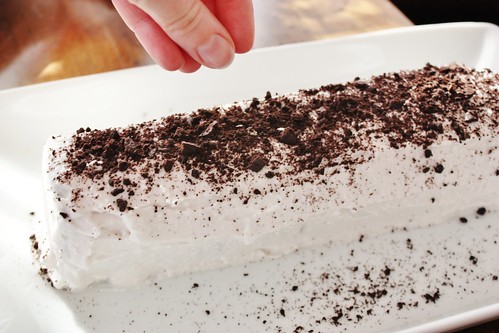
There are always some cookies broken in half in the package. Crumble those up and sprinkle them over top of the cake. You can also add berries, candies (Chocolate Smarties are a big hit with kids) or chocolate curls.

Using a damp paper towel, wipe up the crumbs around the edges of the plate. Insert toothpicks in the top and lightly wrap with plastic wrap. Refrigerate for at least 3 hours or up to 2 days.
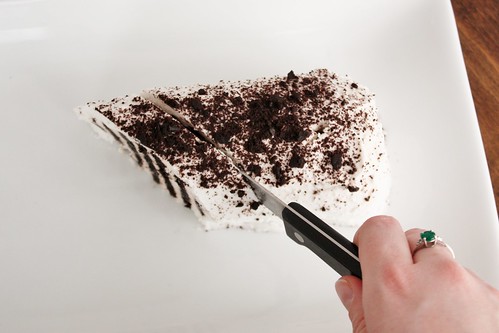
Cut the cake on an angle to give the striped effect.
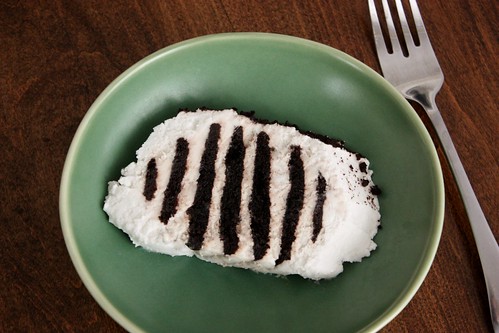
In our family, this is also affectionately called “zebra cake” and you can see why.

Looks AMAZING!
Oh my! That looks so good and you made it look easy. Going to try this one out for sure.