Last month, my sister moved to Toronto for her new job and with that came a whole new apartment to decorate. As luck would have it, my parents were recently getting rid of some old wooden furniture from their rental cottage, including five chairs, a dresser, nightstand and little side table. They were all great pieces – solid wood and built to last – but every one had a different finish. Using Behr’s Marquee paint she was able to turn them from cottagey wood pieces to luxe neutrals fit for a big city apartment.
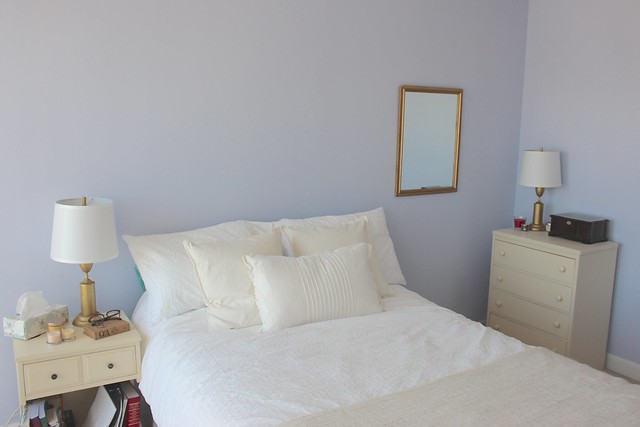
Taking old furniture, paint and some new linens, she was able to turn her new apartment into a cozy and bright space that it so relaxing to come home too. With two dogs, I could never have linens like this, but I just love how luxurious the creams and whites look.
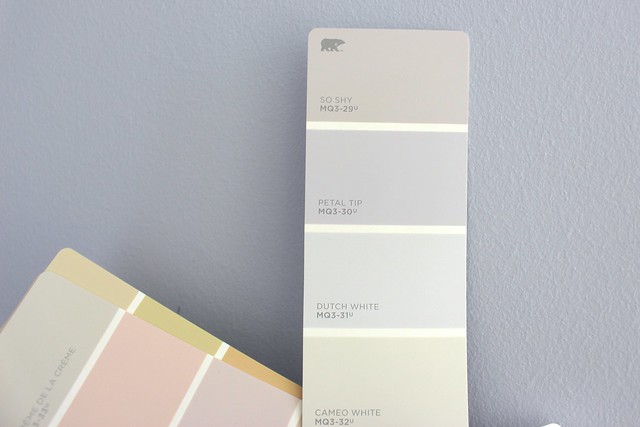
The room was painted by the previous tenants and she didn’t have time to paint it before moving in, so it had to stay. The closest colour I could find is Behr Marquee Interior paint in Petal Tip.
Thank goodness for Pinterest, because the first thing we did was go on there for inspiration. In searching for lilac and lavendar rooms we got some great ideas. We started sending pins back and forth to each other, while talking about colour palettes and styles.

We quickly discovered that she was drawn to neutrals with gold touches.
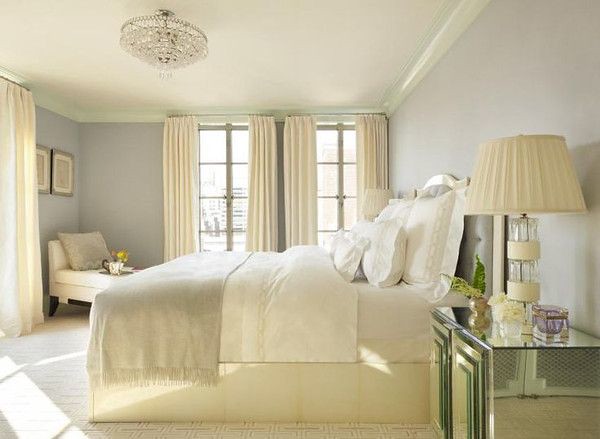
Something bright and airy, but cozy too.

I never would have thought of going with a lilac wall colour but when you see how well it goes with the creams and whites, I really like it!
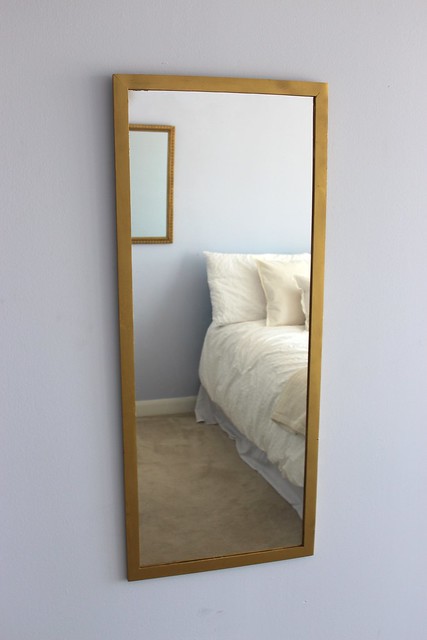
Using that inspiration, she found some gold frames lying around my parents’ place (the smaller one was swiped from the downstairs bathroom…working on a replacement one right now).
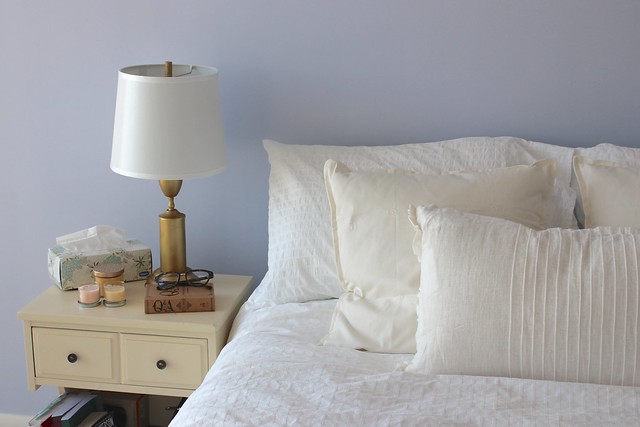
For all the furniture, she chose Moongaze by Behr Marquee. It was a great neutral colour with a little warmth.
Tips for Painting Furniture
I find painting furniture to be therapeutic. When you see how each brush stroke transforms the wood into something new, it can be really fun. Here are a few things I’ve learned along the way to help you get the best results with your new piece.
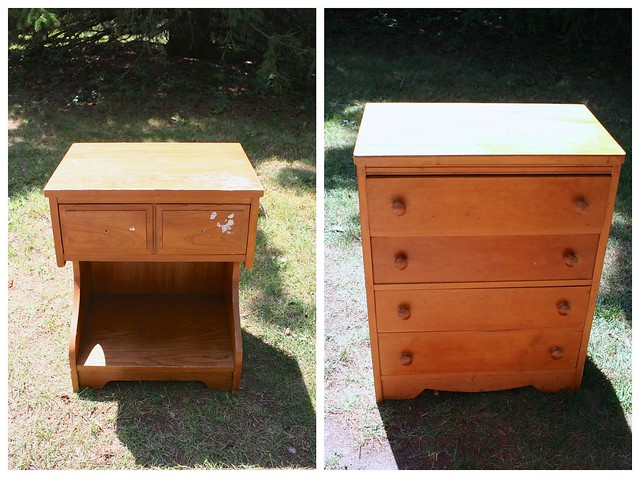
1. Clean It Up: Take off the handles, pull out the old drawer liners and peel off any stickers. Even those wooden handles on the dresser need to come off.
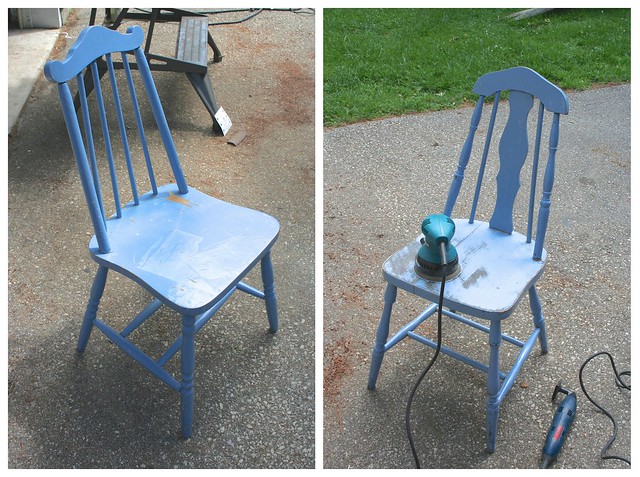
2. Sanding: I start off with a medium grit sandpaper to get rid of any dirt and remove any sheen from the existing finish. You don’t need to bring the chair back to the original wood – you just want to roughen the surface up to help the paint adhere. If there is still some chipping paint, sand a little more. Then I make any needed repairs, like filling nail holes or scratches with a wood filling compound. Give it all a final sanding with a fine grit sandpaper. It’s important to work with the grain to prevent any visible lines from the sander.
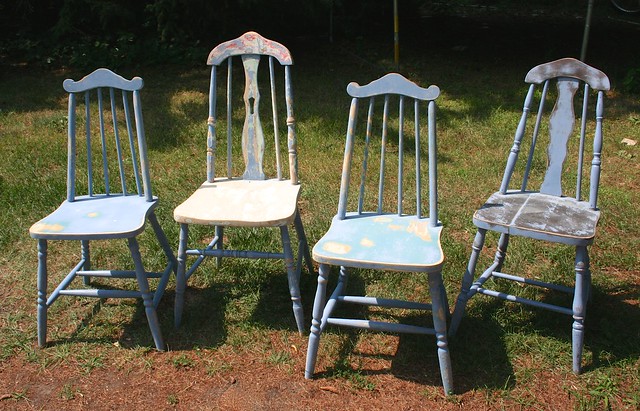
3. Tack Cloth Clean Up: Leftover sanding dust or dirt can get in your paint and create lack luster results. Take the time to wipe everything down with a tack cloth, or even a damp lint free cloth.
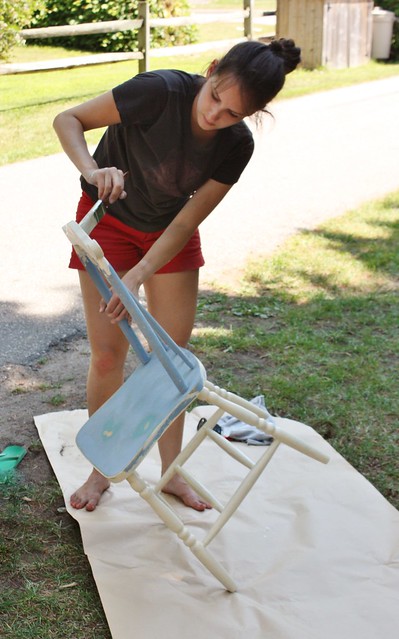
4. Different Strokes for Different Jobs: Depending on the piece, you may need multiple brushes for different areas. A large flat surface like a table top or the sides of a dresser can be covered quickly with a small foam roller, with an artist brush is good for fine details. For a spindle legged chair like this one, a 2″ brush works well to get in all the angles.
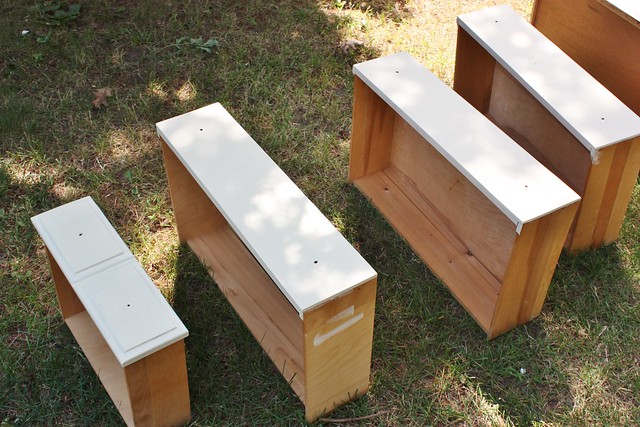
5. Do Thin Coats: Two thin coats of paint will give you better coverage and a smoother result than one thick one, although I find that the coverage with the Behr Marquee line is really great and most spots didn’t need a second coat. Give the paint time to dry between coats. Depending on the project and if there is any stain on it, I might go with a primer first, but we didn’t need it with any of these pieces.
The Results!
After seeing how great my sister’s pieces came out, I want to paint some of my own now! It always amazes me how much of a difference new paint can make.
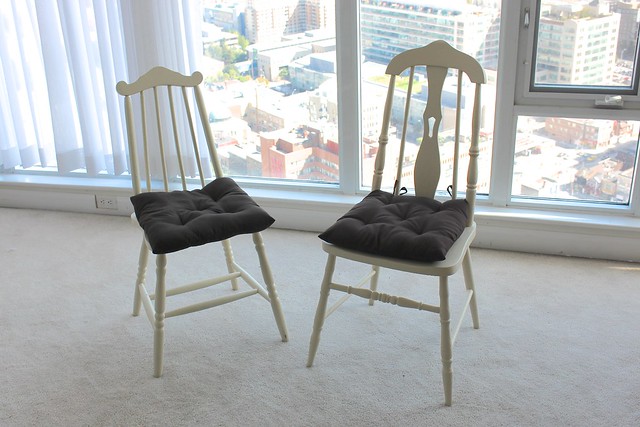
These old mix and matched chairs used to be a chippy blue paint that had seen better days and now they look fresh and new!

She found these chocolate brown kitchen chair cushions from the dollar store and they fit perfectly on the chairs.
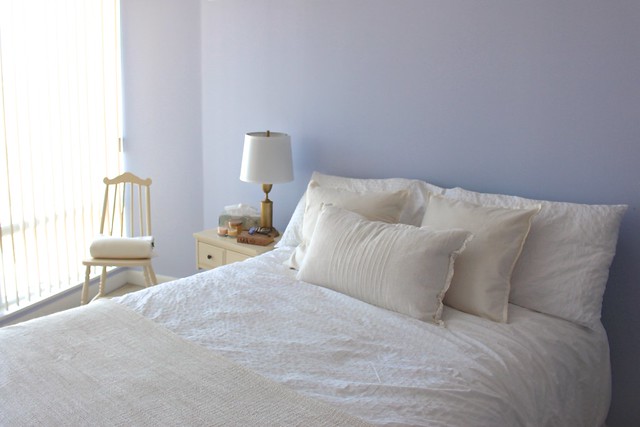
Four of the chairs stayed in the kitchen, while the fifth one went into the bedroom, to sit by the window. (If this was my apartment, it would be covered in clothes already).
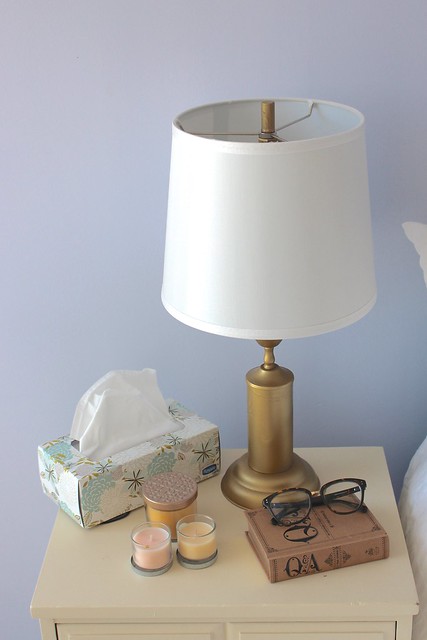
The bedside stand turned out so cute and turned out to be her favourite piece. The 70’s orangey stain is gone and in its place is an inviting space for scented candles and nighttime journals, with a shelf below for books.

The lamps even got a little makeover with some gold paint and new lampshades. They were originally from the cottage and had this tarnished brassy bottom with bright red pieces. A few sprays with a gold spray paint and they were good as new.
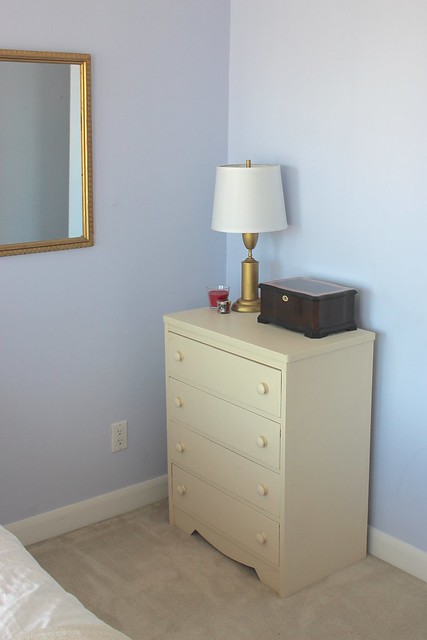
Now one is sitting on the nightstand and the other is on the dresser. At night they give a lovely glow in the whole room. Great lighting is really key for creating a comfortable room.
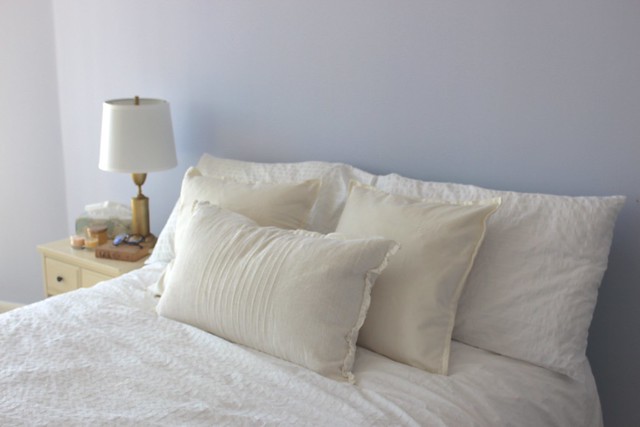
All the linens are all from IKEA, including the ruffly pillow cover and the throw.
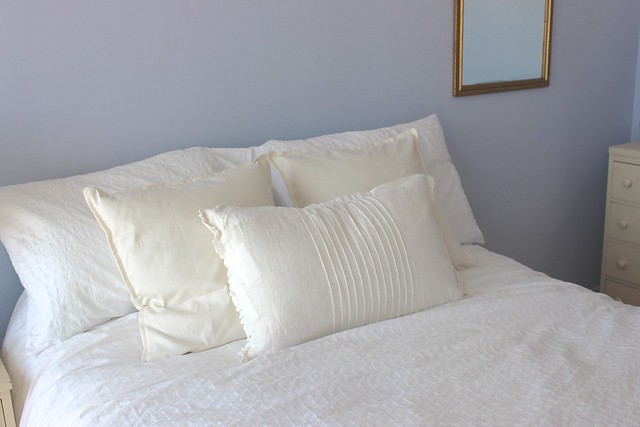
In the winter, she could add in some faux fur throws and pillows to combat our Canadian winters.
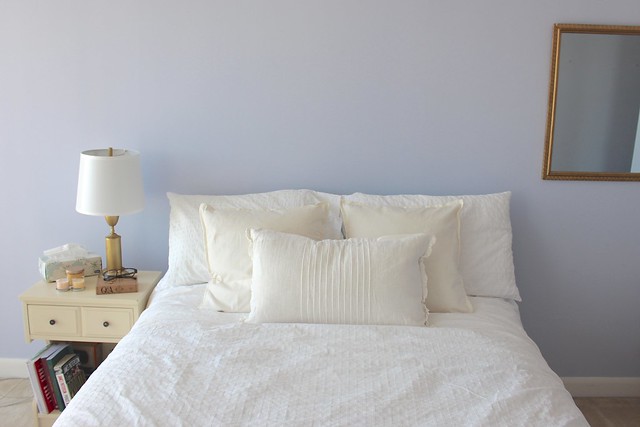
She is still trying to think of some artwork to add above here. Any suggestions?
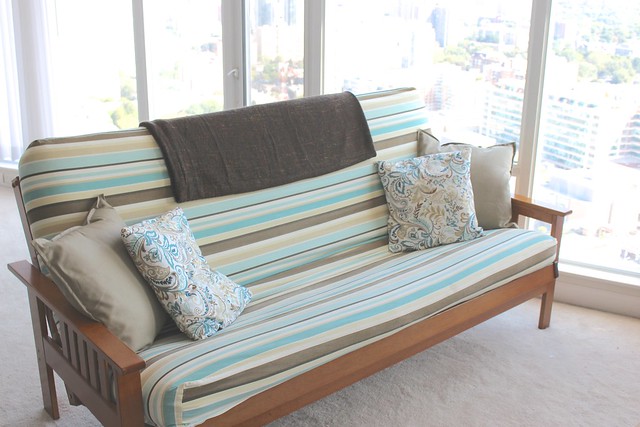
Her living room also has something near and dear to me – the futon from our apartment! Garrett and I finally moved it out of the apartment and gave it a new home. I’ve already slept on it once and can attest to how nice it is.

And just look at the killer views. I spent the morning just gawking out the window, ha!
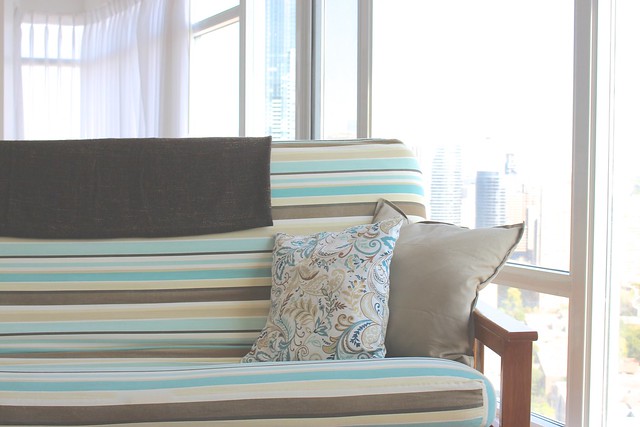
I gave her the striped cover and swirly pillow covers I made, but she found the tan pillow cases and chocolate brown throw – and they matched perfectly!
Her place is coming along so well and I can’t wait to help her add some pieces to it as she goes. I’d love to find some kind of a tufted bench to put near her closet for a little dressing area or maybe a pretty rack of hooks for her purses. Did I mention she also has a walk-in closet?!?

To see more projects created with Behr products, visit the Behr DIY Expert Pinterest board or stop by the Colorfully Behr blog curated by Erika Woelfel, Director of Color at BEHR Paints.
Disclosure: I am a member of the Behr DIY Expert program and was provided Behr paint for this project. All opinions and ideas are 100% my own.
Linked up to: Be Awesome

The furniture looks great! And those are some great tips. I sometimes skip some of the steps (ahem: sanding), and I always regret it.
Love the gold lamp!