When we first bought the farmhouse, one of the biggest tasks we knew we needed to complete this summer was painting the exterior. Not only was it an eyesore, but there were many spots where water could penetrate the window frames and stucco, risking damage when it freezes this winter. We dedicated most of our weekends this summer to working on restoring the exterior and I’m so happy to finally be able to share it with all of you! Over the next few days I’m going to share more of what we’ve been doing, with a final reveal later this week!
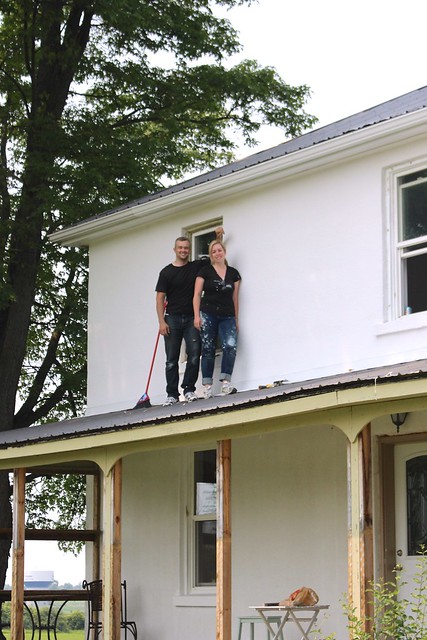
It’s been a summer full of hard work, but it’s been worth it to see this house start to shine again. If I had to spend most of my summer covered in paint and up on the roof, there is no one I’d rather do it with than Garrett. He works looong days and then comes home to work on the house well past dark. Then you add in all the time that both our families have put into making our first home what we’ve always dreamed of – it’s been a real team effort!
When we first found out our offer on the farmhouse had been accepted, I immediately started scouring Pinterest for ideas. In the end, Garrett and I decided to go with a classic high contrast look for the farmhouse – white walls with black shutters. The colours I picked (along with some help from the chicks) to go with this vision are all in the same colour family and go together really well.
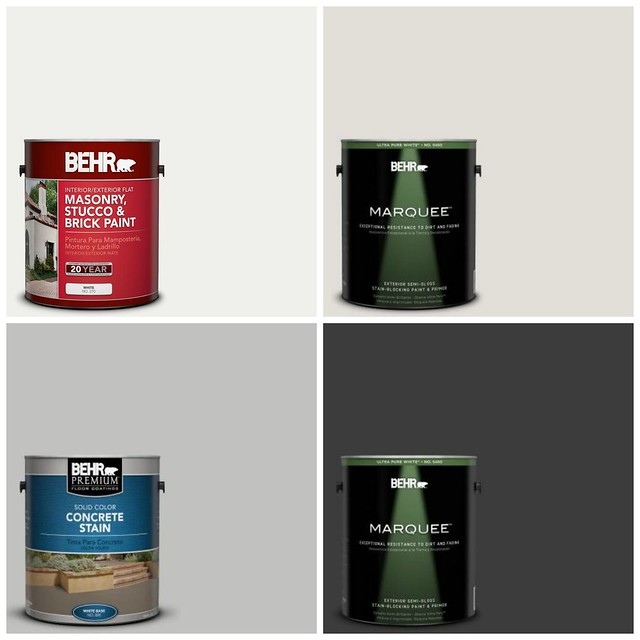
For the stucco, we needed a product that would hold up to our tough Canadian winters, while giving the stucco a refreshed finish. I picked Behr Masonry, Stucco & Brick Paint in Mountain Summit (top left) with a flat finish. For the window trim, door trim and soffit, I picked my favourite white paint colour, Behr Marquee Exterior Paint in Cameo White (top right) with a semi-gloss finish (this is the same paint colour as the chicken coop!) Even though the two whites are very similar, by choosing a different finish (flat vs. semi-gloss), it makes a subtle transition. For the shutters, which I’ll be sharing tomorrow, we went with Behr Marquee Exterior Paint in Limosine Leather (bottom right) in a semi-gloss finish. For the porch I chose Behr Premium Solid Colour Concrete Stain in Pacific Fog (bottom left).
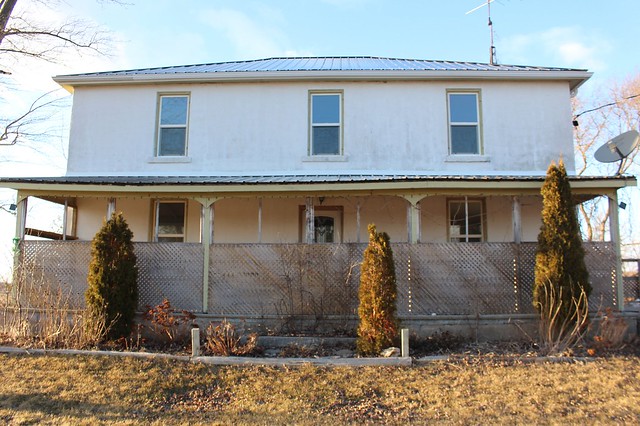
For a little refresher, here is what the house looked like the day we put in our offer. It was dirty and dingy, with a wonky porch roof, odd lattice fence, big unbalanced cedars, a broken concrete step and years of chipped flakey paint on the windows.

We worked hard to clean up the yard before we started painting, and by then it started to look a little better. By taking down the lattice, we could really see how it was all going to shape up!
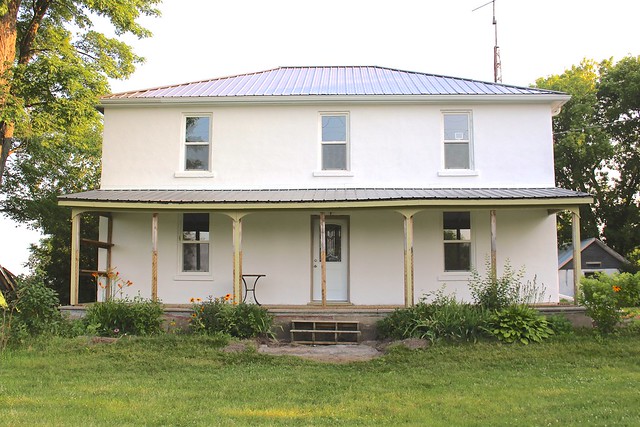
And here is what it looked like by the time we finished painting the stucco and windows, but before the work started on the porch restoration. It was so much brighter and clean looking!

The walls were one of the worst parts of the house. Over the years, the paint on the stucco had flaked off and what was left was dirty and stained. We used a stiff steel brush to remove any loose paint and cobwebs.
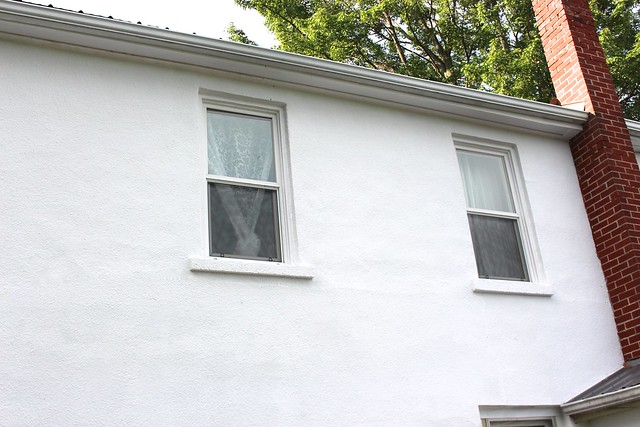
Even after one coat of paint, it started to look so much better! The Behr Masonry, Stucco & Brick Paint not only covered the stucco, but it filled in all the pockets, holes and small cracks that had developed over time. It gave the house the appearance of a whole new finish. Some people who’ve stopped by think that we replaced the stucco!
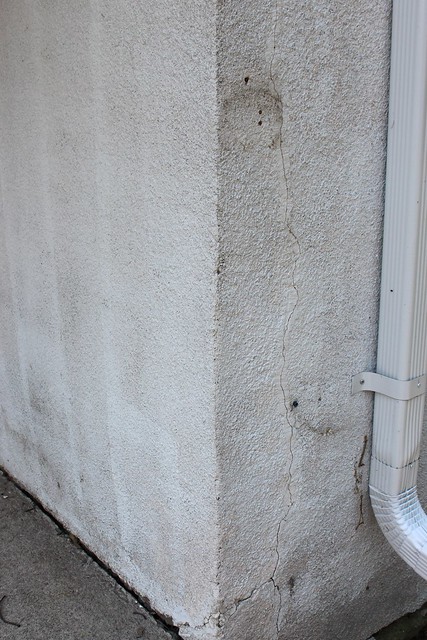
Here is the front corner of the house. You can see that the previous owners had tried to repair the cracks with some form of caulking, but there were still visible hairline fractures everywhere.
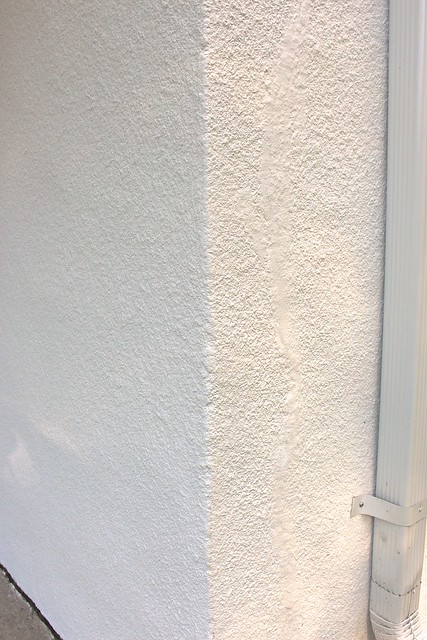
The stucco paint made their poor repair work much harder to see and reduced the cracks significantly. Before we started painting the walls, we also repaired any holes and cracks larger than 1/16″ with a stucco repair product.
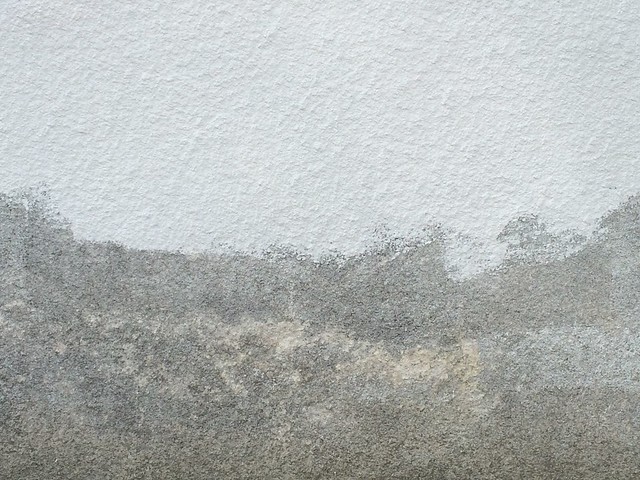
Just look at the difference that ONE coat of paint made! The dark grey mess is gone and in it’s place is a crisp white look. I was overjoyed the minute I saw it! As great as it looked with one coat, we still did a second coat just to ensure that the product was evenly applied.
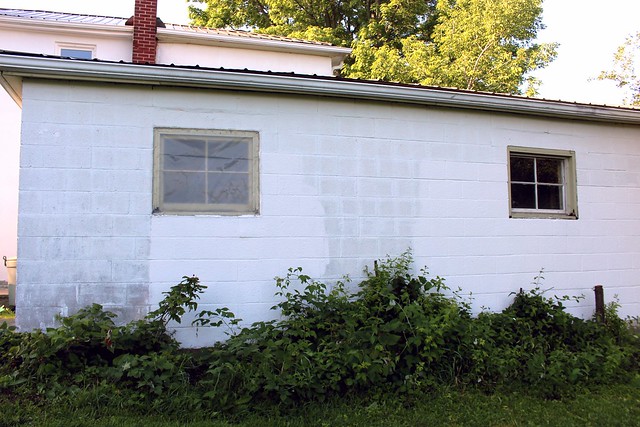
You can see the dramatic change here on the back of the garage/home gym. The cinder blocks were so easy to spot before and now they blend right into the rest of the house’s exterior.

To paint the two storeys, we used tall ladders and rented this handy scaffolding. We saved thousands of dollars by doing the painting ourselves and renting the equipment we needed. Plus we now know how to do it!
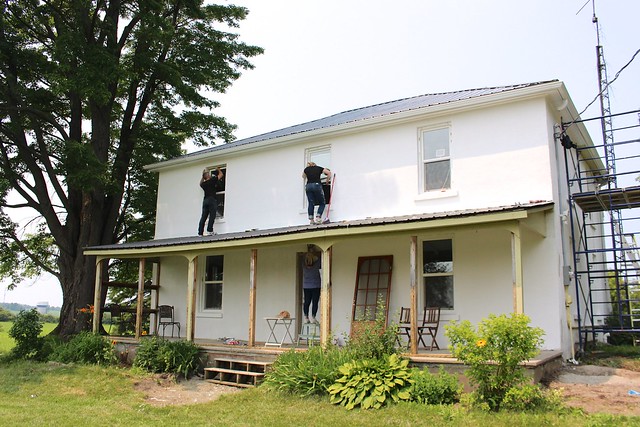
We were able to stand up on the roof to do the work above the porch. Here Garrett and I are up on the roof painting the window trim, while my mother-in-law takes care of the level below.
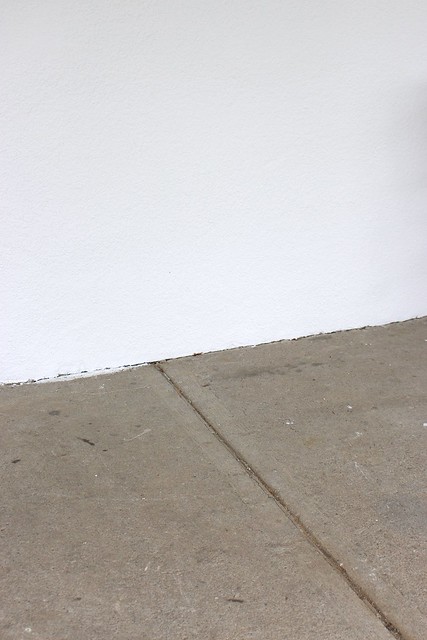
On the porch, we painted right to the edge. We’re waiting for some work to be done on the porch and then we’ll be applying Behr Premium Solid Colour Concrete Stain in Pacific Fog. I can’t wait!
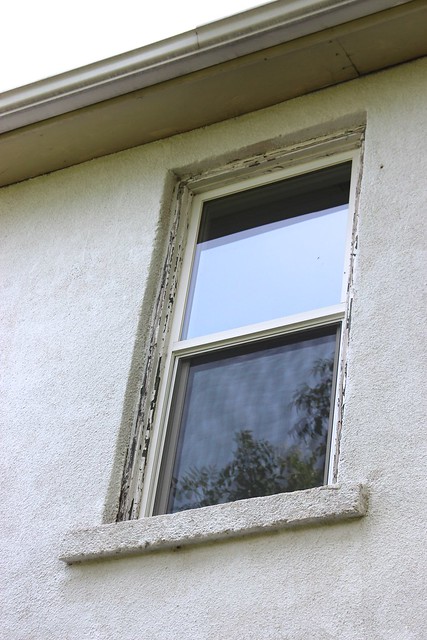
The other big improvement to the exterior is the windows. This was easily the biggest task we took on. It involved scraping 112 years of hardened paint off 15 windows and pulling off all the dried up caulking.
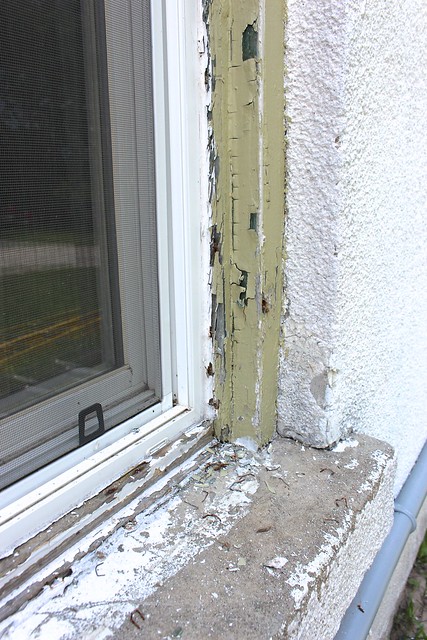
There were also hundreds of rusty nails, staples and old storm window wing nuts that needed to be pulled out and patched up. Our original plan was to repair the window frames for now, thinking that sometime in the near future, we would need to cover them in flashing.
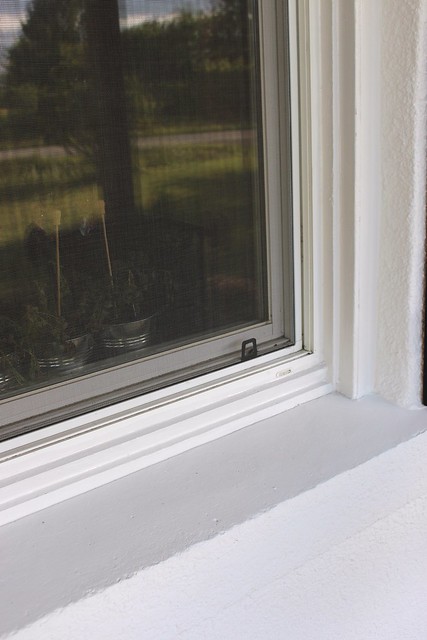
Now that they’re all freshly caulked, primed and painted with Behr Marquee Semi-Gloss Exterior Paint in Cameo White, they look as good as new! We may not need to add any flashing for a very long time.
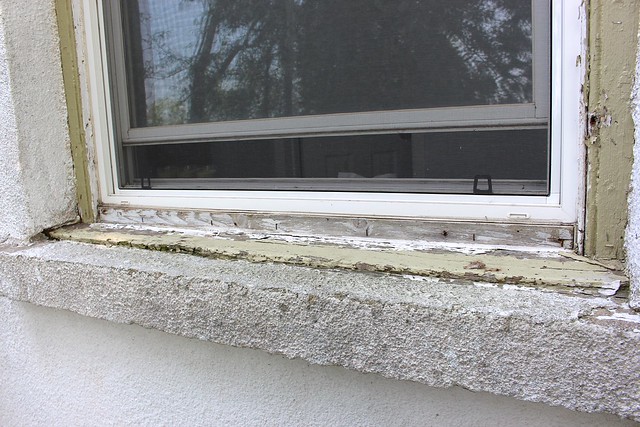
In areas where the boards were rotten, we replaced them with new boards and caulked them. We only needed to add flashing to one window ledge, and my dad was able to re-purpose some of the metal roof from the old ice hut to do it!
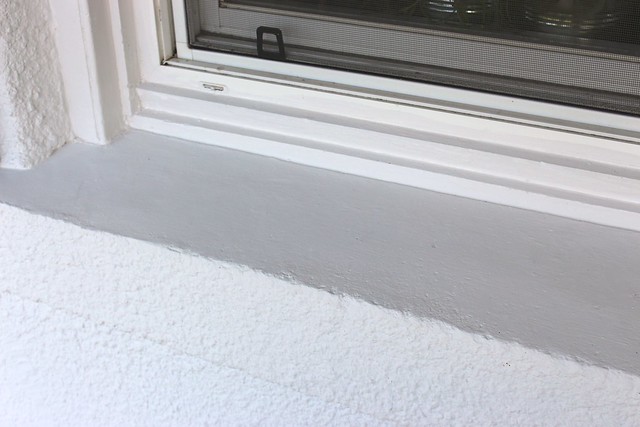
I can’t get over how much nicer the window frames look. So fresh and clean!
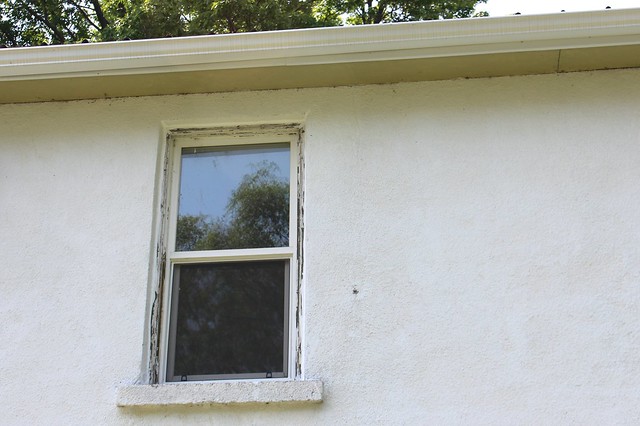
As you can see in this picture, the soffit (green part) was in rough shape and didn’t really sit flush with the wall. In some areas the gap between the soffit and the wall was almost an inch wide.
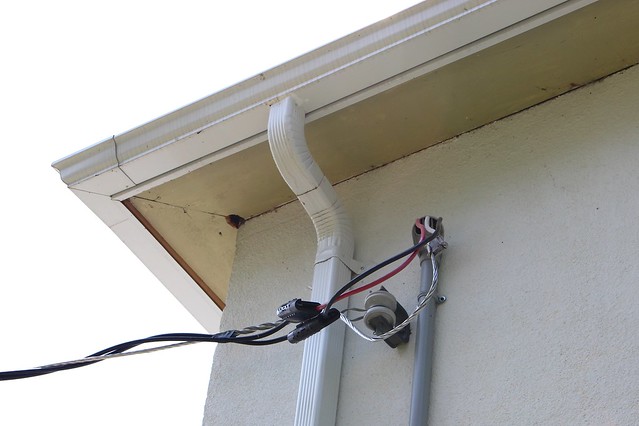
At the corners there was also evidence of animals chewing their way through over time. My dad came up with an awesome solution to both problems – add some trim!
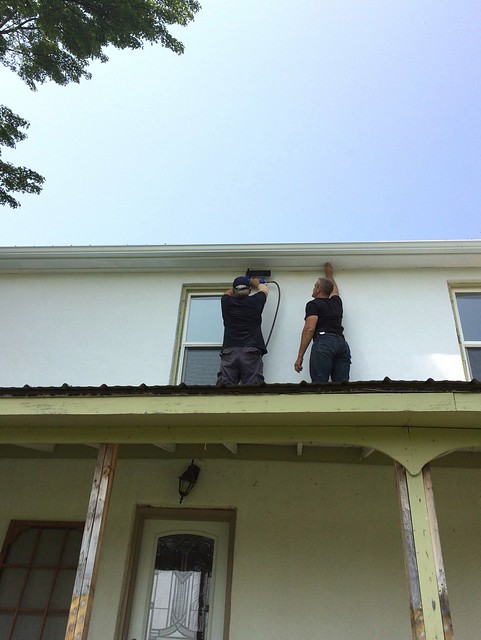
First he cut square pieces of that same old ice hut metal roof and used that to cover the rodent holes at the corners. He and Garrett ran 1×4 8 ft pine boards through the saw and stripped them down to about 3 inches. Then we primed and painted them before they were attached with a nail gun to the soffit.
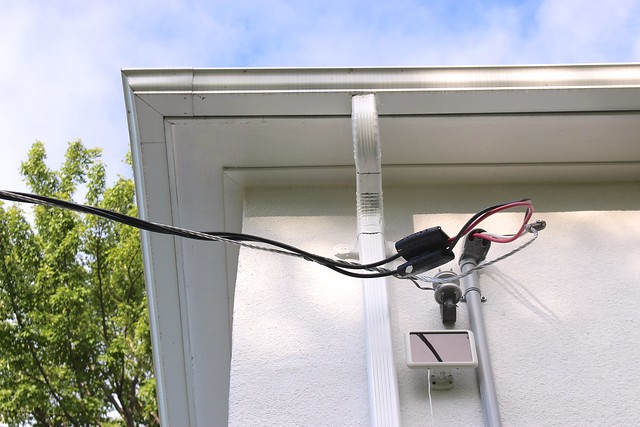
After they were put up, Garrett caulked the seam where the trim met the wall and where it met the soffit, to create a clean line. Everything got one last coat of Behr Marquee Semi-Gloss Exterior Paint in the Cameo White.
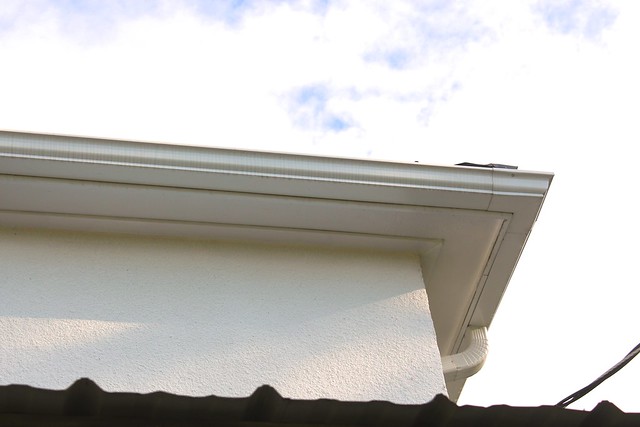
It was a simple fix, that makes the whole soffit line look much more polished. You can’t even tell that it wasn’t like that all along!
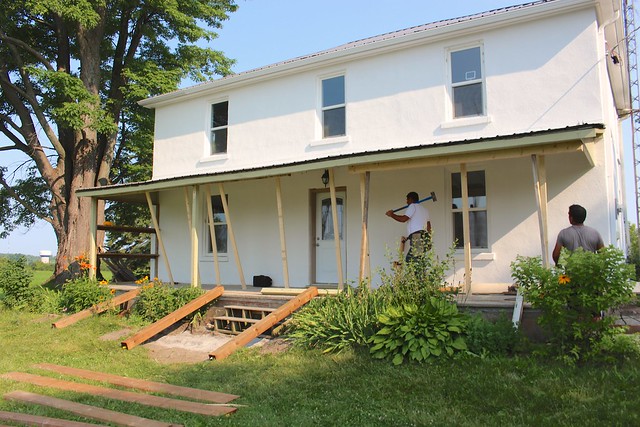
On our second weekend of painting, our contractor started working on the porch restoration. We’d already done the prep work, including tearing down the lattice fence, pulling out all the old cedars, breaking up the concrete step and leveling out the ground for the new front steps.
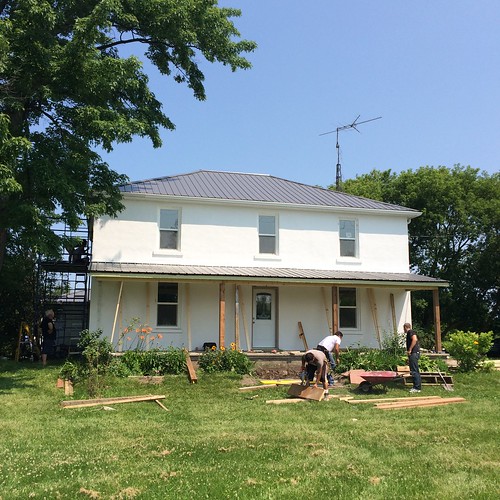
Using our porch restoration design, he replaced the beam, straightened out the roof, added four new posts and a new set of wide wooden steps to the front. Before the snow gets here, he’ll be back to cover the beam and post with pine boards we’ve primed and painted, add the trim and build another set of steps for the right side of the porch.
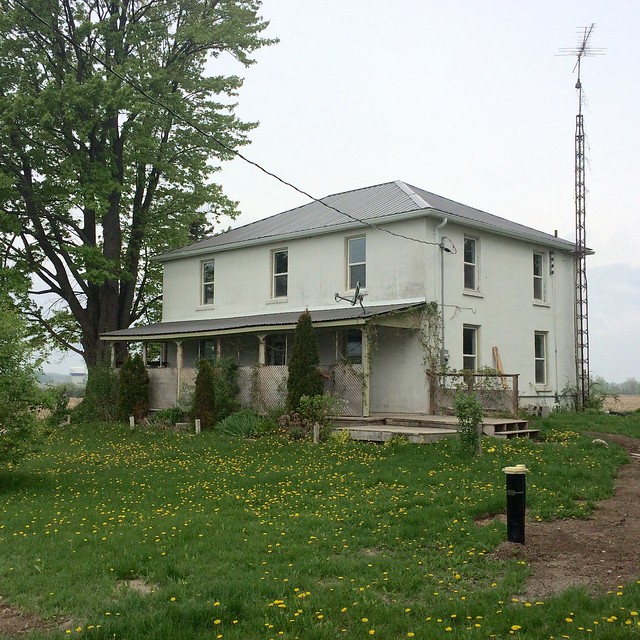
CLOSING DAY
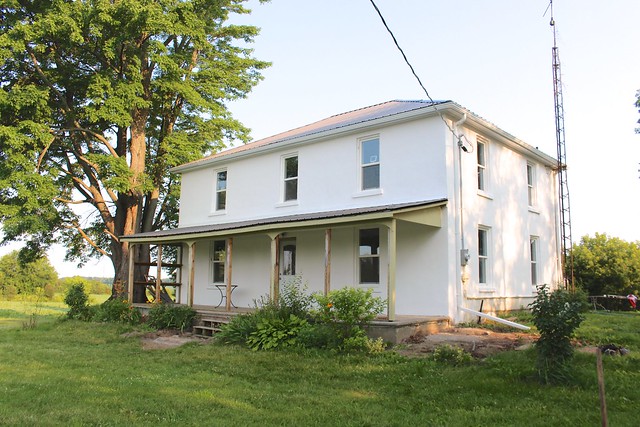
AFTER PAINTING
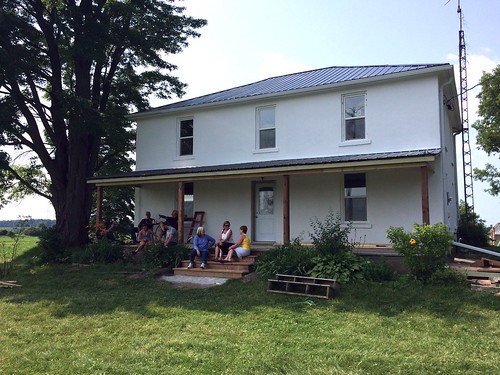
NEW PORCH AND STEPS
/ / /
Painting the stucco and windows, paired with the porch restorations was an even bigger improvement than we imagined. Up next came the custom made shutters we built and painted. Stop by tomorrow for all the details!

Great job . It looks beautiful!
Thanks Fay!
Wow! Great work. Amazing what some paint and hard work can do.
wow girl!! its amazing what paint can do! i mean, really!! cannot wait to see the shutters!
Thanks! You can check them out here!