In yesterday’s post (part one), I shared how my family built the chicken coop for me as a surprise for my birthday. Once we got it to the farmhouse, we had to start thinking about where it was going to go and how we wanted to modify it once we started to learn more about chickens.
/ / /
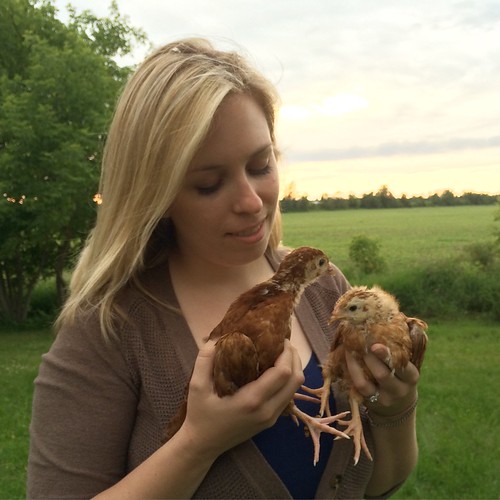
By this time, the chickens were at that really awkward teenage phase around four weeks. In a week’s time they were going to be ready to move out to the coop and it needed to be ready for them.
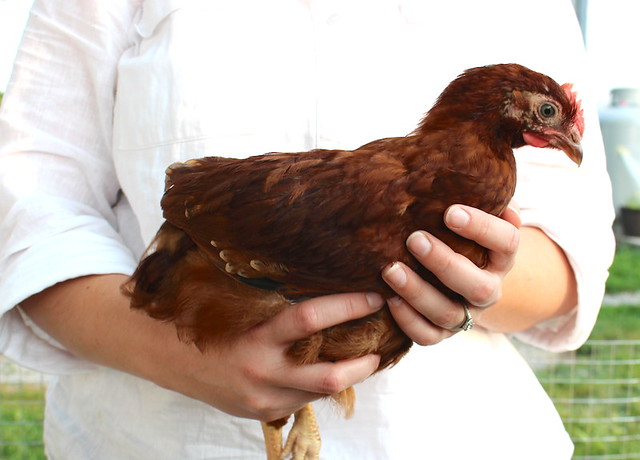
By seven weeks they really started to look like chickens, or in the case of this one – a rooster!
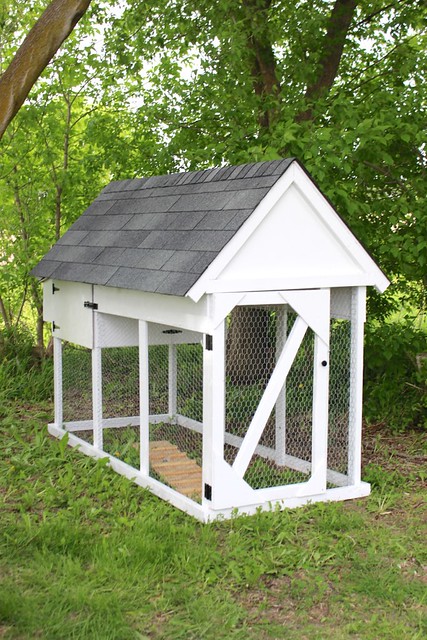
While the chickens lived in the mudroom, we debated where to put the coop. It needed to be somewhere we could see it from the house, that has some shelter from the elements too. We decided on the area just beside the old springhouse we’re restoring. It gave them some shelter and we could build a larger run around the coop to let them be free range while we’re outside.
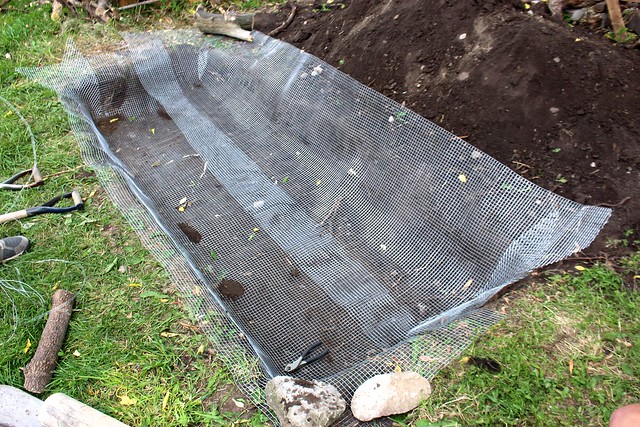
Once the area was cleared, we dug a 12 inch deep hole in the footprint of the coop (3 ft by 8 ft) and lined the bottom and sides with hardware cloth (a type of wire fencing). This would prevent any predators from digging into the coop from underneath.
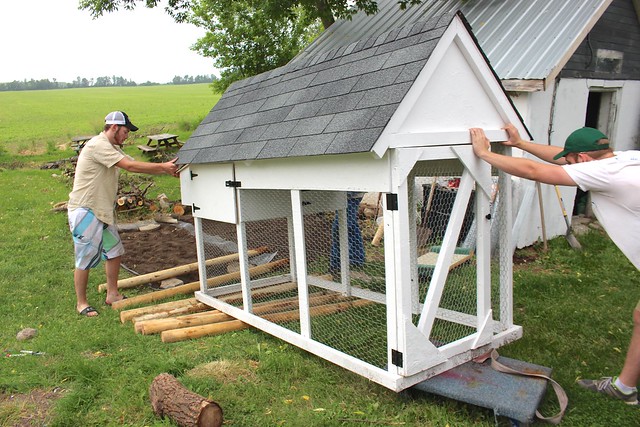
Then we filled the hole back up with dirt and moved the coop over top of the hole. We used fence posts, furniture dollies and a couple of college boys to get the coop in place.
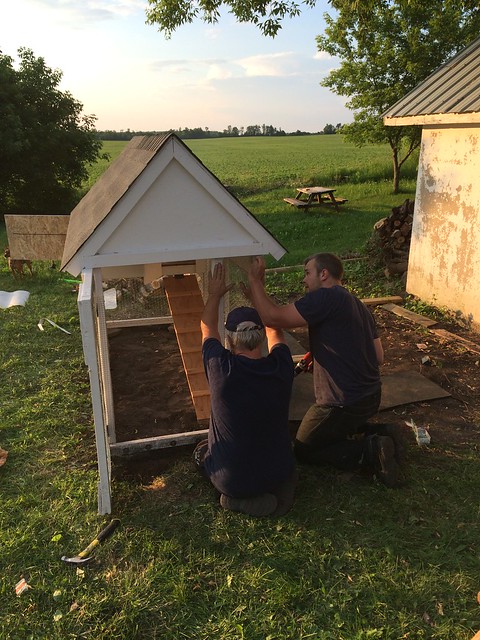
The edges of the hardware cloth were then attached directly to the coop so that there were no small points of entry anywhere. We then covered the outside of the coop in hardware cloth again, as we’d read horror stories of chicken owners finding their whole flock dead from predators chewing through the chicken wire.

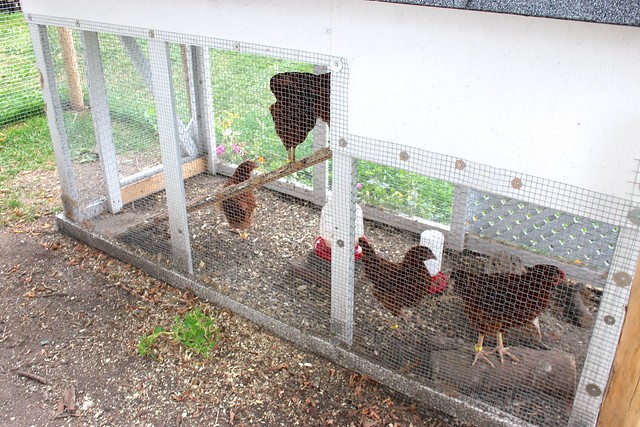
This is how the chicken coop looks now. The chickens have the coop and their roost during the day and then when we’re home and outside, we can let them run around in the larger chicken run enclosure.
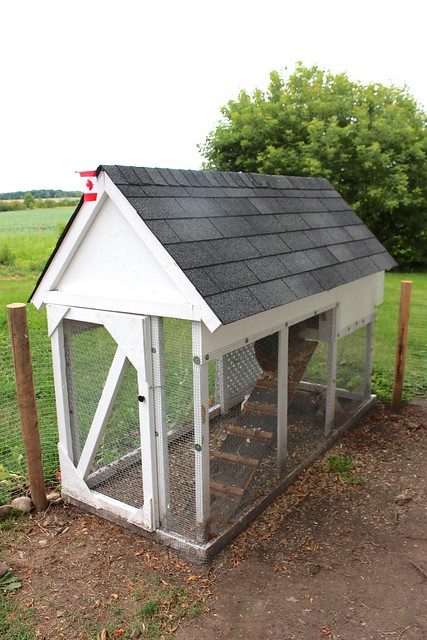
They were a little nervous the first day we put them in there, but now they love it.
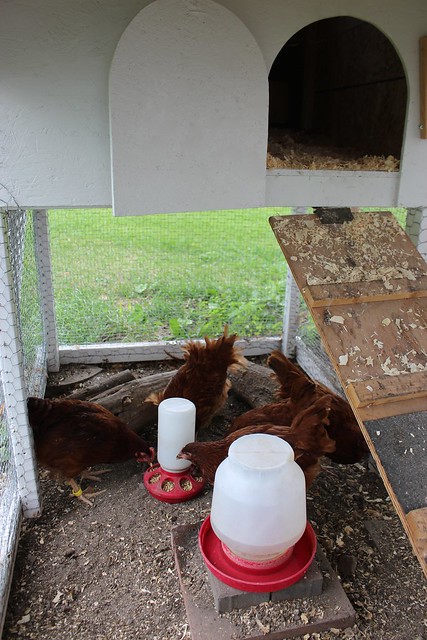
In the morning they all come running out to get their breakfast. Garrett put some old patio stones we found around the yard in there for the water to be elevated. It keeps them from getting it covered in dirt all day.
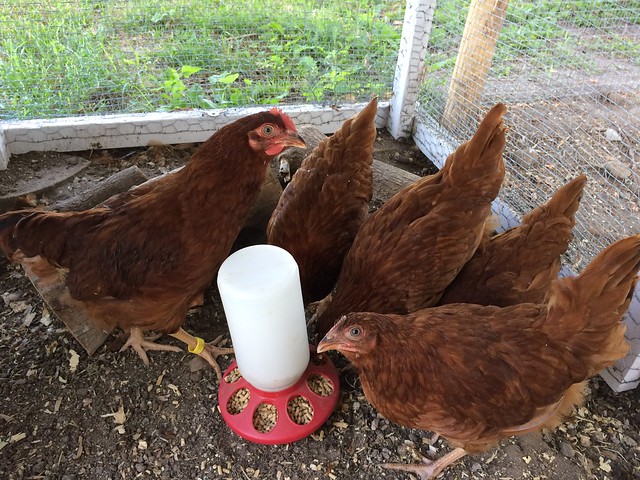
They look kind of ticked off that I’m taking a picture of them eating, but really it’s just the sound of my camera shutter. They always stop to hear it.
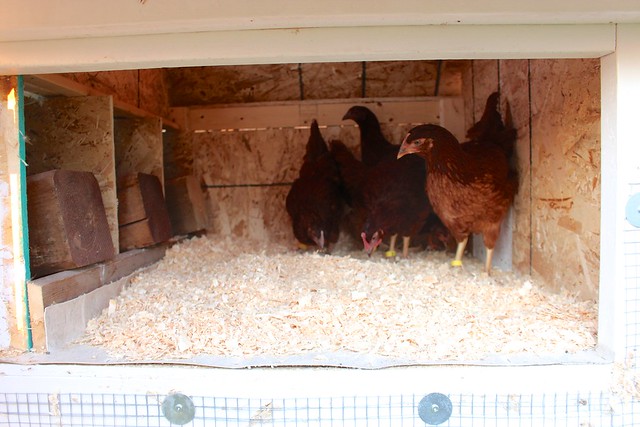
Up in the house, they have the three nesting boxes on the left, which we’re keeping blocked until they’re ready to lay eggs. I read that you don’t want them to get into the habit of sleeping in them, so for now we’ve blocked them with some wooden blocks. In the next few weeks, I’ll set up their nests in there. Right now they are sleeping on the pine shavings, but we’re looking at building them a roost (a wooden beam across the top) for them to sleep on instead.
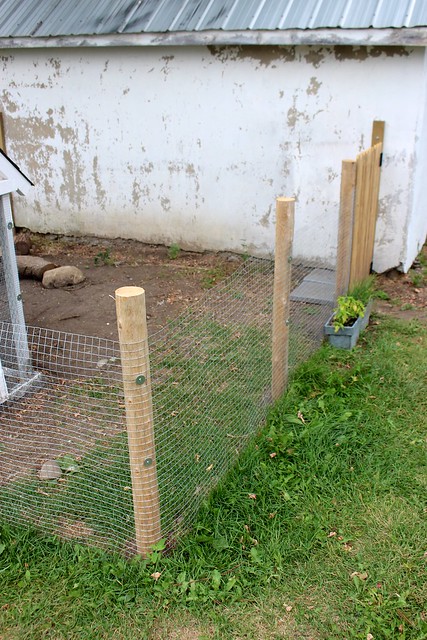
For the run, we used 6 ft cedar posts that connect the larger hardware cloth fencing to the springhouse.
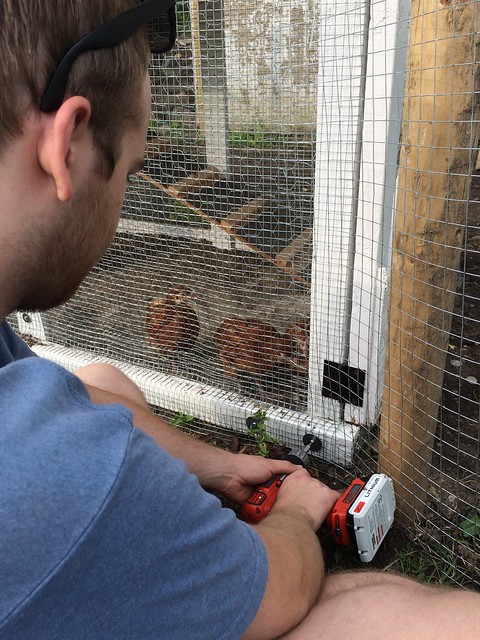
My dad and brother were a big help getting it put together. As you can see, they always had an audience when they worked!
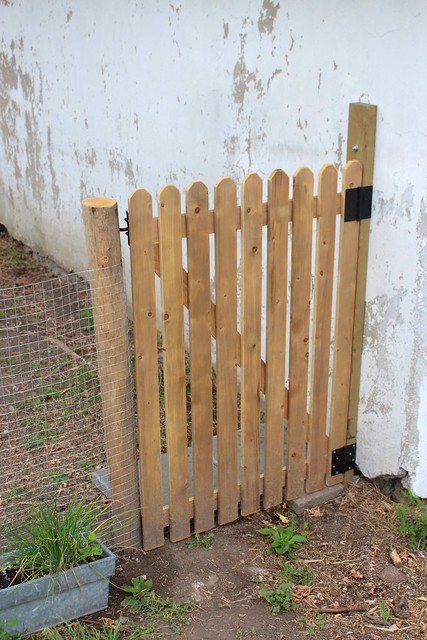
To make it easier to get into the run, my dad built us a cute garden gate using scrap wood from another project. It’s one of my favourite things now!
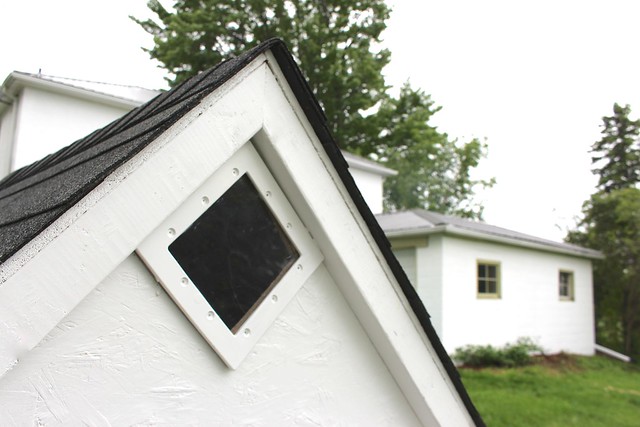
To give the chickens some light in the mornings, we added this little window to one end. It’s actually the frame for my parents’ old pool skimmer. My dad was going to throw it out but then realized it could work for this. He cut a piece of scrap plexiglass to fit it. Talk about reusing! I gave it a quick coat of the same exterior paint as the coop, to help it blend in.
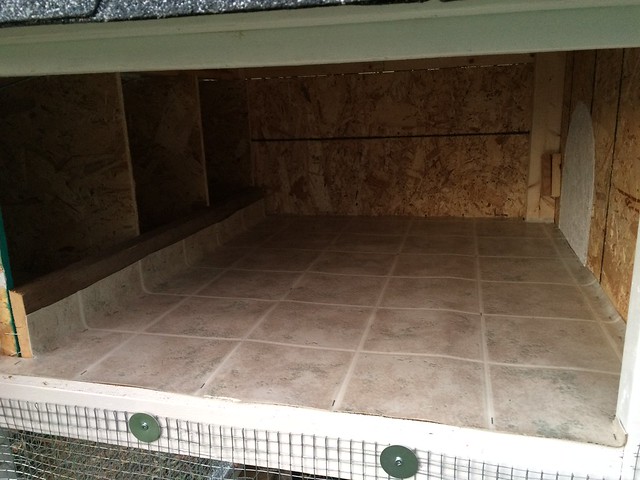
To make it easier to clean their house, my mom picked us up a scrap piece of linoleum to line the plywood floor.
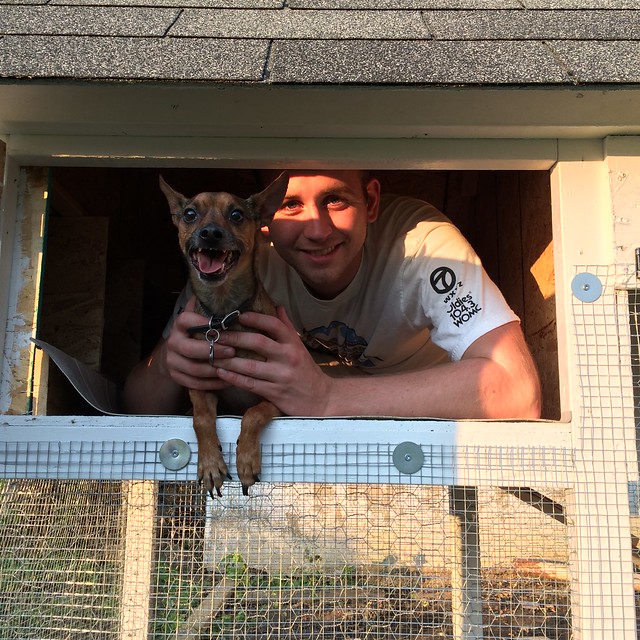
My brother and Whiskey hopped in there to help us staple it in.
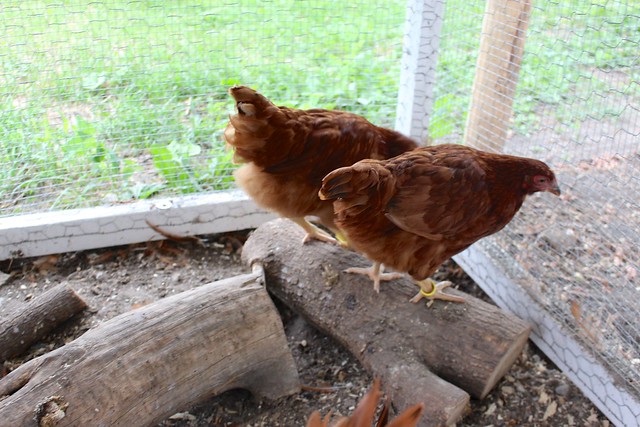
To give the chickens a little bit of variety and keep them from being too bored (which can lead to them attacking each other…for real), we’ve been moving around some logs in there. They seem to love climbing them or using them as a roost to nap.
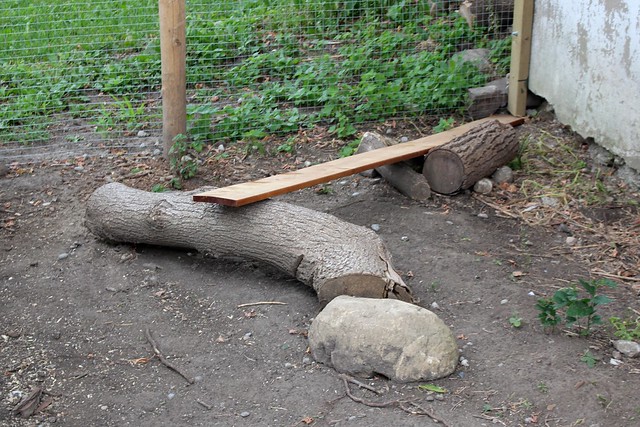
Out in the run, Garrett put together a “playground” for them, complete with a seesaw like contraption. They seem to love going right to the edge and using it like a pirate’s plank to push each other off. As you can see, we’re having lots of fun with them. Yes, they’re for eggs but they’re pets too.
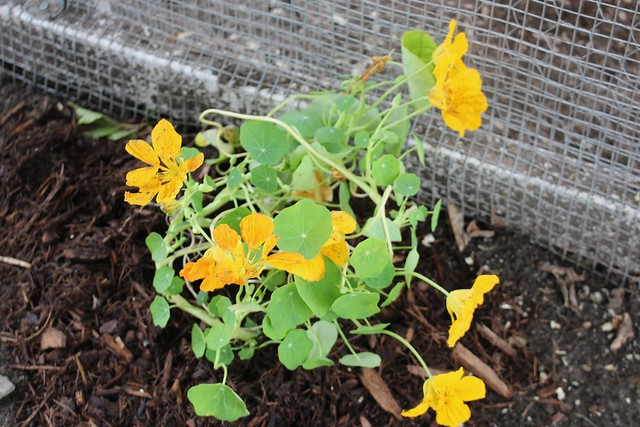
After reading up on safe plants for chickens, we planted a bunch of them in the run…

…but quickly learned that they’ll happily pick off every single bloom they can.
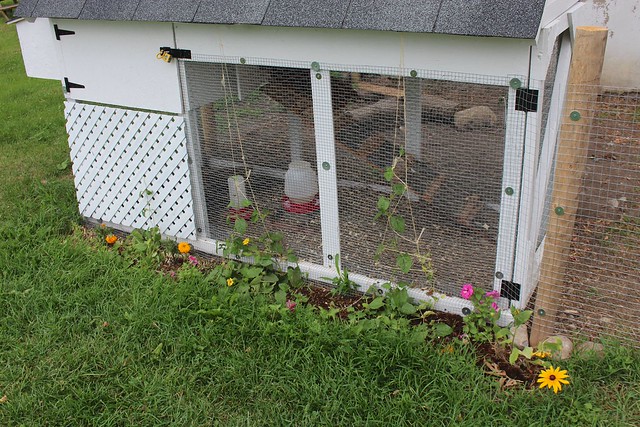
On the outside of the coop, my mom planted a cute garden of more chicken-friendly plants, but they were nipping them all off as the vines climbed the wire. The solution was to hang some twine, that seems to be helping the flowers now. I’ll have to start this much earlier next summer. On the left you can see where we hung up a piece of lattice (salvaged from the stuff I tore off the front porch). This has been great for giving them some shade on the really hot days. I also have been giving them frozen strawberries floating in cold water as a treat on the really hot summer days to keep them cool.
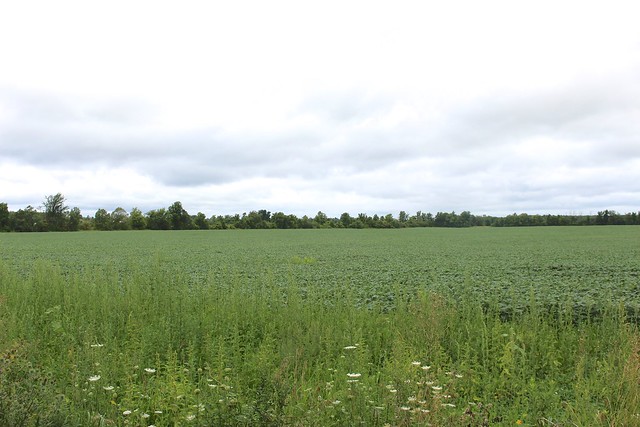
Life can’t be too bad for them with a view like this.

A big thank you goes to my family for starting me on this whole journey and continuing to help us navigate life as chicken owners. It been fun so far…and we haven’t even gotten any eggs yet!

This is so neat! Lots of work involved up front, eh? Hope you get lots of eggs 🙂
P.S. I’m in Ontario too, near Cambridge, one day we hope to also move out into a more rural environment!
Lots of work, but lots of fun too 🙂 We should get well over a thousand eggs every year so I better learn how to make omelets soon!
There are some beautiful rural areas out near Cambridge. I fell in love with Elora when we were out there for a camping trip at the gorge a couple of years ago.