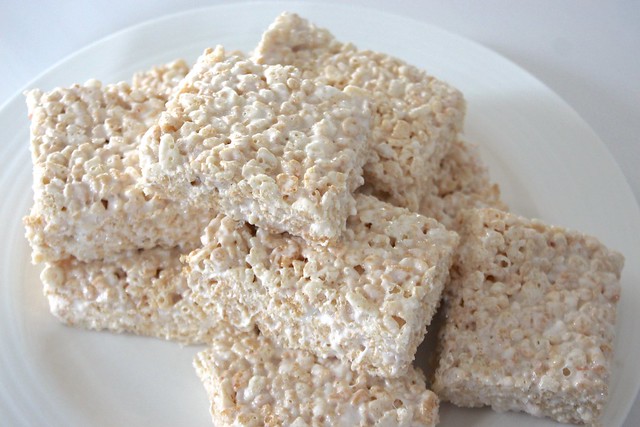
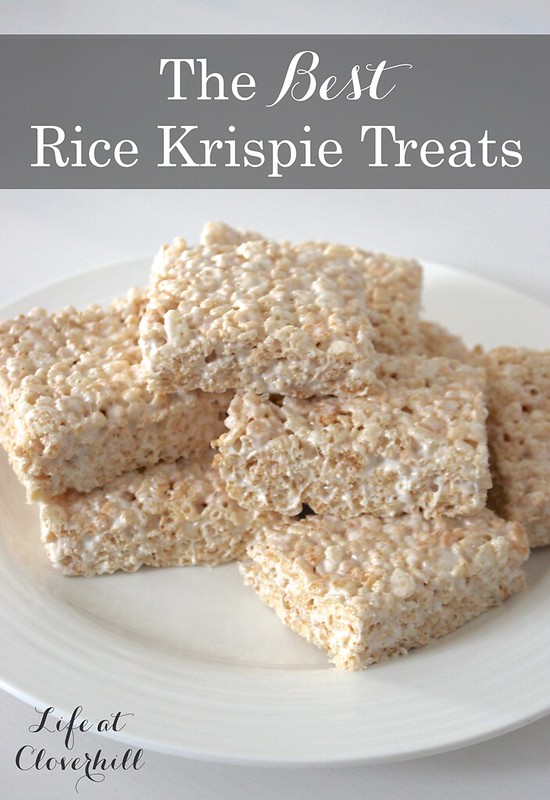
There is something about Rice Krispie Treats that brings back nostalgic childhood memories. I can remember coming home from school to find a batch waiting for us on the counter. They’re an easy to make, no-bake treat…and they just taste so dang good. When I was in university, it was one of the few things we could make with just a microwave and they always came out just right.
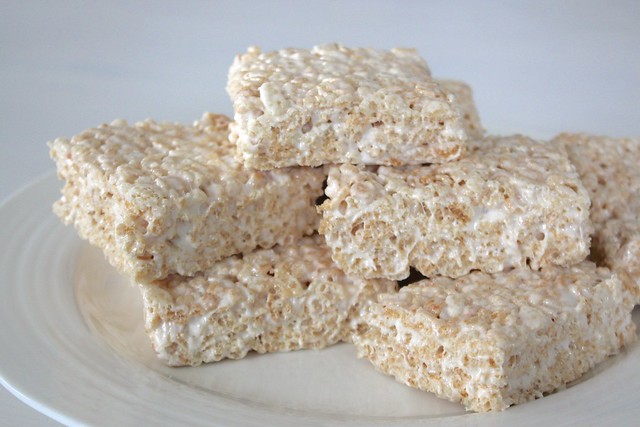
Over the years, I’ve made my own little tweaks to the recipe on the box and I thought I’d share them with all of you. I like to add a higher ratio of marshmallows, extra butter, vanilla and a little pinch of sea salt sprinkled on top to bring out the sweetness. I’ll make a batch every once and awhile to tuck into our lunches or as a simple addition to a Sunday afternoon picnic. For the best results, always use fresh marshmallows and cereal!
- ¼ cup butter
- 50 large marshmallows (or 5 cups of mini marshmallows)
- 1 tsp vanilla
- 6 cups Rice Krispie cereal
- pinch of sea salt
- In a large microwave-safe bowl, melt butter for 1 minute. Stir until melted.
- Meanwhile, grease a 9" x 9" pan and line with parchment paper.
- Add marshmallows and toss until coated in butter. Microwave for 1 minute; stir and then microwave again for 45 seconds. Add in vanilla and stir until smooth.
- Add in half the cereal and mix well. Add in remaining cereal and stir until combined.
- Press into prepared pan. Wet a spatula and use it to press the mixture into the pan, firmly. This will help them stick together.
- Sprinkle top with sea salt and gently press into top.
- Let treats cool to room temperature, then lift from pan with parchment paper and cut into 12 squares. Store at room temperature in an airtight container for up to two days.
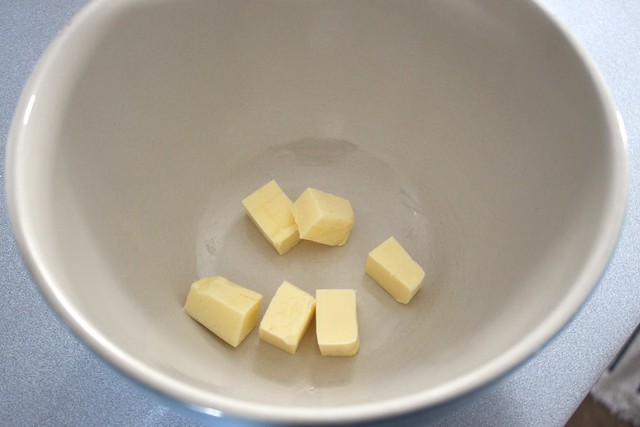
In a large microwave-safe bowl, melt butter for 1 minute. Stir until melted.
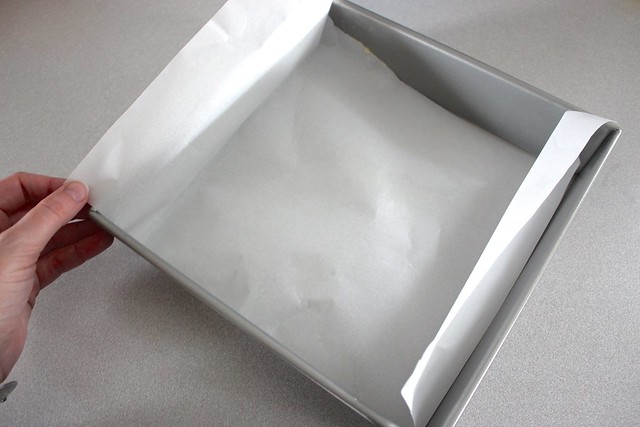
Meanwhile, grease a 9″ x 9″ pan and line with parchment paper.
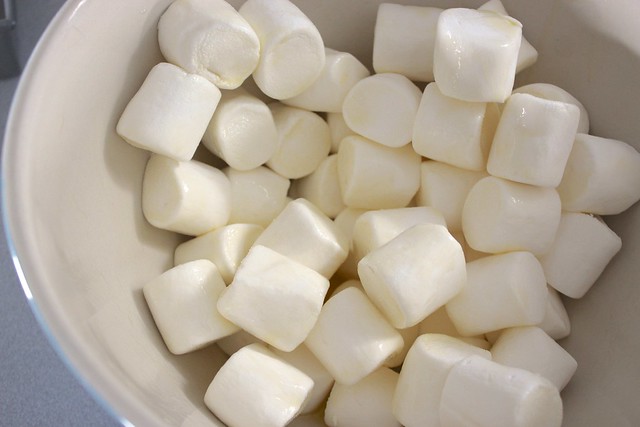
Add marshmallows and toss until coated in butter.
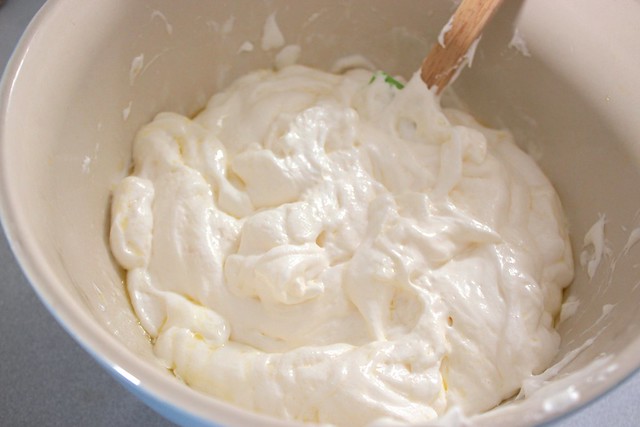
Microwave for 1 minute; stir and then microwave again for 45 seconds. Add in vanilla and stir until smooth.

Add in half the cereal and mix well. Add in remaining cereal and stir until combined.
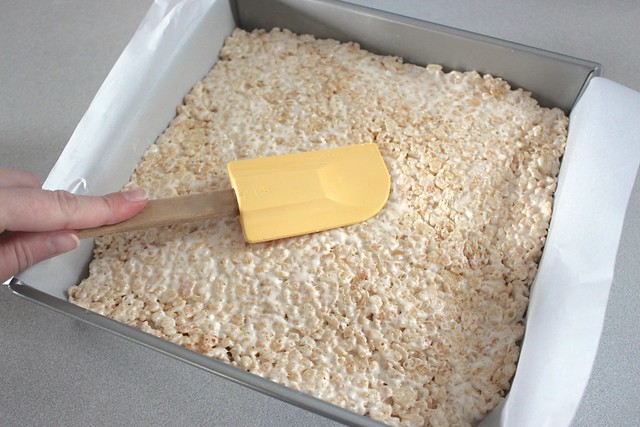
Press into prepared pan. Wet a spatula and use it to press the mixture into the pan, firmly. This will help them stick together.
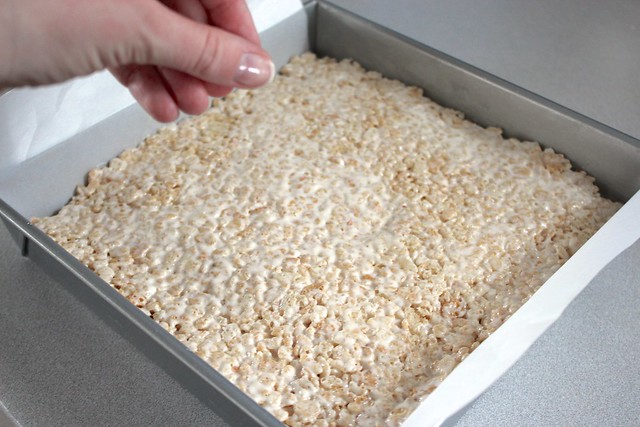
Sprinkle top with sea salt and gently press into top.
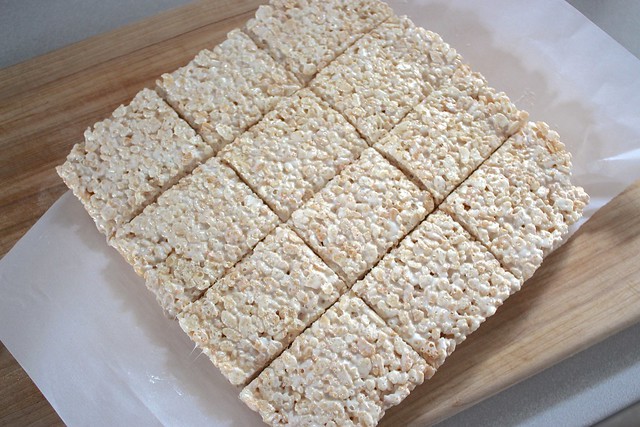
Let treats cool to room temperature, then lift from pan with parchment paper and cut into 12 squares. Store at room temperature in an airtight container for up to two days.

My favorite! Thanks for sharing!