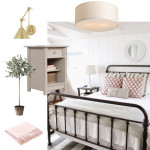
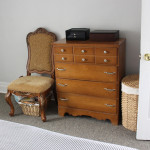
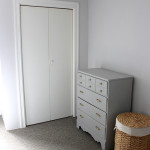
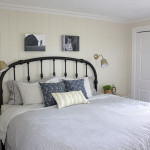
For those who are just catching up, I’m making over our master bedroom at the farmhouse as part of the One Room Challenge hosted by Calling It Home. We’ve got six weeks to take the space from a boring box to the beautiful serene oasis that we long for. In week one I shared the plan and inspiration, and last week I gave some updates on the furniture.
With the Easter weekend, we had some time to work on the room, but our little Lucy got sick near the end and it’s been a rough week for all of us. Between sleepless nights and a baby who wants to be held all day, I’ve had to put the hammer and paintbrushes aside and focus on getting her better. Let’s hope she’s in good spirits by the weekend so we can check more things off the list.
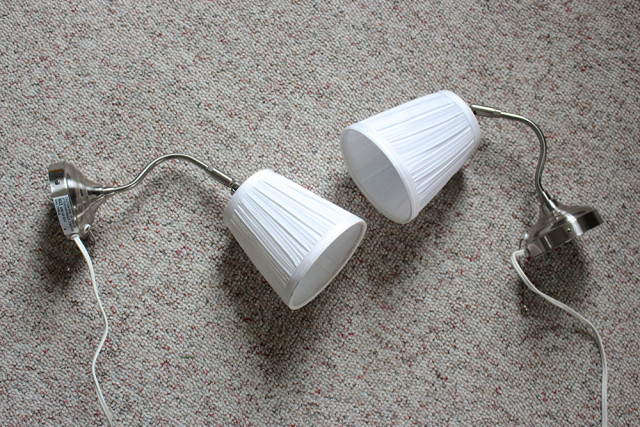
One project that I did get the chance to work on a little bit was updating these ARSTID wall lamps from IKEA, as I mentioned last week. Back when we lived in our apartment together, I’d hung up these wall lamps on either side of the bed. When we moved to the farmhouse, we really didn’t know what we wanted to do with the room and decided to wait and see before we started drilling holes in the plaster.
I’d seriously debated just replacing them with new brass ones, like the ones I showed in the inspiration board in week one. All the brass swing arm wall lamps I could find were $250+ EACH!….so very quickly it became apparent that I needed to find a way to update the ones we already had in storage.
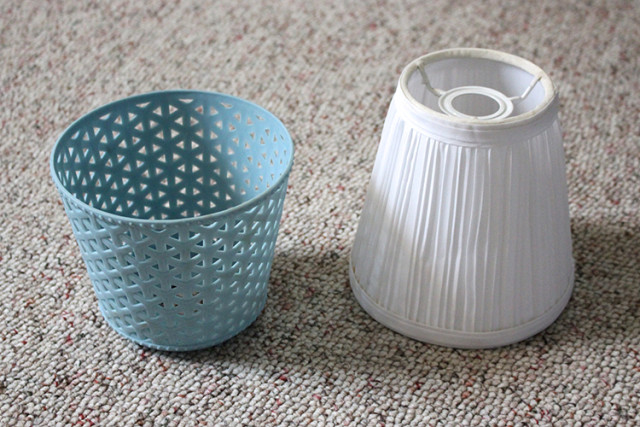
I’d seen hacks where you can take the lamp shade and pull off the fabric to spray paint it…but when I tried that the whole thing fell apart and was covered in glue. That’s when I got the idea to replace it. Originally I was looking for a metal planter, but I couldn’t find anything that was the right shape. Then a quick trip to the dollar store proved to be helpful when I found this plastic geometric planter for $1.50 each. It was the perfect lamp shade shape and I loved the interesting patterns.
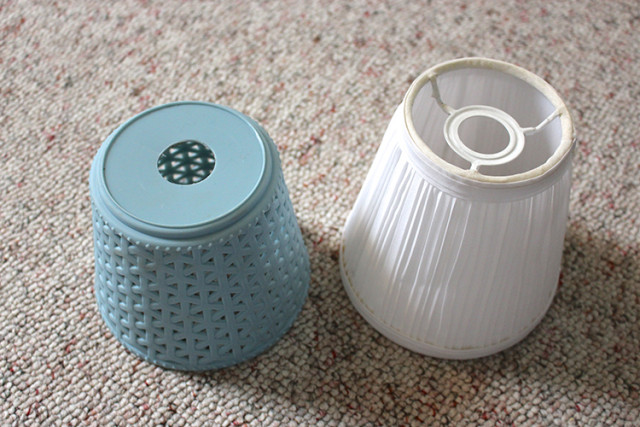
Using a hole saw, my brother helped me drill a hole on the bottom that matched the one from the original lamp shade. He had popped over for dinner and little did he know he’d be put to work on a DIY project the second he came through the door, ha!
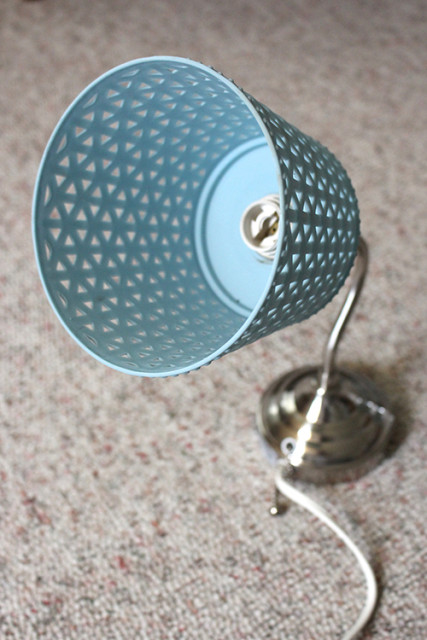
The shade was a perfect fit and attached to the light bulb socket with the original threaded collar.
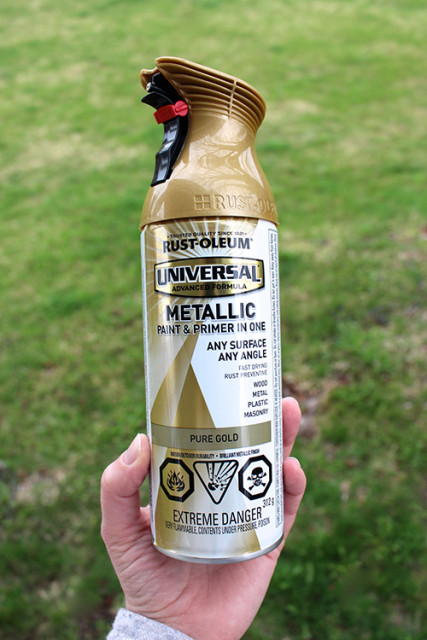
I decided to do one quick coat to see about the colour. I originally had planned to use Rustoleum Universal Metallic Spray Paint in Antique Bronze, but I debated if it was a little too dark for the finish I was going for, so I grabbed a can in Pure Gold.
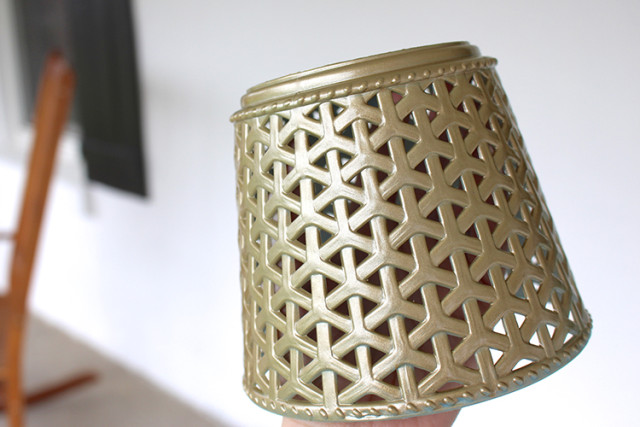
I only did one very light coat, but so far I love it! I’m going to be painting the whole wall lamp to match and I can hardly wait to see it all come together.
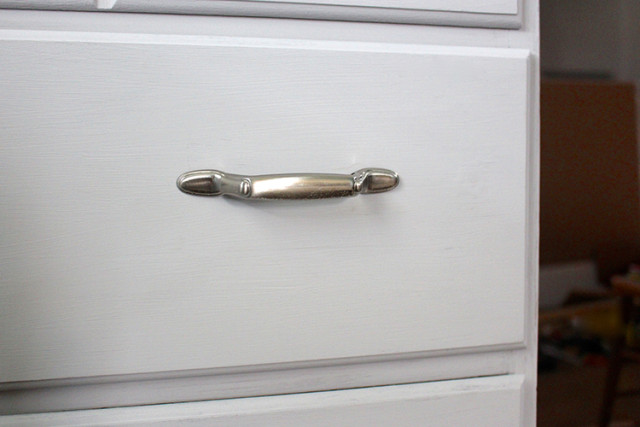
All this talk of spray paint, got me debating again what finish to do the dresser handles and knobs. Back when I originally changed the handles many moons ago, I chose these brushed nickel ones. While I still like the finish, they get kind of lost in the smokey blue-grey paint now.
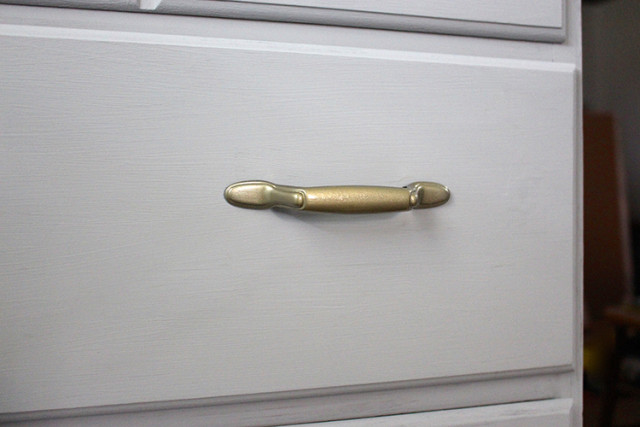
I gave one of the handles a quick shot of the same Rustoleum Universal Metallic Spray Paint in Pure Gold and so far I really like it. I’m pretty sure that the original handles were some kind of a brass colour when I replaced them the first time, so the irony that I’m painting them back to a gold/brass colour is not lost on me.
The other big news from this week – our trim, moldings, feature wall and new closet doors from Metrie arrived this week. I’m SO EXCITED to get started on it this weekend because this will be what really transforms the space. I’ll be sharing some sneak peeks on Instagram and Instagram Stories this weekend, so be sure to follow along!

Be sure to stop by every Thursday for the next six weeks to get an update on the progress. Check out the One Room Challenge blog to see all the other participants as well.
Disclosure – Rustoleum generously provided me with their paint products to review. All opinions are my own.
/ / /
Farmhouse Master Bedroom One Room Challenge:
- One Room Challenge Week 1: Farmhouse Master Bedroom Inspiration Board
- One Room Challenge Week 2: Furniture Updates
- One Room Challenge Week 4: Bringing Back the Character
- One Room Challenge Week 5: Spackle and Spray Paint
- One Room Challenge Week 6: Farmhouse Master Bedroom Reveal
