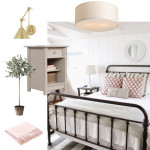
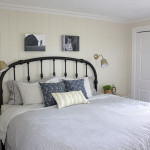
Welcome back for week two of the One Room Challenge! Over six weeks, I’m updating our Farmhouse Master Bedroom and sharing my progress throughout the makeover. Last week I showed before shots, as well as the inspiration and plan. This is my first time participating in the challenge and so far I can see why so many bloggers do it. Having that weekly deadline to share your progress is incredibly motivating.
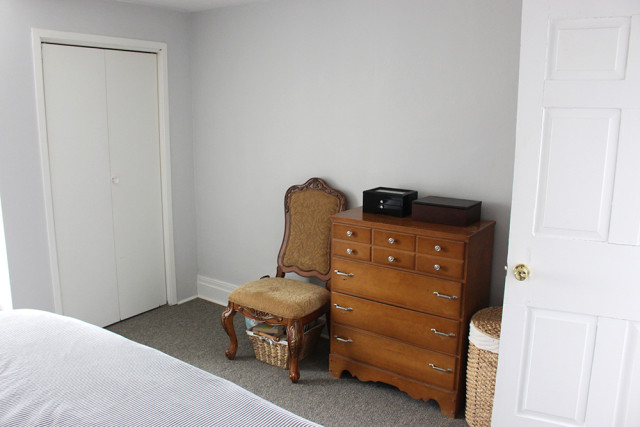
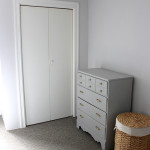
When I shared the before pictures of the master bedroom last week, I forgot to show you this side of the room. It is directly opposite the bed and has my closet, our shared dresser, the hamper, (another) basket of books I hope to get to someday and a big chair that I’ll admit holds a pile of clothes on it more often than not. I originally liked the chair when we first moved in, but over time I realize it’s just become a dumping ground for laundry. I’m unsure yet what I’ll replace it with, but for now it’s out.
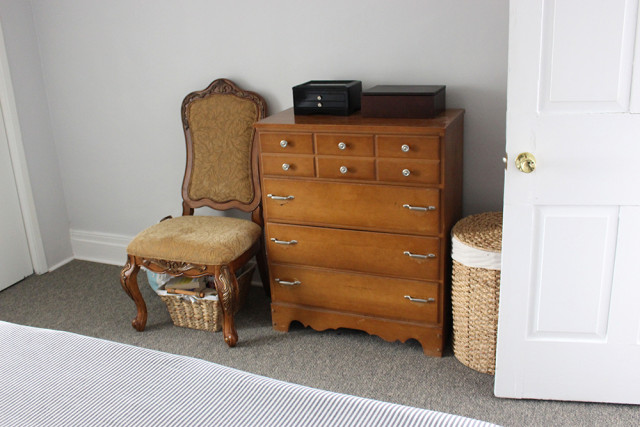
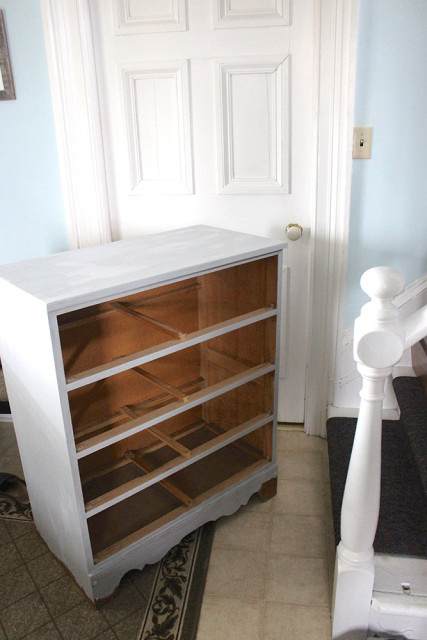
While it would have been easy to just find a new dresser, this one is sentimental. It is one of the few things I have from my Poppa. He passed away the month before I left for university and this dresser has traveled with me everywhere I’ve lived ever since.
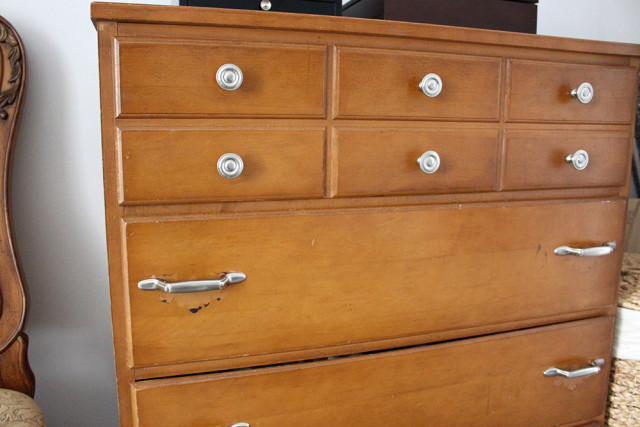
Back when I had my first apartment in the city, I swapped out the old handles for these newer nickel ones.
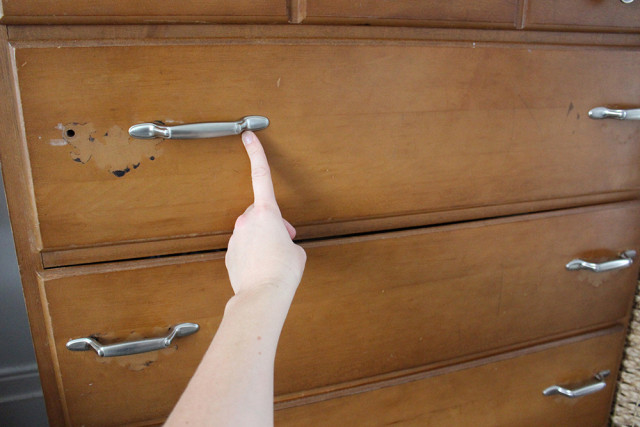
It’s always bothered me that the handles were so far on the sides, but I didn’t want to drill new holes until I knew I was going to refinish it. By taking out one screw and then pivoting the handle, I could see that it would look much better with the handles coming in a bit with a new hole.
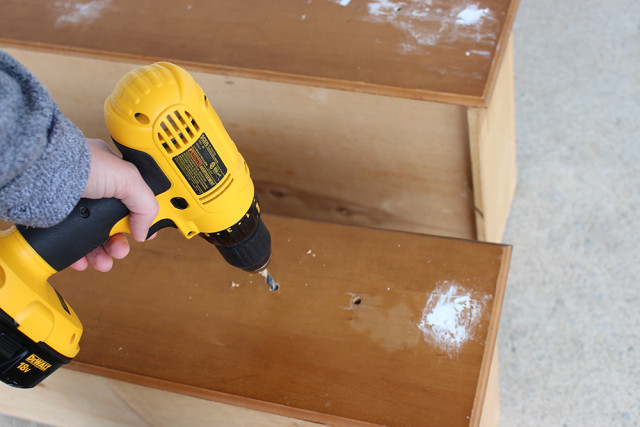
The handles are 3″ apart, so I marked one new hole for each handle (I could use the other hole still) and then filled the old outer one with layers of wood filler. I took the time to fill in any gouges on the rest of the dresser too.
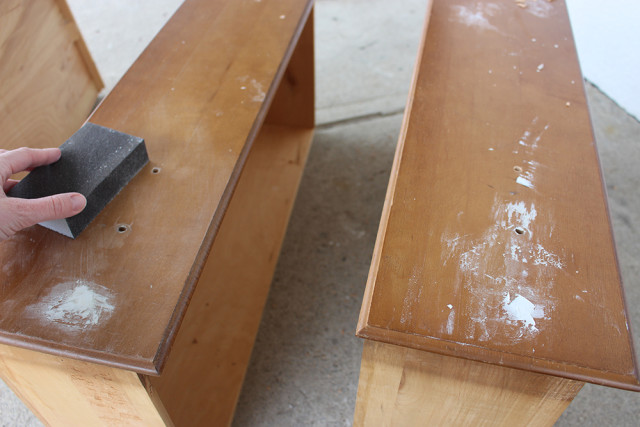
After the wood filler had dried, I used a fine sandpaper block to remove any excess and to give the whole dresser a light sanding in preparation for painting.
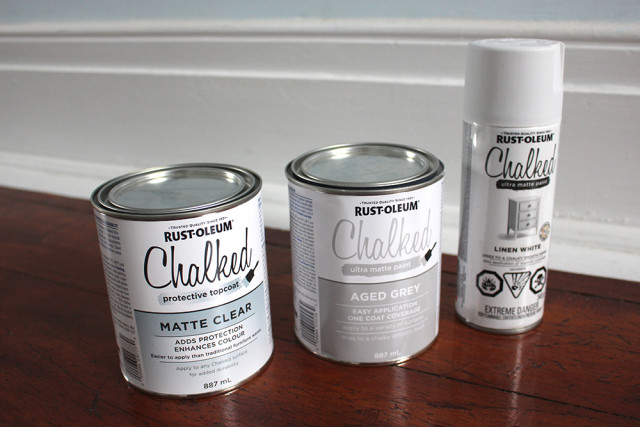
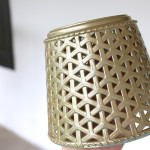
Rustoleum sent me some of their Chalked Paint to try and I’ve been itching for a project to use it on. I love the rich matte look you can achieve with chalk paint and this product has been so easy to work with. I’ve tried using messy waxes in the past and the Chalked Protective Coat helps you keep the matte finish while still protecting your piece. I went with Aged Grey for the dresser and a spray can of Linen White for some accessories I’m painting too.
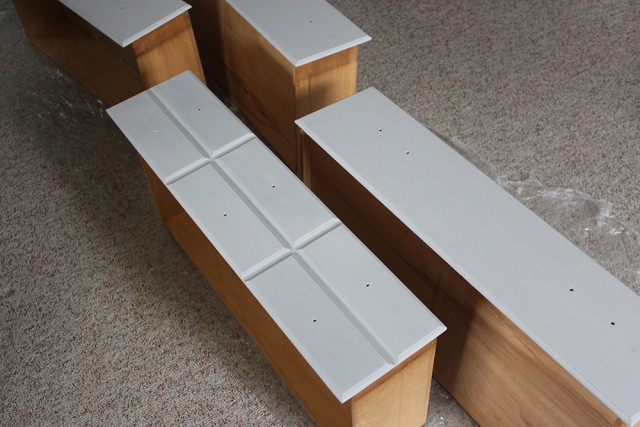
I’m loving this Aged Grey colour and I’m so pleased with the coverage.
I did two light coats of the Chalked Paint, followed by two coats of the Protective Topcoat. My big question now is – do I keep the handles nickel or do I paint them a different finish?
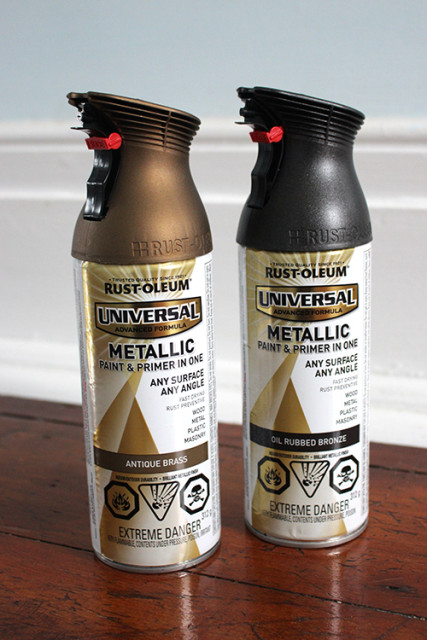
Oil-rubbed bronze like the headboard, antique brass like the lamps or do I keep them nickel?
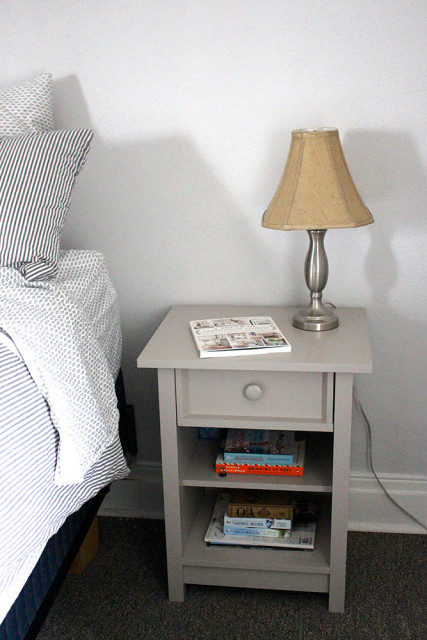
One of the reasons I chose the Aged Grey for the dresser is because we have new nightstands from Hayneedle that are a lovely warm grey as well. If you saw our old cluttered and broken nightstands, last week, you can imagine how excited I was to have these new ones! The cottage nightstand I chose is currently out of stock, but they have so much great selection.
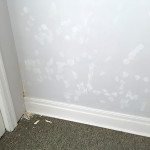
I’m hoping that these lighter coloured pieces will help lighten up our dark room and make it feel more serene and peaceful. Our walls are a similar grey colour right now, but once we add all the trim and the feature wall behind the bed, I’ll be repainting the room too. I’m still deciding on what colour though.
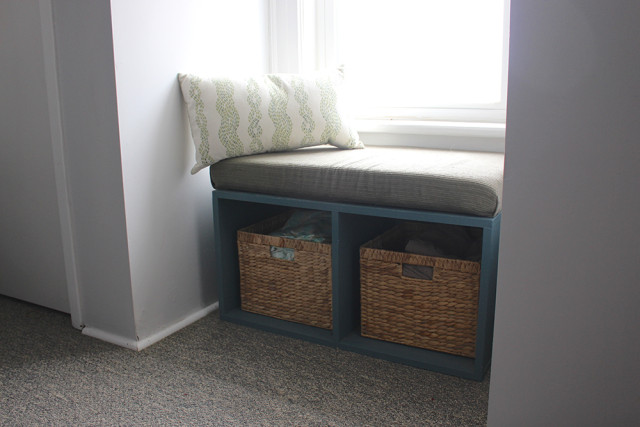
I would like to repaint the window seat as well, but I’m undecided about what colour to use just yet. Do I use the same grey as the dresser? Maybe another dark colour like a hunter green? Or a light linen white? It’ll be getting some new upholstery as well and maybe even slightly larger baskets if I can find them. These ones have always felt too small for the cubbies.
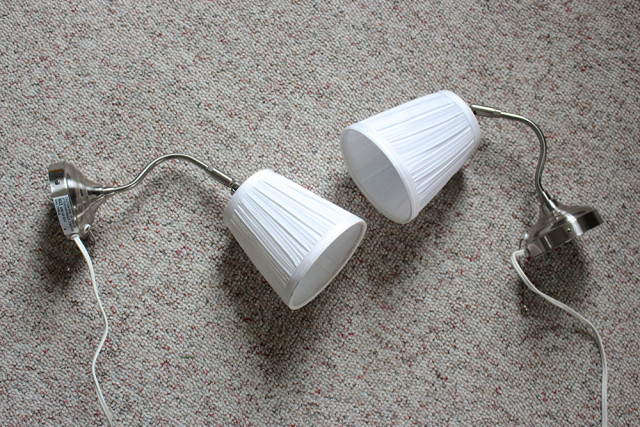
My next project I’m starting this week is transforming these wall lamps from IKEA. You’ll hardly recognize them when I’m done!
Disclosure – Rustoleum generously provided me with their paint products to review. Hayneedle kindly provided me with a discount on the nightstands. All opinions are my own.

Be sure to stop by every Thursday in the upcoming weeks to get an update on the progress. Check out the One Room Challenge blog to see all the other participants as well.
/ / /
Farmhouse Master Bedroom One Room Challenge:
-
- One Room Challenge Week 1: Farmhouse Master Bedroom Inspiration Board
-
- One Room Challenge Week 3: Let There Be Light
-
- One Room Challenge Week 4: Bringing Back the Character
-
- One Room Challenge Week 5: Spackle and Spray Paint
-
- One Room Challenge Week 6: Farmhouse Master Bedroom Reveal

Oh my I absolutely love that Aged Gray color! I definitely vote Oil Rubbed Bronze for the hardware, I think it would make them pop so nicely against that gray.
It’s coming along Amanda! I think moving those dresser handles was a good move, It’ll change the whole look of the piece. Looking forward to how you bring it all together!