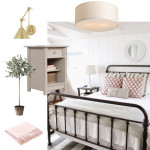
As a quick reminder, over the span of six weeks, I’m making over our master bedroom at the farmhouse as part of the One Room Challenge hosted by Calling It Home. So far I’ve shared the plan, updated some furniture, figured out our lighting situation and started to add new trim.
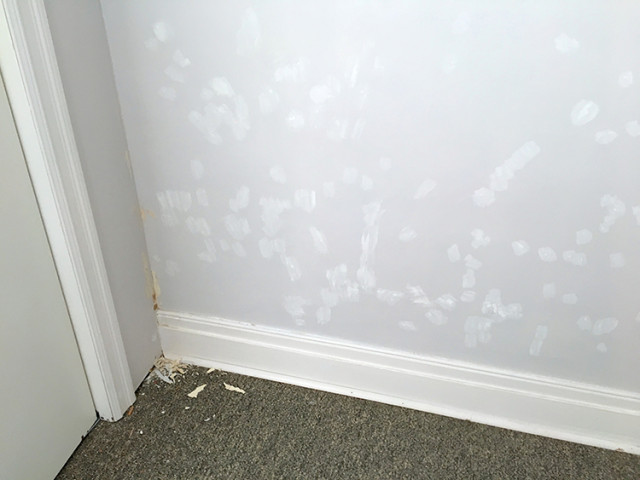
I can hardly type this update because my hands are aching from scraping off decades of old caulking and filling in all the little cracks and holes in our walls. I still need to give everything a light sand before we put the last of the trim up and paint it. Then it will be time to fill in all those little nail holes too.
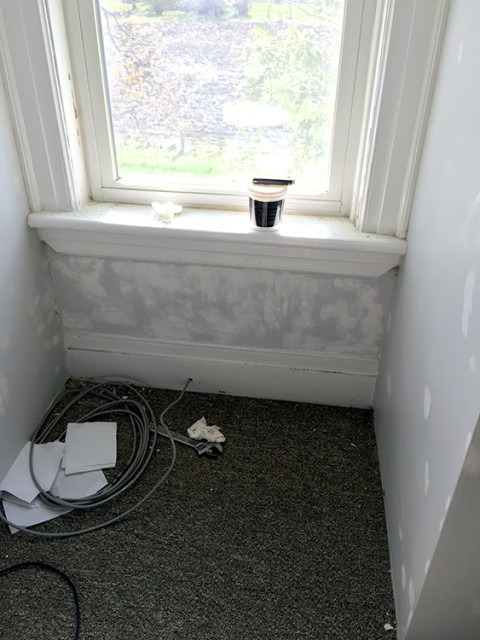
It’s a tedious task, but so far the walls are feeling much smoother. This weekend is our last big push to get things done – putting the final pieces of trim up, painting everything, installing the light fixtures, recovering the window seat and hanging the new closet doors.
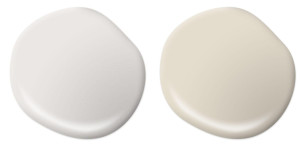
For all the trim and the doors, I’m going with Behr Marquee’s Cameo White. It’s the same colour we used for the white exterior paint around our exterior windows and on the chicken coop. I used it at my parents’ house too when I repainted their basement bathroom trim a couple years back. After going back and forth on a wall colour, I finally decided on a soft stone-beige colour called Varnished Ivory by Behr Marquee. This is darkest room in our house, so I knew I had to keep with a lighter colour. While I do like the light blue-gray colour that the room already was, it was too close to the new colours of the window seat, dresser and nightstand.
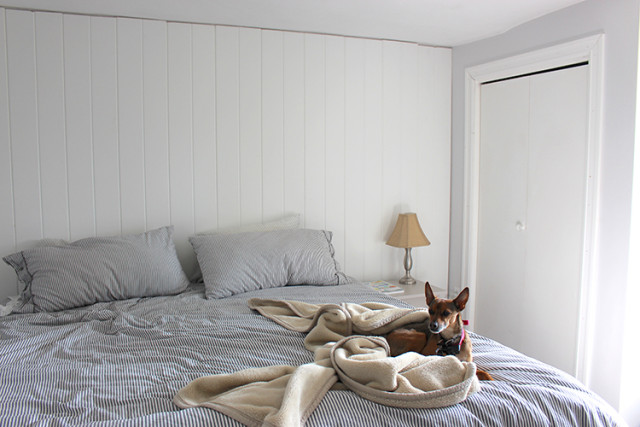
In last week’s update, I shared the plank wall we put up behind where our new bed frame will go. In my original plan, I’d thought of keeping it white, but I’ve decided to paint it in the Varnished Ivory as well.
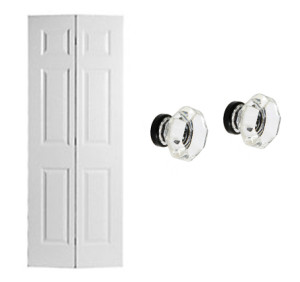
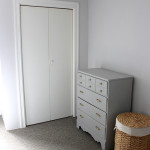
We have these great six-panel bi-fold closet doors from Masonite that Metrie sent me. They’re just waiting to hang up, but in the meantime, I’ve been on the hunt for door knobs to fit the room. Our original bi-fold closet doors had one handle, but I like the idea of adding two handles to the centre to make it look like a french door. These ones I spotted at our local hardware store are glass with a dark oil rubbed bronze base. We’ve painted our bedframe a similar colour so I think it would tie it all in nicely. What do you think?
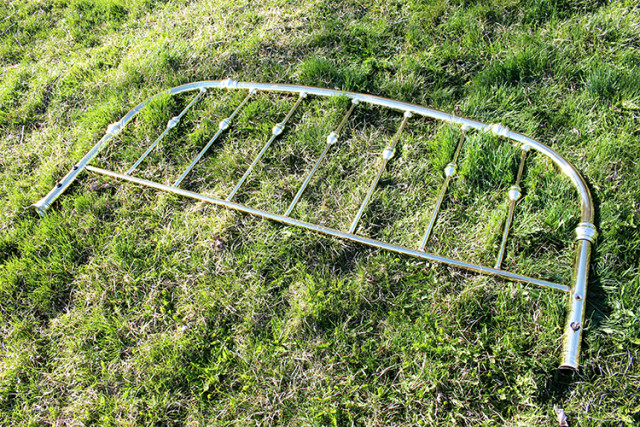
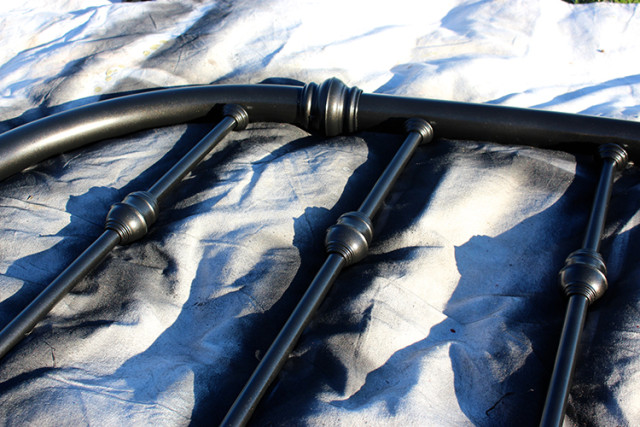
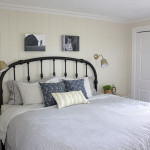
Speaking of our bed frame, we found this king size brass headboard for sale online in a neighbourhood neiarby for $20. We picked it up two years ago before we’d even moved in and it’s sat in the basement ever since, just waiting for the day we spruced it up.
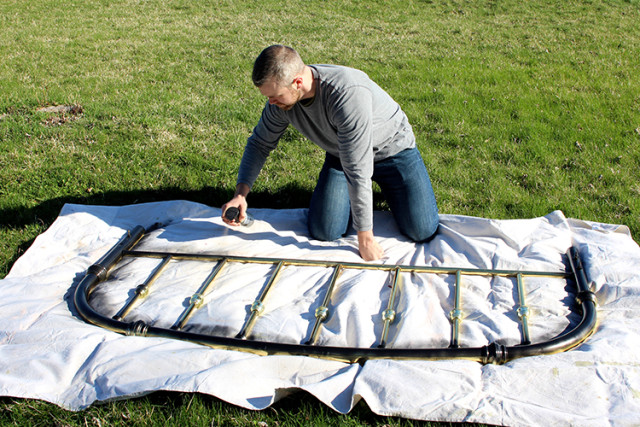
After a quick wipe down, Garrett did a few light coats of Rustoleum Universal Metallic Paint in Oil Rubbed Bronze.
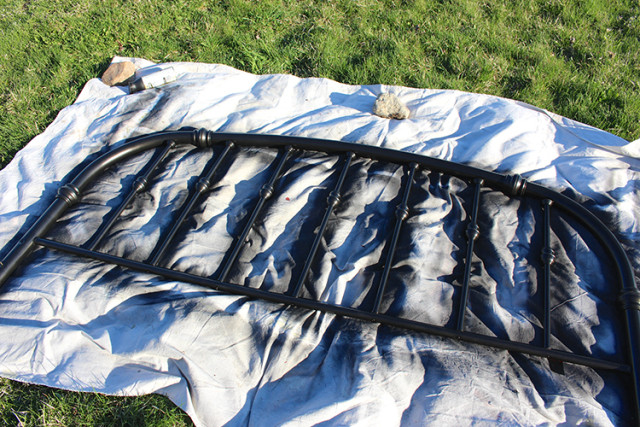
It transformed right away from an outdated piece to something you’d find at Pottery Barn.
Can’t you just picture this sitting against the plank wall? Things are starting to look more like the inspiration board every day! I’ve got less than a week now to get this room ready to debut. With some long nights and hard work, I think we’ll make it. Thanks for following along on this journey!
Disclosure – Metrie and Rustoleum generously provided me with their products to review. All opinions are my own.

Be sure to stop by every Thursday for the next six weeks to get an update on the progress. Check out the One Room Challenge blog to see all the other participants as well.
/ / /
Farmhouse Master Bedroom One Room Challenge:
-
- One Room Challenge Week 1: Farmhouse Master Bedroom Inspiration Board
-
- One Room Challenge Week 2: Furniture Updates
-
- One Room Challenge Week 3: Let There Be Light
-
- One Room Challenge Week 4: Bringing Back the Character
-
- One Room Challenge Week 6: Farmhouse Master Bedroom Reveal

$20 for a brass headboard?? What a steal!
I love the six-panel closet doors…bet it’s gonna look great in the finished room!
Thanks Lor. We were so happy to find that headboard when all it needed was a little paint 🙂