Disclaimer: This post was generously sponsored by Wayfair.ca. All thoughts and opinions are my own.
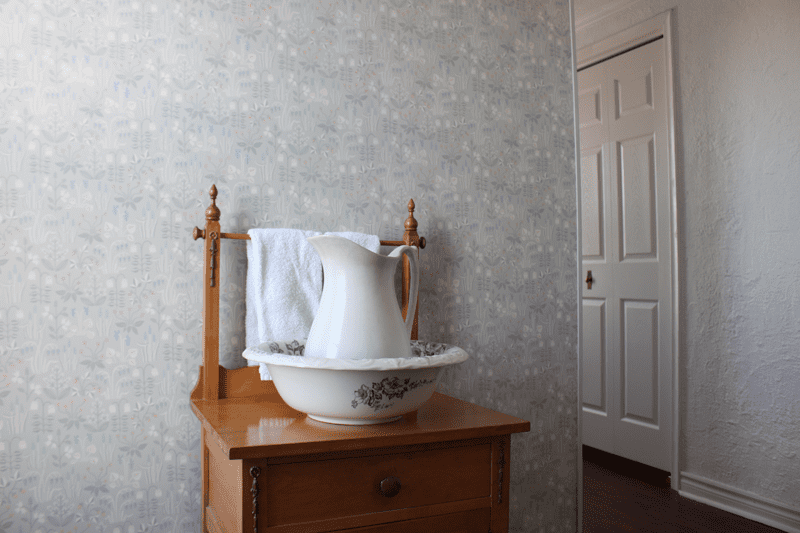
When I shared our finished Farmhouse Bathroom Makeover last month, the one thing I got the most questions on was the wallpaper that we did on two accent walls. Wallpaper is having a big moment right now and I was excited (and a wee bit nervous) to take the leap and try it myself – but I’m here to tell you all that it is SO WORTH IT!
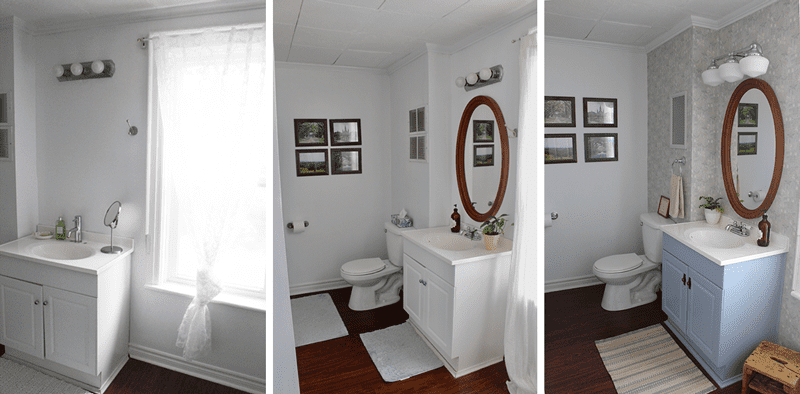
It didn’t take much more work than painting and the results were incredibly satisfying. I could never have added that much pattern and depth to the room with paint alone. This isn’t your grandmother’s wallpaper – the designs and materials have come a long way in recent years. I found this Scandinavian flower pattern from Wayfair.ca and I’m very happy to be partnering with them again on this sponsored post. If you’re thinking about giving wallpaper a try, I’ve got my five tips below, from one beginner to another. If I can do this, you can too!
1. Use High Quality Wallpaper
When I first started thinking about wallpaper, I asked around to people who had used it. I’d originally thought of trying removable wallpaper (and found so many great options at Wayfair.ca too), but was told that traditional glue wallpaper may be permanent, but is easier to shift around to get it in place while you’re hanging it, while the removable kind can’t be moved around once it’s applied.
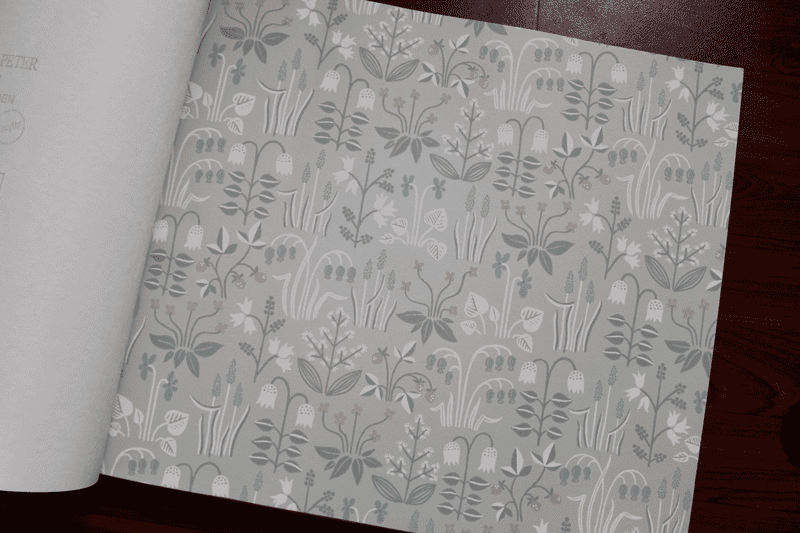
Wayfair.ca has a great selection of both modern and traditional styles. I was over the moon when I found the exact one I loved for almost half the price that it was in a design store. It’s called Strawberry Field by Swedish company Boråstapeter, and it’s part of their new EasyUp collection.
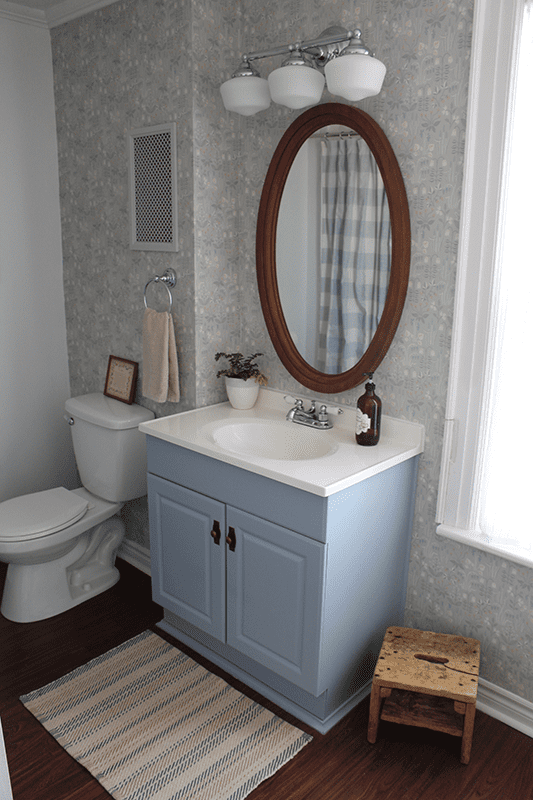
EasyUp wallpaper is a non-woven wallpaper, which means that you apply adhesive directly to the wall and then hang the wallpaper. Much easier than trying to apply the adhesive to the wallpaper on a table and then manoeuvre it onto the wall. This makes for clean seams, as you place the wallpaper strips edge to edge instead of having any overlap. EasyUp wallpapers also have a high opacity to cover old wallpapers without seeing the pattern or colour underneath. There are helpful step-by-step instructions on the Boråstapeter website, explaining how to specifically apply this product successfully. I was really impressed to find this great product on Wayfair.ca and it arrived right at my door step.
2. Have Your Tools Ready
I always find it helpful to have everything in place before I start a project. Here are the supplies that I needed to hang the wallpaper:
- wallpaper glue – find a good quality adhesive that works specifically for the paper you have.
- brush – I found this easiest for applying the adhesive close to the trim and crown moulding edges, or around tight spaces like the toilet tank.
- paint roller and tray – helpful when applying adhesive across a large area.
- wallpaper tool or large plastic spreader – you’ll need to gently push the excess adhesive out from under the paper, so a large spreader helps do it evenly.
- level – getting that first line plumb is critical to having the pattern straight
- pencil – even with a wallpaper that has high opacity, it’s best to use a light pencil to prevent seeing any lines you draw for applying that first sheet straight
- utility knife and extra blades – the sharper the knife, the better the results along the edges
- large bucket of water and clean sponge – after you apply the wallpaper, you’ll need to wipe down the walls, and any spots where you may have gotten the glue on the trim, floor, etc.
- rags – I used so many of these to clean up excess adhesive as I pushed it out from under the wallpaper with the spreader.
- stepladder – for when you need to hold the wallpaper up at the top of the wall
3. Take Your Time
As with any home improvement, the more time you take preparing the room, the better the results. As tempting as it is to just jump into the fun stuff, all the little steps beforehand can make a huge difference. Just like if you were painting, take the time to remove electrical outlets and light fixtures (turn off the power first!), the toilet tank, and any accessories. Even wiping down the walls and baseboards and doing a good vacuuming will help prevent dust and dirt getting into the adhesive of the wallpaper.
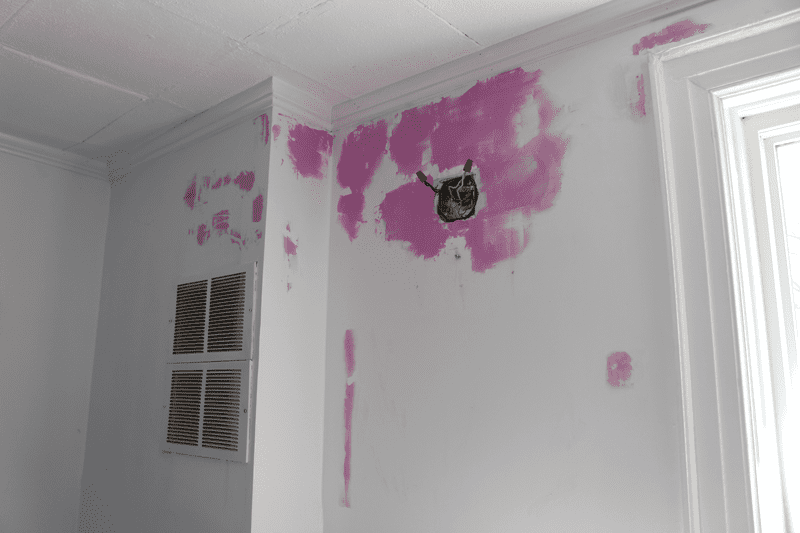
Wallpaper needs as smooth a wall as you can get, so I used putty to smooth out any holes or damage to the walls, especially around the light fixture we were replacing. I let the putty dry for a day and then sanded it out as smooth as possible.
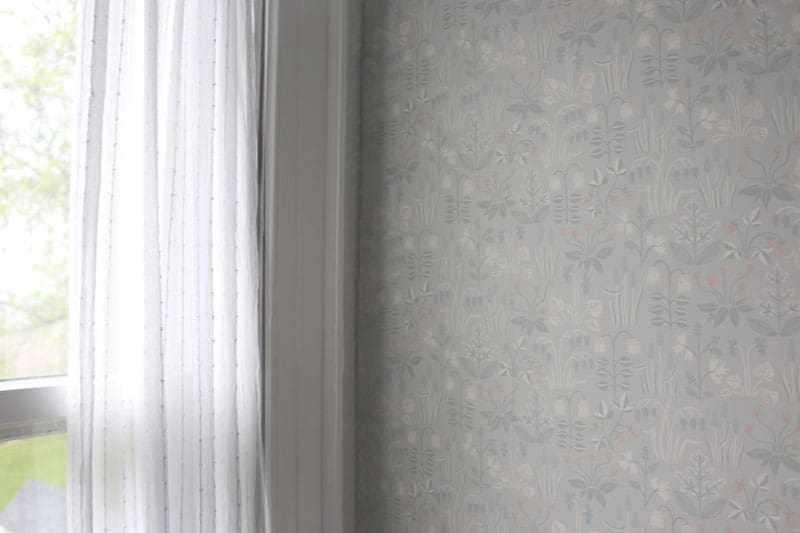
Getting that first strip of wallpaper lined up plumb (straight up and down) is an important part of getting the pattern to look right across the entire wall. I took the time to use a level and get that first one straight and it made it so much easier to line the rest up.
4. Replace Your Knife Blade Regularly
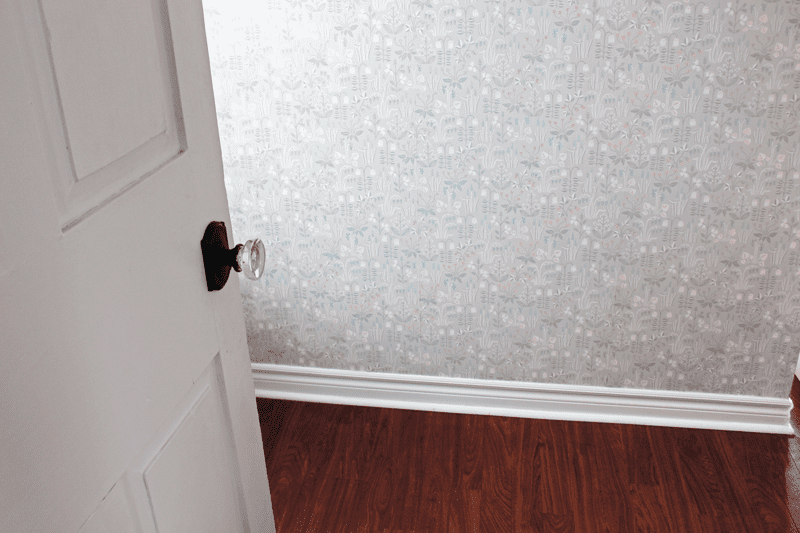
Wherever the wallpaper meets trim, baseboards or crown moulding, you’ll need a sharp utility knife to cut a clean line. Between the adhesive and the wallpaper, it doesn’t take much to dull your utility knife blade. For each wallpaper strip, I snapped off a new utility knife blade tip. The few times that I tried to get away with using the same blade on a second strip was when the wallpaper snagged or ripped. For those crisp clean lines, a new blade is best.
5. Use Colour Matched Paint for Touch Ups
Despite using the right tools, prepping as much as I could, taking my time and using sharp blades, I still had a few mistakes. Part of that was because our house is 116 years old, so the walls aren’t exactly straight. I was also trying to work around several difficult obstacles, like windows, vanities, light fixtures, corners and toilets. I actually had all of those within one wall alone. Where I did have a mistake, or an edge that didn’t quite line up properly – I had a pretty good solution. I had a small sample size can of good quality paint colour matched to the main colour of the wallpaper.
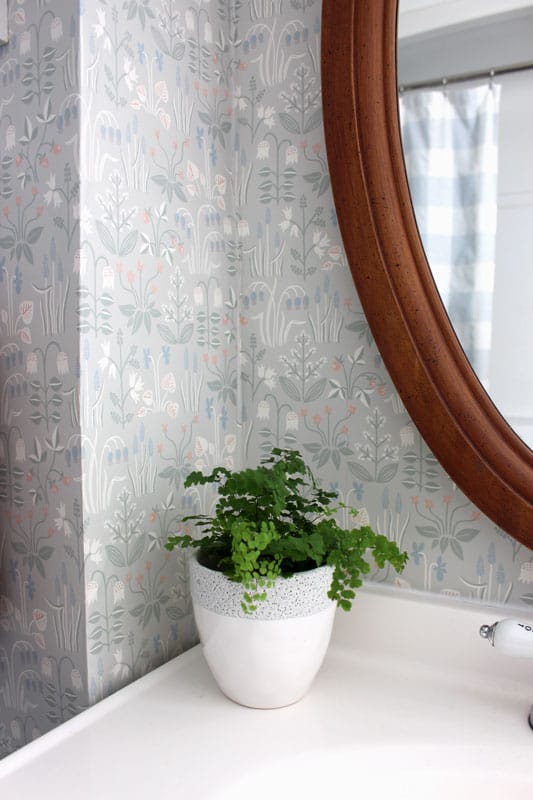
It was helpful in this interior corner where I’d messed up the wallpaper with the awkward angle of the corner. A small craft brush was all I needed to get a little bit of paint in there to buff out the mistake. You can see it in this picture where I crouched down low for the shot, but in real life it’s far less noticable, especially when your eye is drawn to the rest of the pattern.
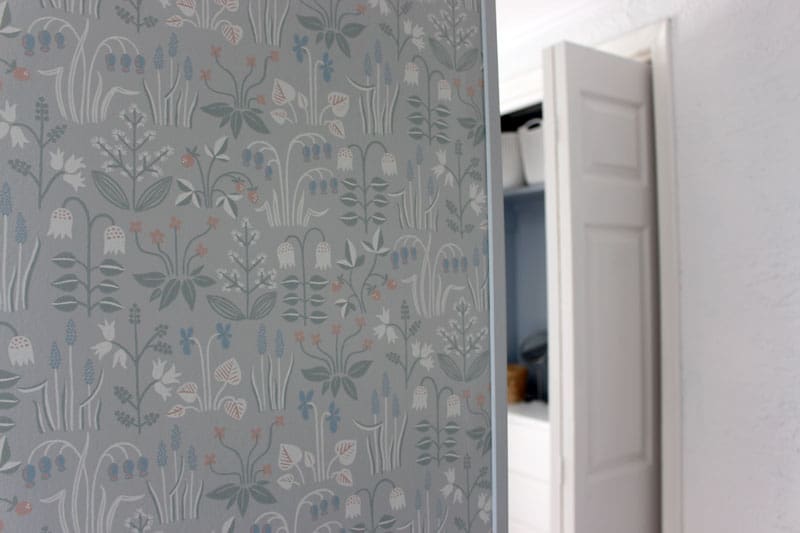
I also used this colour matched paint to paint a piece of corner trim that we wrapped around the outer corner of one of the accent walls. We couldn’t continue the wallpaper all the way around the corner, so this was one way to finish off the edge.
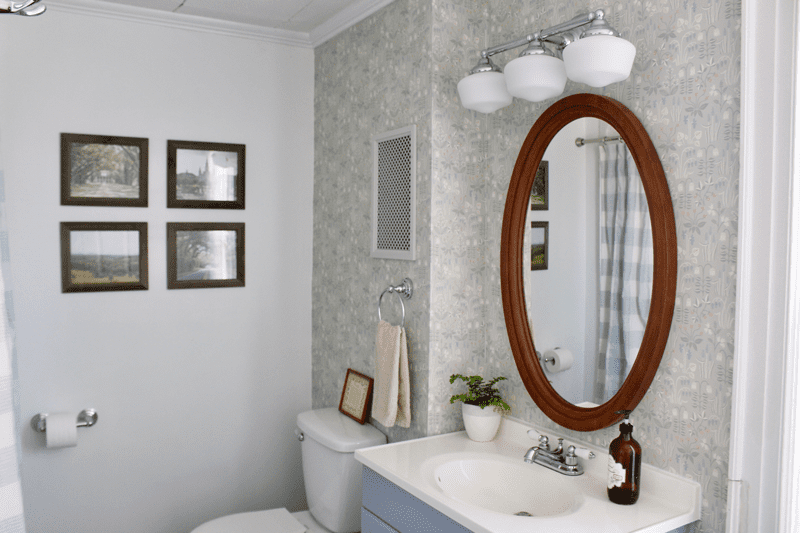
Hanging wallpaper in our farmhouse bathroom was one of the best decisions we made for this makeover and I’m so glad we were able to work with Wayfair.ca for this partnership. If you’re looking to give wallpaper a try, head over to Wayfair.ca to check out their great selection of wallpaper.
