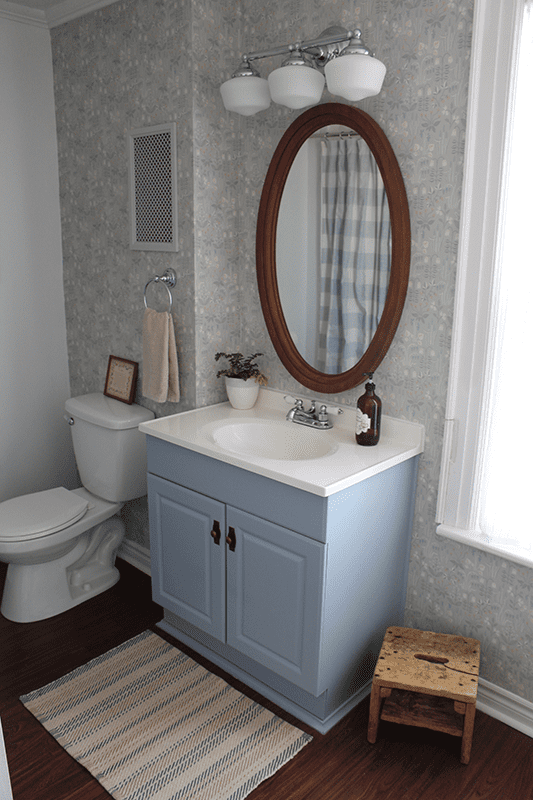
We did it! Woohoo! Another One Room Challenge makeover complete and it feels oh so good. I’d originally set out on this with the idea that it would a temporary update until we could afford to completely gut the bathroom and start over. Garrett and I are both so pleased with how the makeover turned out, that we’re thinking we’ll keep this room as is for longer, and focus our time and budget on other areas of the farmhouse in the meantime.
Our main goal with this makeover was to freshen up the space, make it more functional for our growing family and keep costs low by using as much of what was already in place as we could. I’d set aside a modest budget for this project and I’ve shared at the bottom of the blog post how we did with it.
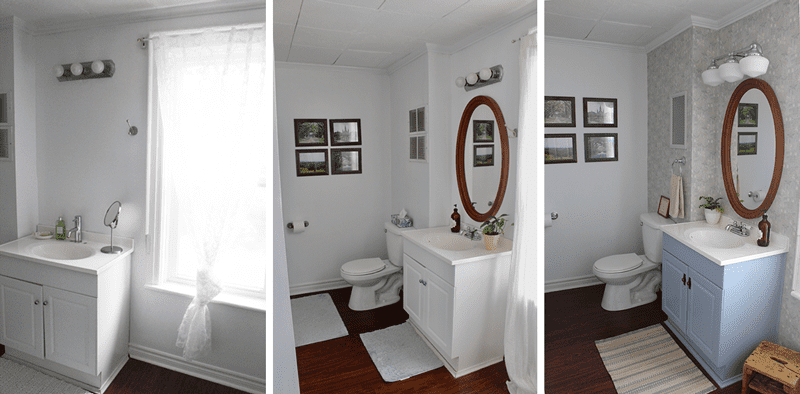
On the left is what the bathroom looked like when we moved in back in 2015, then the middle shows how far we’d gotten it by the time we started the One Room Challenge six weeks ago and on the right the end result. I was going for earthy and natural, with some colour to break up all the white.
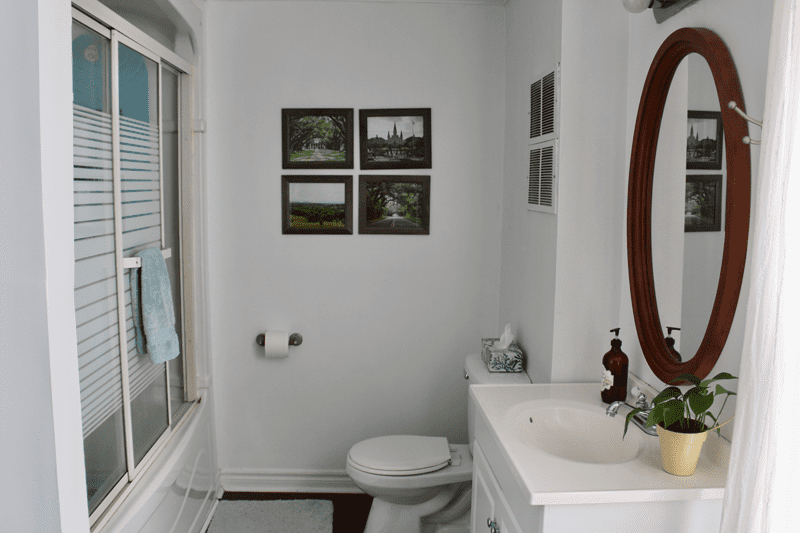
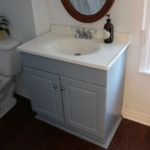
BEFORE // At the beginning of the challenge, we’d made minor progress over the last few years – a new toilet, adding photos from our honeymoon road trip, and a big wooden mirror. Many of you were floored that we didn’t have a mirror above this sink for the first TWO YEARS that we lived here, but I’d never found anything I’d liked until I stumbled upon this large secondhand wooden mirror for $25 while we were renovating the powder room downstairs.
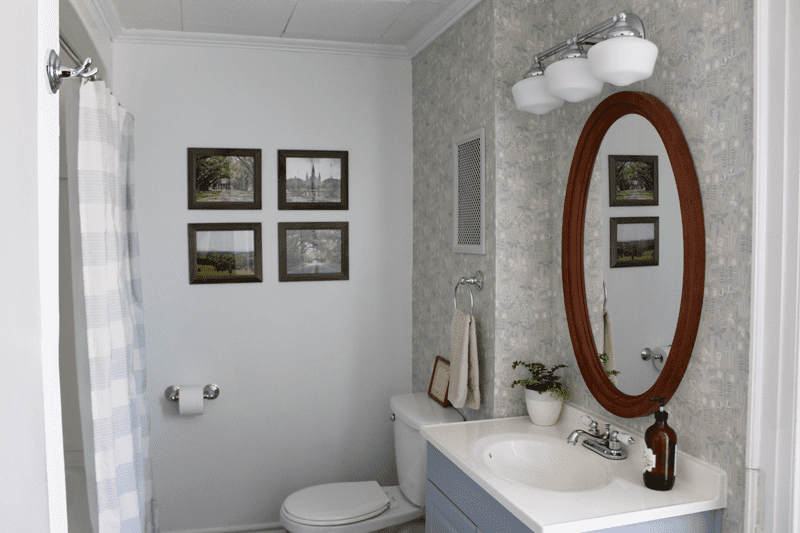
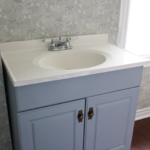
AFTER // We kept the mirror and faucet, moved the pictures out a little bit, hung up wallpaper and painted the vanity. The DIY vent cover, hand towel ring and planter are new, along with the lovely schoolhouse-style lights. (The lights were kindly provided by Home Depot Canada and I’ll have a blog post on them soon.)
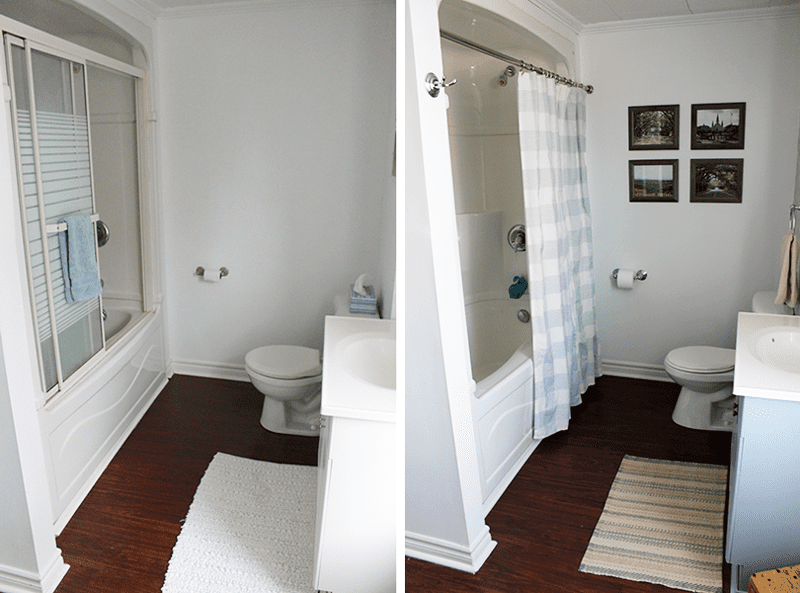
Back in week 2, I got the idea to remove our glass shower doors and I’m so glad that we did. It completely transformed the bathtub and ever since we’ve done it, I’ve found it much easier to not only bathe the kids in it, but clean the tub as well. I was worried that having a curtain would make this room feel small, but removing those doors opened up the whole space and it looks much neater too. As someone who has always said I don’t like baths and have only had them when I’ve needed to in the third trimester of my pregnancies, I’ve had two in here already. Compared to what it was like before, this feels like spa!
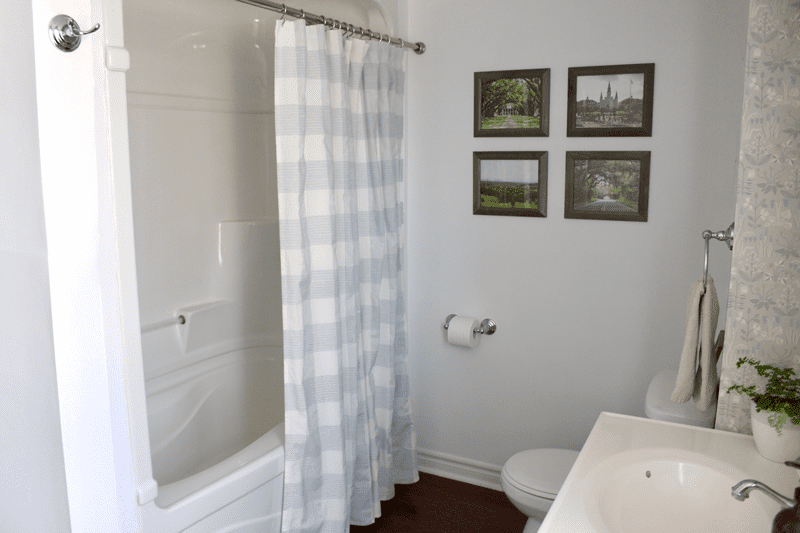
Along with hanging the shower curtain, I swapped out the toilet paper holder and added a hook to the wall for hanging towels to grab after a shower.
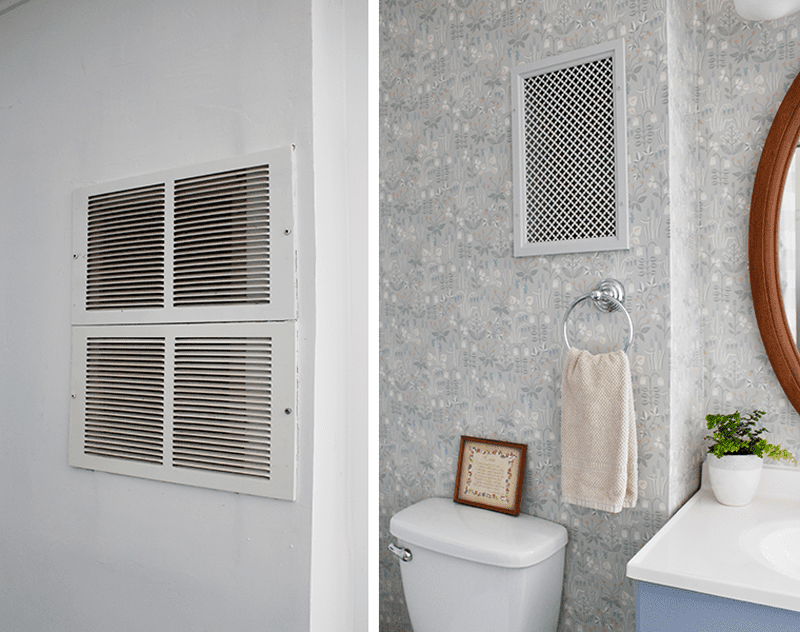
Our bathroom exhaust is hidden in the boxed-in part of the wall, behind these two vent covers. They were always grimy and you could see debris inside. We cleaned it out, painted the inside and made a custom vent cover in a cloverleaf pattern…get it? Our farmhouse is called Cloverhill 😉 I’ll be writing up a full tutorial on how we made this DIY vent cover soon.
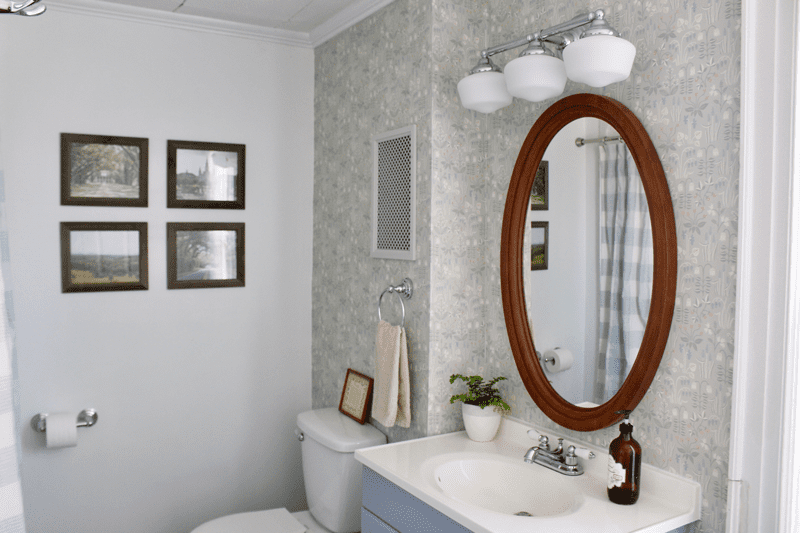
What really steals the show in this space is the botanical print wallpaper (kindly provided by Wayfair Canada). I’d never hung wallpaper before, so there are definitely a few mistakes, but overall I’m so pleased with how it turned out. I did two accent walls – this one by the sink/toilet/window and the wall when you first walk into the washroom, before you turn the corner into the tub area (more pics near the end of this post). It’s soft and has a delicate floral pattern that is modern but still fits in with our 116 year old home.
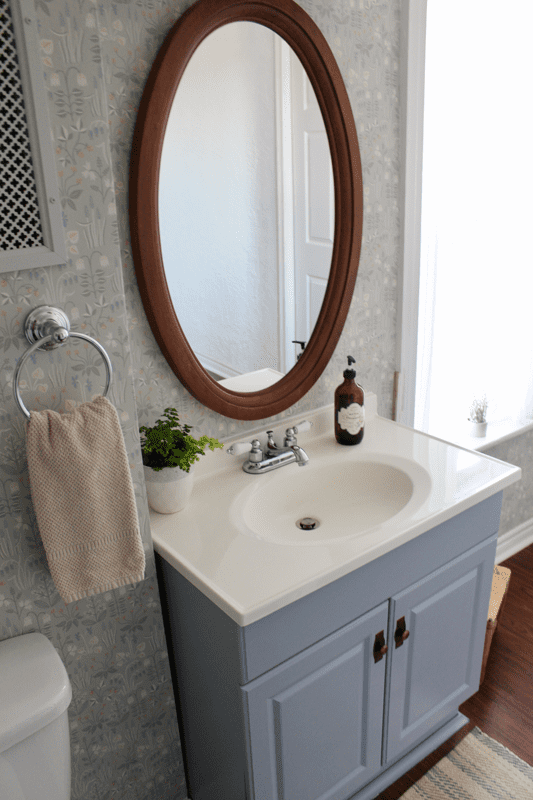
In an unplanned turn of events, I decided to paint the original white vanity with a muted blue-grey (Intercoastal Grey by Behr Marquee) that coincidentally was the same soft blue that the flowers are in the wallpaper pattern. I added Italian aged brass knobs to pick up the warmer brown tones of the mirror and floor, and add a little bit of contrast to the space.
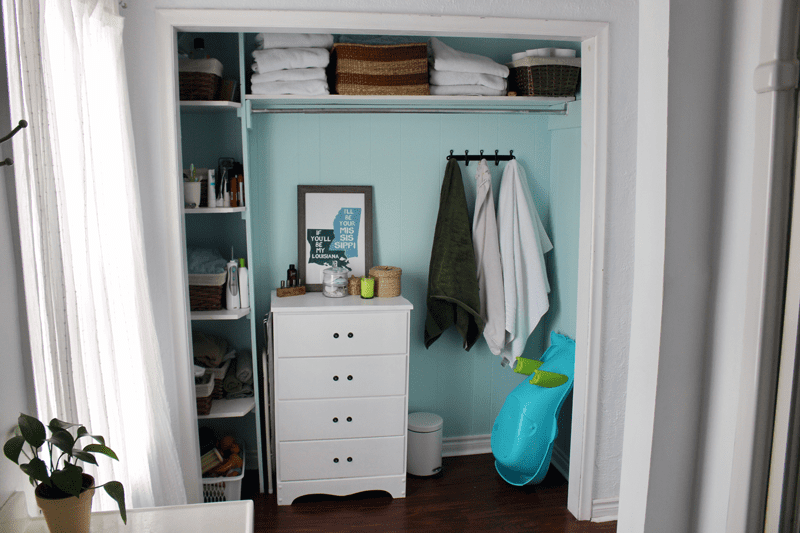
BEFORE // Right across from the tub/sink area is this large closet that had no doors. It is the largest closet in the whole farmhouse, but it was probably the least efficient use of storage. That’s when we got the idea to somehow close it off, and in the first week I debated bifold doors or a curtain. Thank you to everyone who voted on my Instagram Stories, we went with bifold doors.
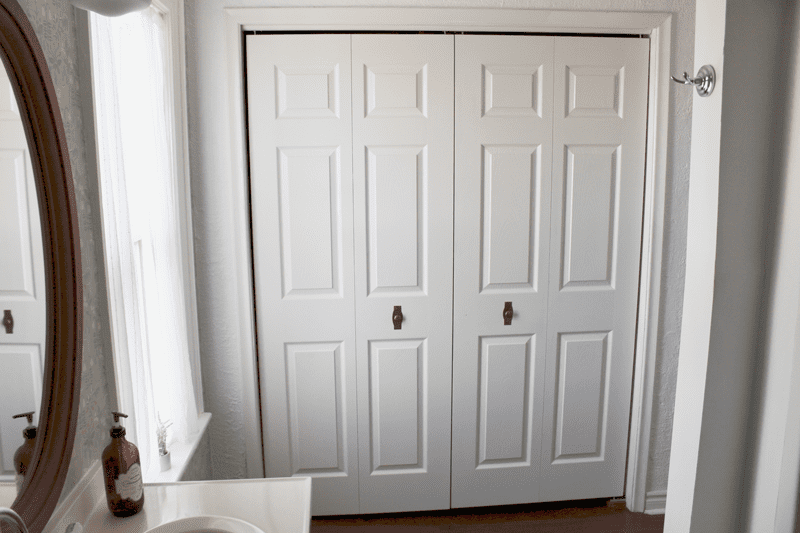
AFTER // Despite it being a very odd door size and there being a full inch of height difference from one side to the other, we were able to find bifold doors that fit and matched the ones we’d replaced in our master bedroom a few years back (which was coincidentally also our first go at the One Room Challenge). I painted them in my favourite white trim colour, Cameo White by Behr Marquee, along with a touch up to all the trim in the bathroom. The handles are a large size of the same Italian aged brass knobs that I used on the vanity.
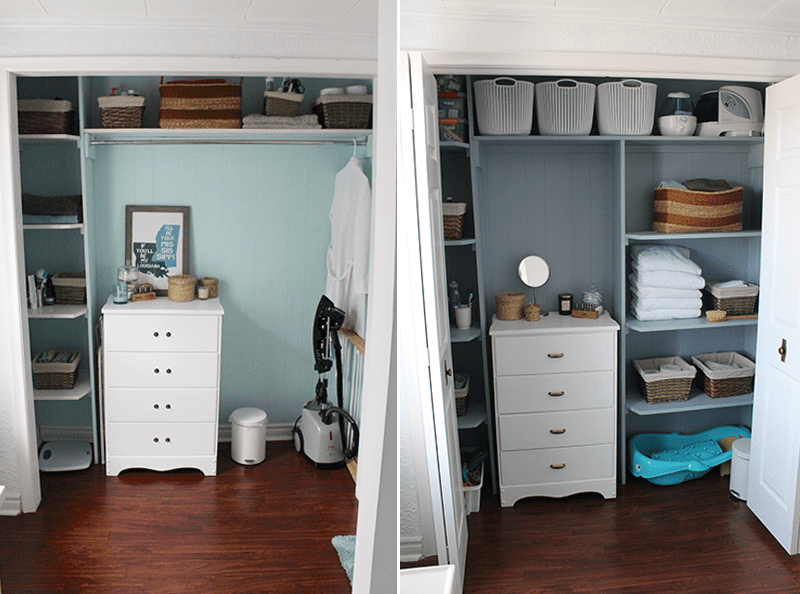
In week 3, we tackled the closet interior, with Garrett building out more shelves to match the existing ones, while still leaving space for the dresser. I also painted the closet interior in the same grey-blue as the vanity, and added new handles to the dresser.
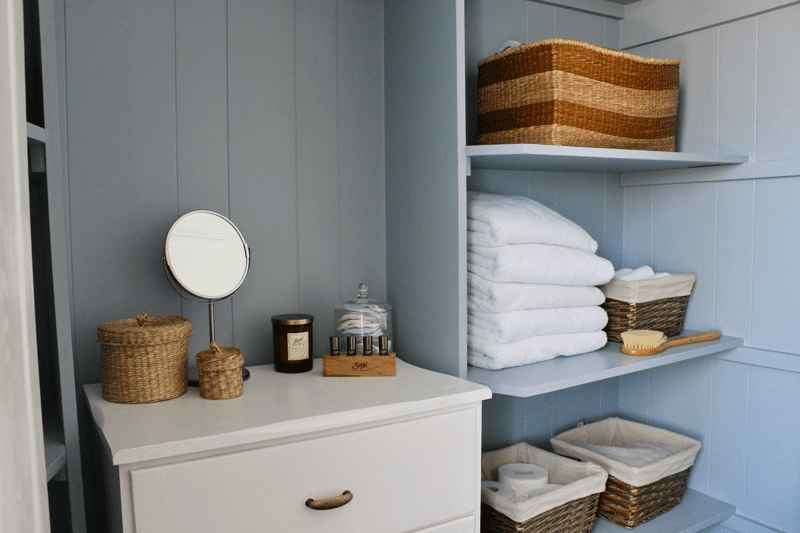
I try to keep the shelves tidy, but it’s also nice to be able to shut the closet doors when we have company over. We have so much more storage now and even have a few empty baskets which is a nice change from the packed shelves we had before.
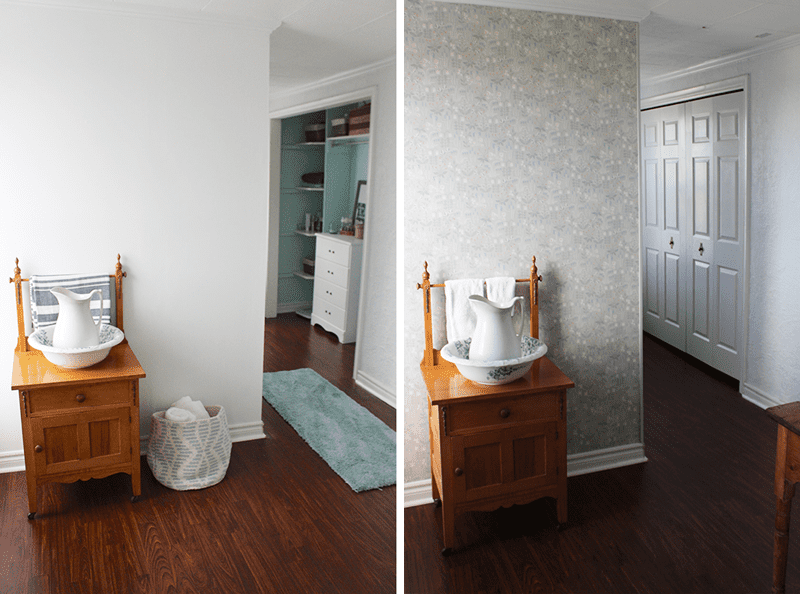
And the view when you walk in is much cleaner. The first thing you see is the wallpaper accent wall, with the antique wash basin from Garrett’s grandparents, rather than your eye being drawn to the cluttered closet shelves.
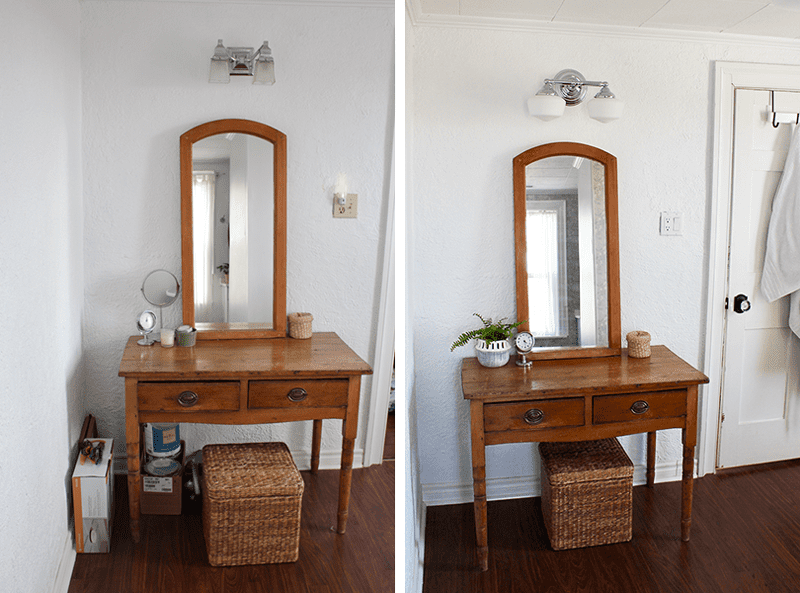
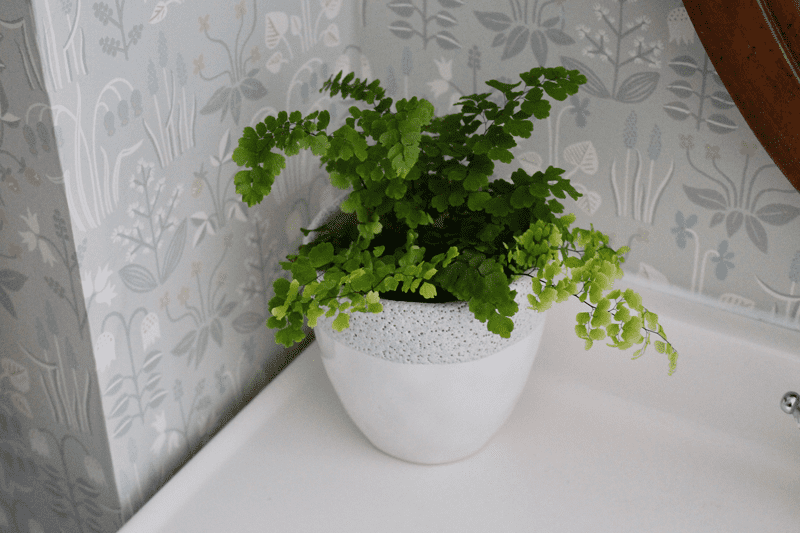
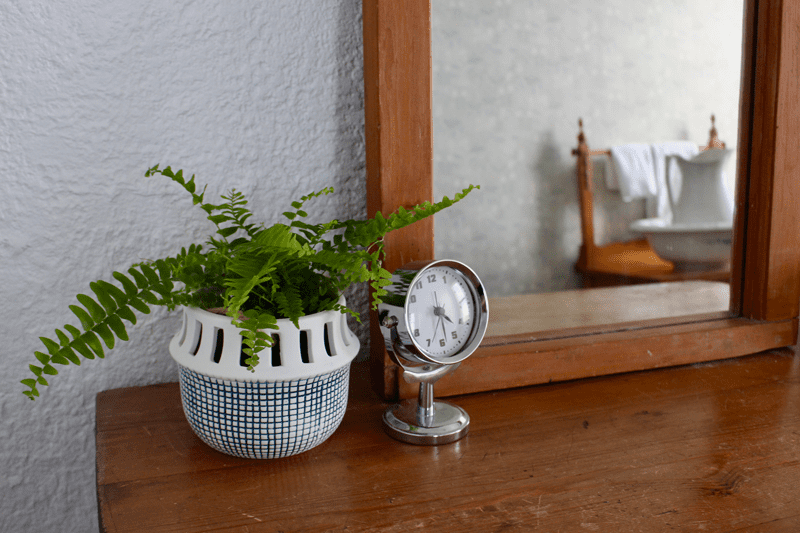
Right across from the wash basin is the makeup table, which got a lovely update with a new light above the mirror, to match the one above the vanity, (kindly provided by Home Depot Canada) and a new light switch/outlet to blend into the wall better. The table got a good cleaning too and a new plant. The spriggy little fern picks up the botanical shapes of the wallpaper, and I love to have a little something green to look at while getting ready in the morning. During this bathroom makeover, we also swapped out all the door knobs in the house for the new Schlage Custom Door Knobs, which fits right in with the century-home look of this bathroom.
When we first looked at doing this makeover, I knew I didn’t want to get carried away with the budget, knowing that we could potentially rip this all out someday for a total bathroom renovation. We’re so happy with how the room turned out, that we plan to keep it this way for as long as it’s working for our family’s needs. There are plenty other projects in this farmhouse to keep us busy in the meantime. I’ve put together a breakdown of where our budget was put into this project, in case you’re thinking of taking on a similar small scale makeover.
Cost Breakdown
Mirror – already had
Picture Frames – already had
Bathroom Accessories Kit – $41
Vent Cover Materials – $23
Wallpaper – Provided by Wayfair Canada
Wallpaper Adhesive + Supplies – $36
Vanity Lights and Makeup Table Lights – Provided by Home Depot Canada
Light Switch and Outlet – $9
Vanity, Closet and Trim Paint – Leftovers from the basement stockpile
Paint to Match Wallpaper – $9
Makeup table, mirror, storage stool and wash basin – already had
Overhead Light – $30
Cafe Curtain Rods – $10
Curtains – hemmed what I already had
Plants & Planters – $40
Striped Rug – $9
Shower Curtain, Liner, Hooks and Rod – $71
Bifold Closet Doors – $150
Closet Shelf Wood and Screws – $76
Closet Basket – $16
Vanity Knobs, Closet Knobs and Dresser Handles – $47
Wood Trim – $18
Misc Hardware – $95
TOTAL: $680
My goal was to keep our out-of-pocket expenses below $800. I’m over the moon that we were able to come in at just $680. This wouldn’t have been possible without using as much as we could with what we already had and through the generosity of our sponsors Wayfair Canada and Home Depot. It was a tough six weeks doing this with two small children, but being able to transform this space into something that we love and that also works for our growing family has been amazing.
Thank you so much for following along on this journey over the last six weeks. Check out the One Room Challenge blog to see all the other participants as well.

ONE ROOM CHALLENGE – FARMHOUSE BATHROOM
- One Room Challenge Week 1 : Bathroom Update on a Budget
- One Room Challenge Week 2: Removing Glass Shower Doors
- One Room Challenge Week 3: Building Closet Shelves
- One Room Challenge Week 4: Making Decisions
- One Room Challenge Week 5: Wallpapering the Bathroom

What a lovely transformation! Can you source the shower curtain please? I love it and think it would be great in my bathroom as well. -Thanks!
It’s from Target. I’ll include the link in the post. Thanks! 🙂
Amanda,
This wallpaper is still one of my all time favorites! Great job and on a budget. Nicely done.
Everything is so pretty! I love how big of a difference it made removing the glass doors from the shower. And that closet is gorgeous! You did a great job!
I love the pretty vent idea! It just goes to show that you can have a beautiful room on a small budget! Love it!
You did a great job especially working on a budget. Came out beautiful! Love seeing the side by side “before” and “after” shots. Enjoy your revamped bathroom!
Great job on the makeover! I love the wallpaper!