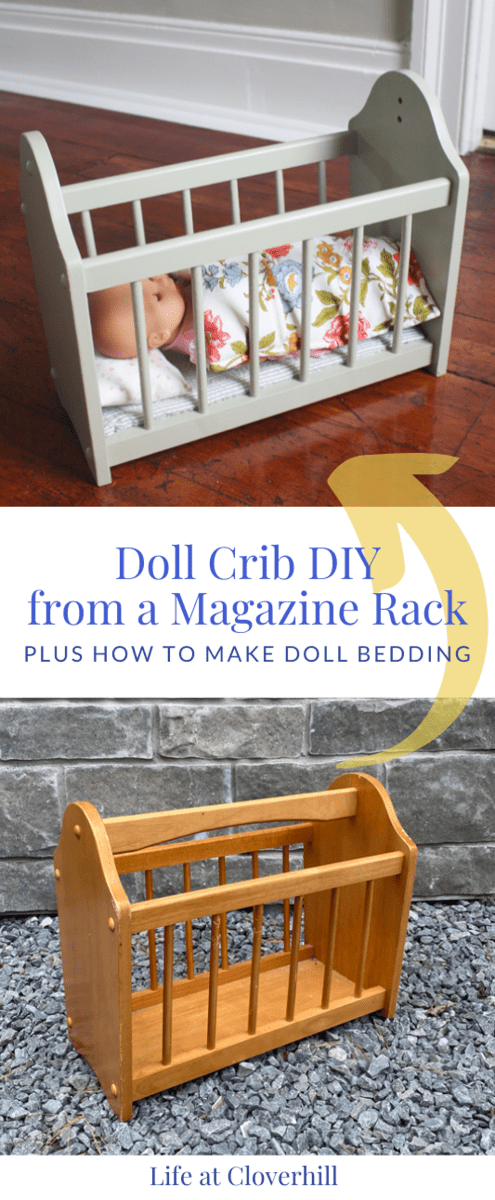
With some paint, scrap fabric and a little elbow grease, it was easy and fun to upcycle a magazine rack into a DIY Doll Crib for under $10!
It’s been a tough year for many people and as the holidays approach I’m sure we’re all looking for ways to reduce costs while still having a magical and special holiday. I’ve heard from several people in the toy industry that there is also a real issue with manufacturing and shipping this year, meaning that finding gifts might be a little more difficult than in previous years.
I’ve been making an effort to reduce our waste and reuse what I can, which has got me thinking more and more about handmade and heartfelt gifts this Christmas (more ideas here!). I’m sharing this in hopes it might inspire anyone else looking for something fun and creative they can do for the little ones in their life. Reusing materials we already had and getting creative with what I could find made this whole project ONLY $8 – and that was just for the magazine rack! Everything else was done with materials we had on hand and were able to repurpose into something super cute for our little girl.
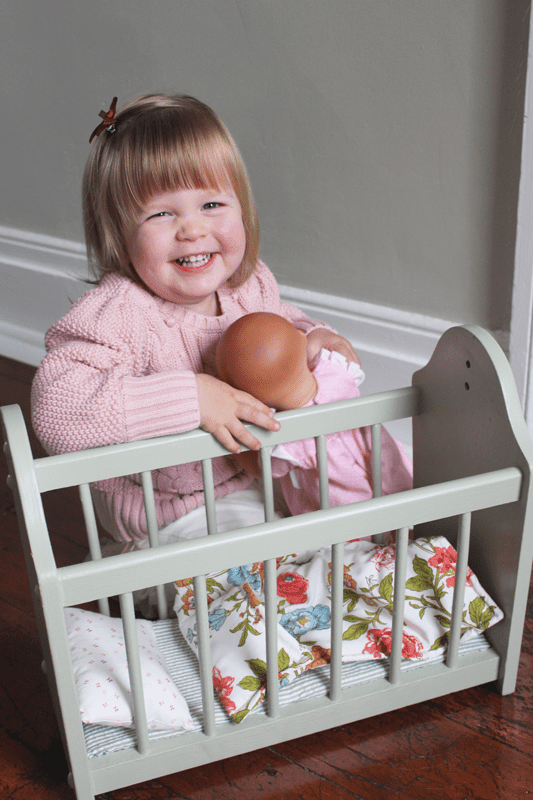
Our sweet and baby-obsessed Rosie turned two last week and I just knew she’d go over the moon for a baby crib of her own. She loves her dolls (Corolle Calin, Wee Baby Stella and her new Corelle Emma are her favs) and she is constantly swiping my tea towels from the cupboard to “tuck them in”, so it seemed like a proper doll crib would be a great birthday surprise.
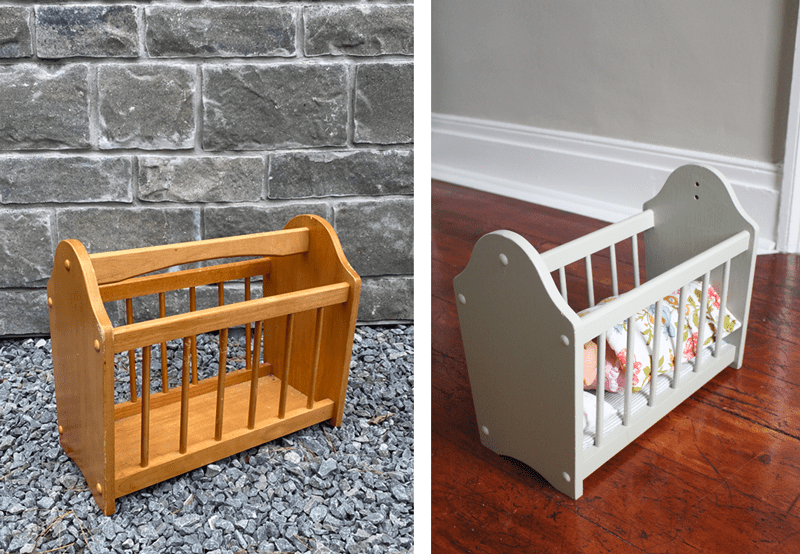
After a bit of researching I got this idea in my head that if I could find an old magazine rack, that maybe I could make it into a crib for our baby-loving toddler. I kept an eye out on the online marketplaces for something that might work. Lo and behold a very crib-like magazine rack showed up online one day for a great price, that was thankfully just the right size for a baby doll.
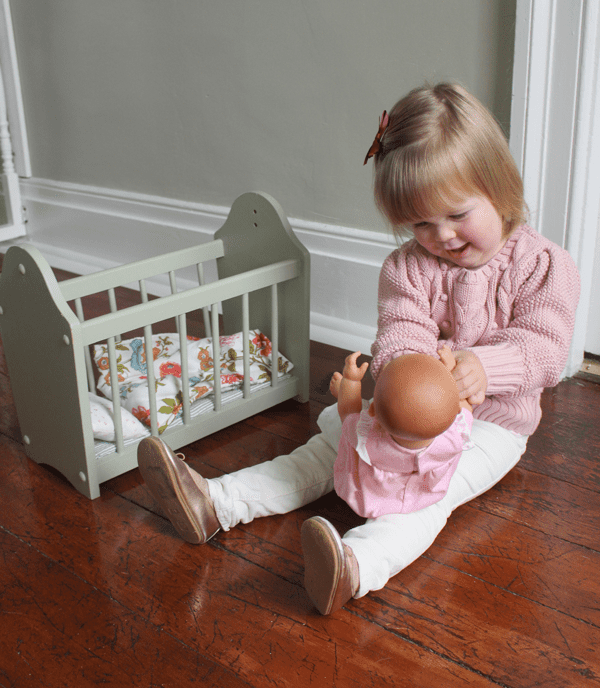
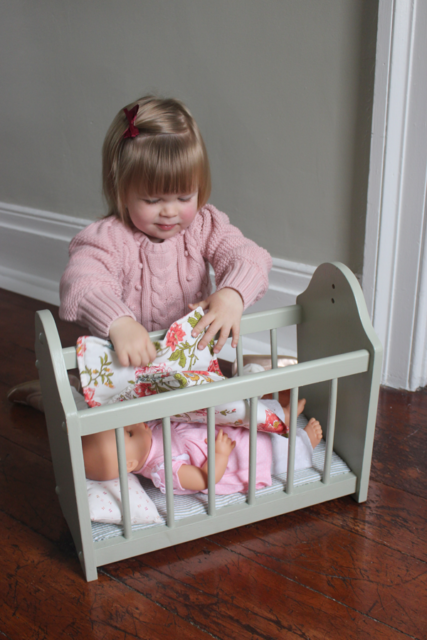
We had so much fun putting together this project for our little girl and seeing her face light up when she unwrapped it. Both girls have had so much fun playing with the DIY Doll Crib. I love seeing them show empathy and compassion with their dolls and stuffed animals, and coming up with all kinds of imaginative play together.
How to Turn a Thrifted Magazine Rack into a Doll Crib
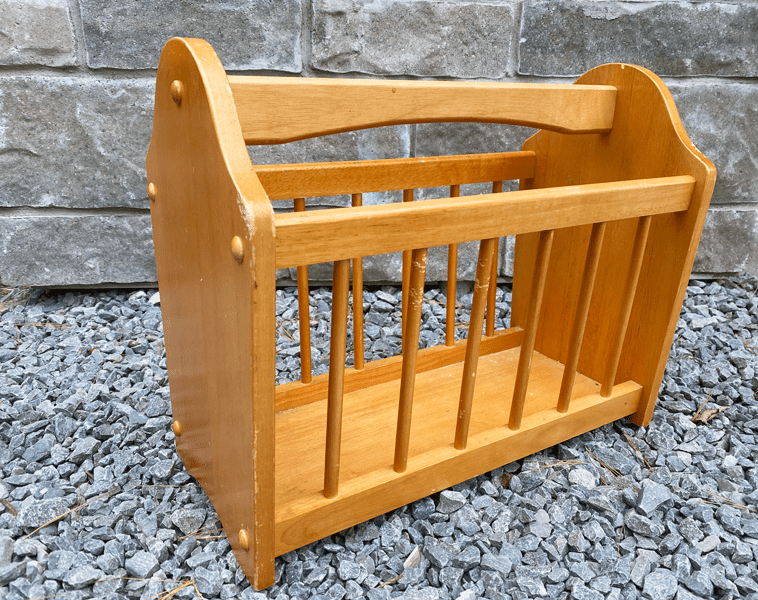
I had kept looking around for a thrifted magazine rack for awhile and was glad when I found this very crib-like style for only $8. The magazine rack was in pretty good condition, with the exception of a few chew marks. I didn’t notice if it was like that before and it could very well have been our own fiesty kittens who took a nibble while it was hidden in the mudroom one night, ha! I let our older daughter Lucy see it during Rosie’s nap time one day and right away she said “oh is that a crib?”, so I knew we were on the right track!
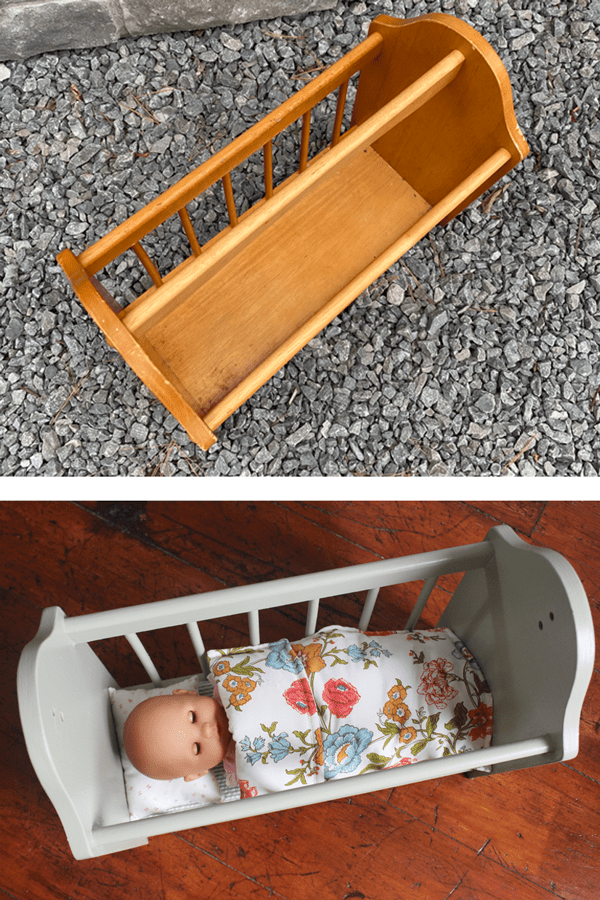
We started off converting the magazine rack into a crib by removing the centre bar. My dad helped me do this by removing the cap for the bar at each end and unscrewing it. There was also a wooden peg hidden inside that was keeping it in place, so we undid a couple of screws on one side to pull the end off enough to wiggle the bar out. Then we put the screws back in and recapped the end.
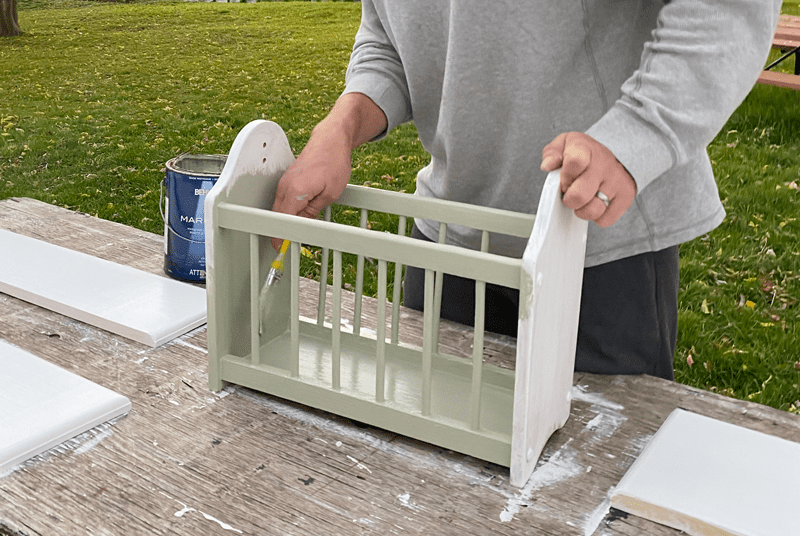
Garrett gave it a quick sanding to remove the sheen of the finish a bit (and to smooth out the kitten chew marks, ha!). To make a smooth surface and prevent any of the old finish coming through, he applied a good quality primer to the whole crib. In hindsight, I wish we had filled in the screw holes while we were at it, but we were working on other projects at the time (you can see the shelves he was painting there too!) and got distracted. The final colour for the doll crib was “Sage Wisdom” by Behr Marquee, leftover paint from the Kitchen Hutch Makeover we did a couple years ago. I love this soft green colour and it went well with the fabrics I was able to find for the bedding.
How to Make Easy Doll Crib Bedding
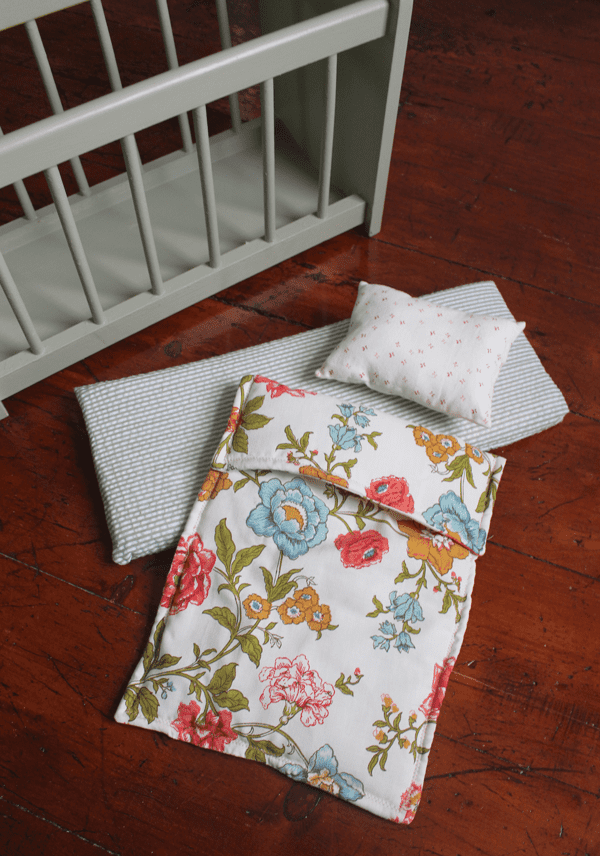
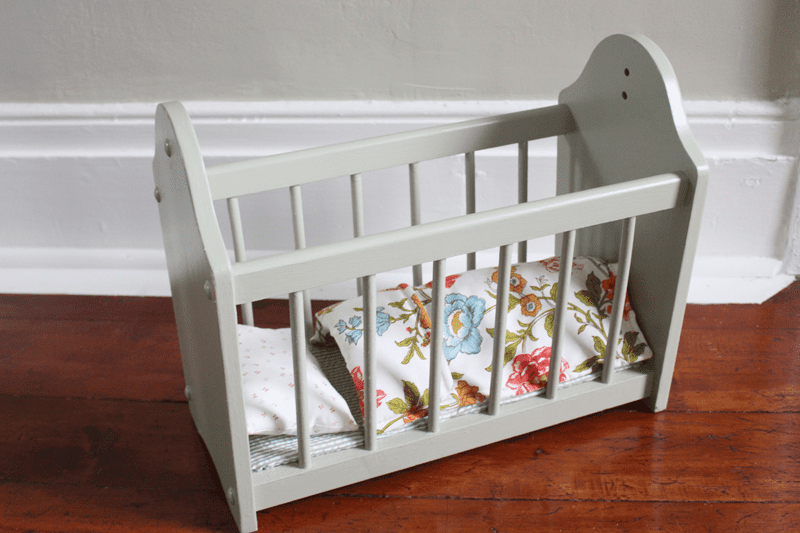
What would a doll crib be without some bedding, right? I knew I wanted to make a little mattress, pillow and comforter, and after some searching through the materials we already had on hand, I was glad to do it all for free. I love repurposing and reusing when we can – especially when the results are this cute!
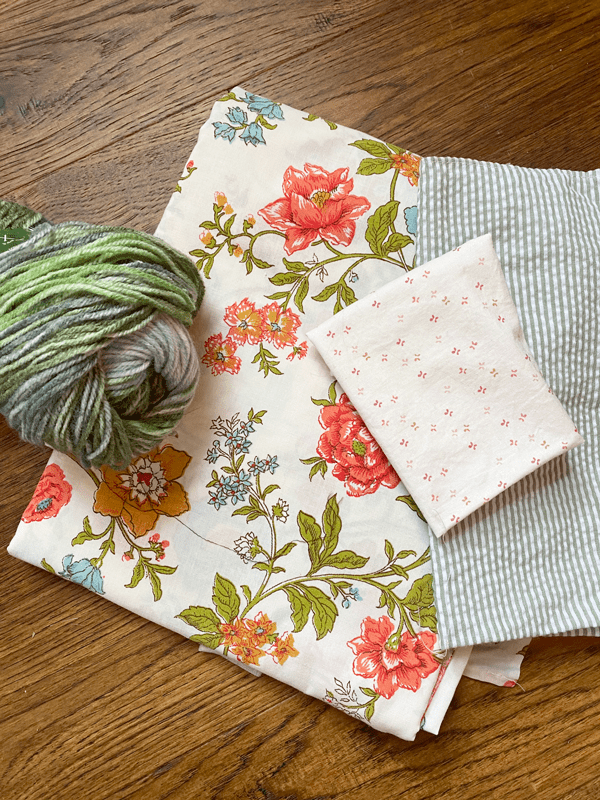
Years ago my great aunt gave me this vintage flat sheet that she’d had in her cupboard, in hopes that I might use it as fabric for a project some day. When I decided to make this large floral print the focal point of the doll crib bedding, I gave her a call to let her know I’d found a new use for it. She was thrilled and told me it was a 50th wedding anniversary present for her in-laws years ago, that she was given back when they passed away, and eventually passed it onto me. Little did she know fifty years ago that it would become doll crib bedding for her great-great niece. The pillow fabric is a scrap from when I made Fabric Covered Easter Eggs back in 2013 and the mattress cover is a sage green seersucker bandana I found in the Target dollar bins a couple years ago. I had started to knit a little baby doll blanket with that yarn I found in the bottom of a craft bin, but have put it on hold for awhile. Maybe a winter knitting project for cold nights at home? (It’s been ages since I made this Knit Infinity Scarf.)
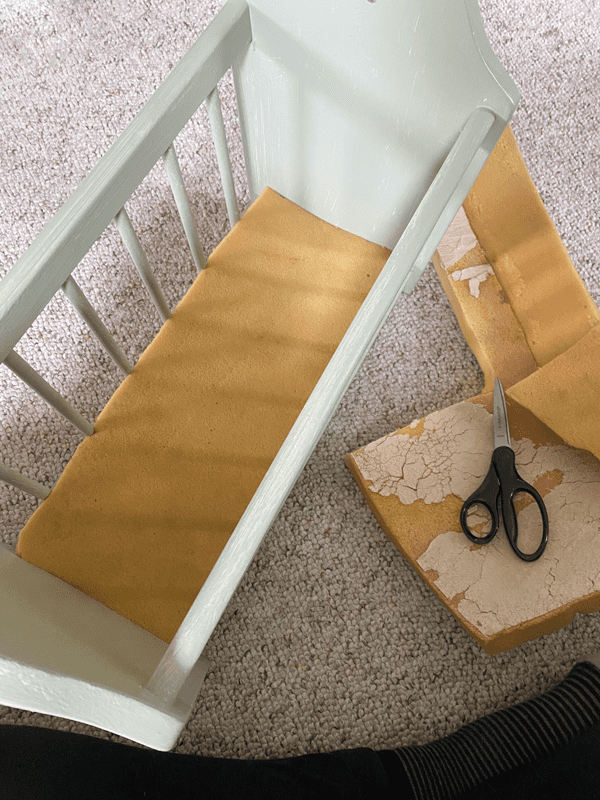
First up was making the mattress! When I was over at my dad’s shop getting the handle taken off the magazine rack, I mentioned I was looking for some foam for the mattress, and he just happened to have a scrap hanging around from a project he’d worked on. I measured the inside of the crib between the rungs, and then cut it with scissors.
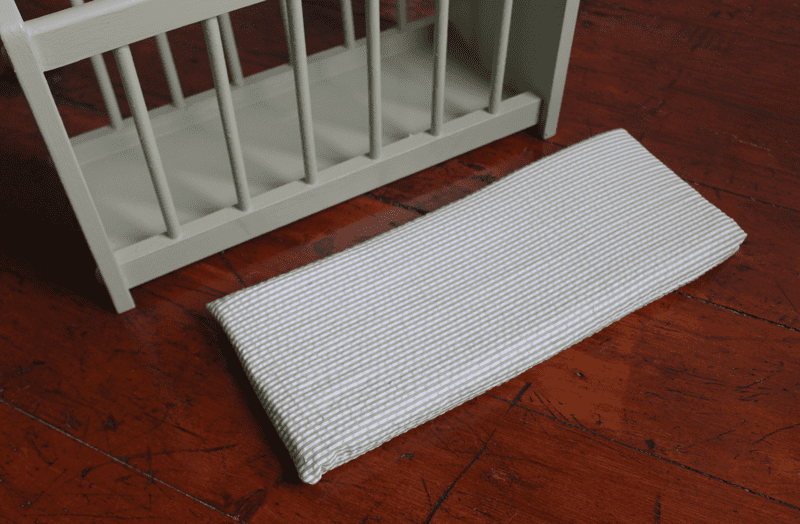
To cover the foam mattress, I measured the dimensions and cut two pieces of fabric that were the exact size plus 1/2″ for a seam allowance all around. Putting the two good sides of the fabric together, I stitched around three sides, leaving one end open. I turned it back right side out and wiggled the foam mattress into the “sleeve” I’d made. Then it was just a matter of tucking the ends of the fabric back in and doing a simple stitch to close the open end.
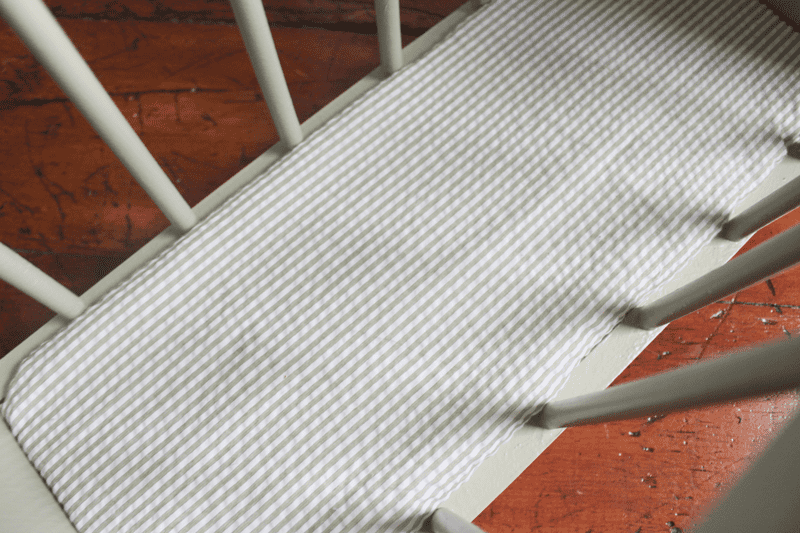
When its tucked into the crib, you can’t see the stitched end. It was pure luck that the stripe was the same colour as the crib paint, and I love that it looks a bit like old mattress ticking.
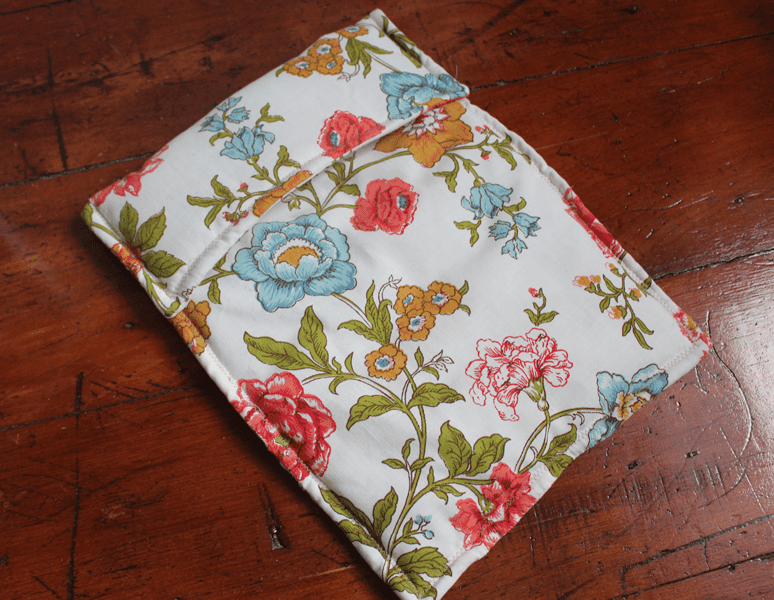
For the bedding, I wanted to make a simple comforter that looked cute and cozy but wasn’t too hard for a toddler to tuck in. I folded over the edge to make it look like the bedding had been turned down.
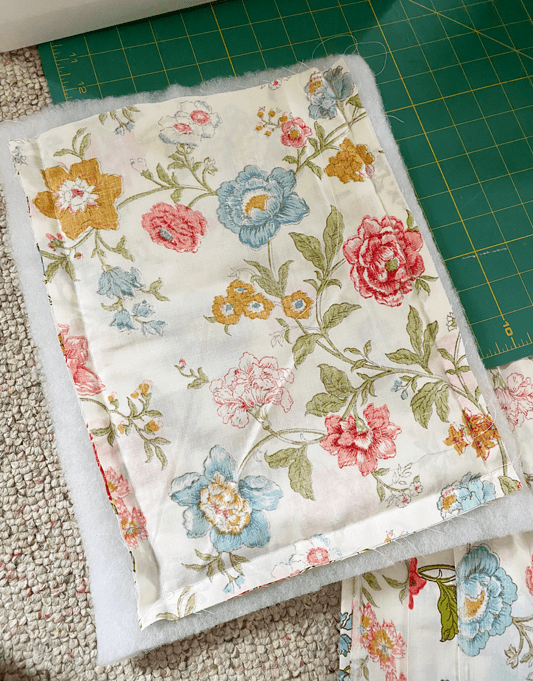
I started by measuring how big I wanted the comforter to be and then added a 1/2″ seam allowance all around. I made the comforter big enough that the baby doll could be tucked in and long enough that I could eventually fold over the top edge of the bedding. These measurements are dependent on how big the doll bed is. To make the comforter, I cut two pieces of the fabric (making sure the pattern was going the way I liked it) and a slightly larger piece of scrap quilt batting I had already. I layered the batting, then the two pieces of fabric with the good sides facing each other, then stitched along three sides, leaving 2″ at the bottom end open in the middle for when I’d pull it all right side out.
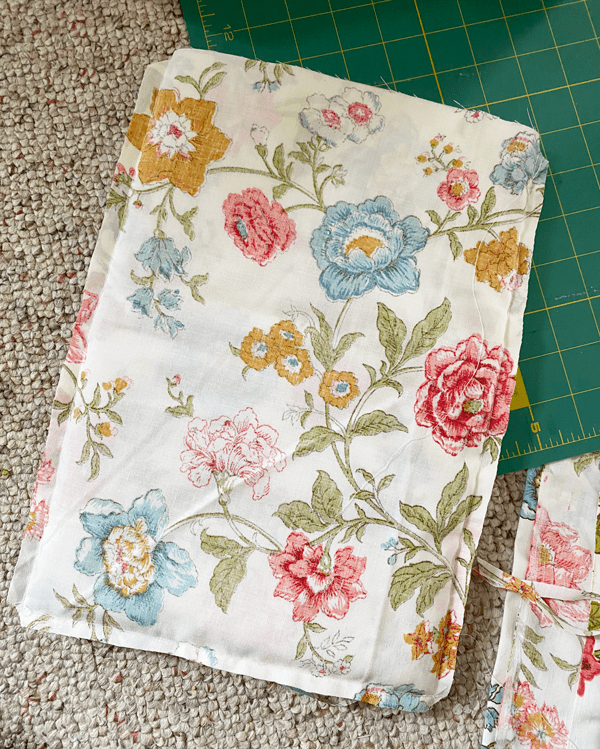
After it was stitched, I trimmed the extra quilt batting off the edges and snipped the excess fabric at the corners. Then it was time to turn the whole thing inside out.
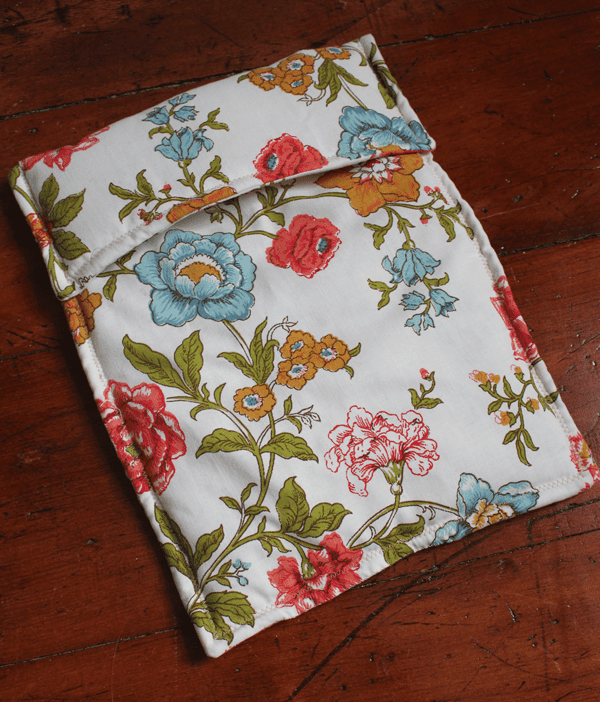
I wish I’d taken more pictures of this process, but I was on a time crunch before her birthday (nothing like a project the night before! #procastinatorsunite). After I’d turned everything right side out, I hand stitched the open end closed, then did a zigzag stitch all the way around the outside of the finished comforter to secure everything flat. I took the top edge, folded it back how far I wanted it to go and then anchored it in place with a straight stitch along the edge where the zigzag stitch is.
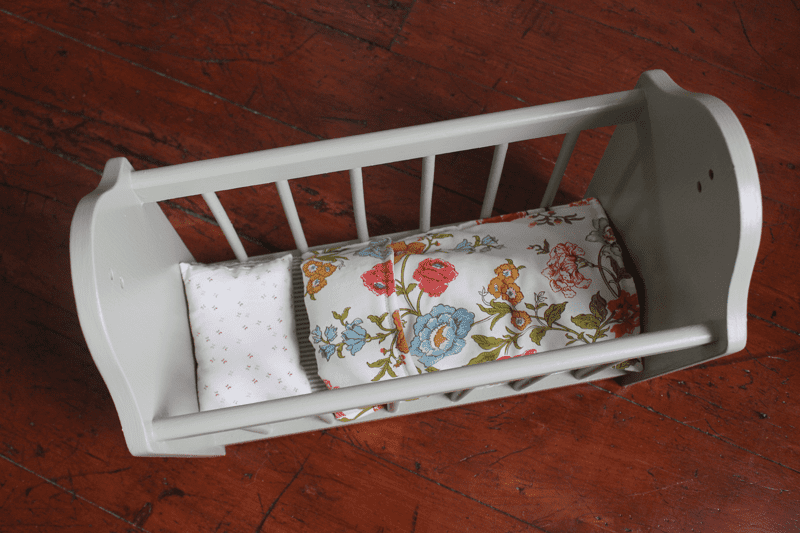
For the pillow, I measured how big I’d like it for the baby crib (using a ratio of 2:1 for the length and width), and added a 1/2″ seam allowance all around. With the good sides of the fabric facing together, I stitched all the way around, leaving an opening of 2″ on one end. I turned it right side out and filled it with stuffing (in this case I used the scraps leftover from the quilting batting and just pulled them apart to make it fluffy before I stuffed them in the pillow). I stitched the opening closed by hand and it was ready for the crib.
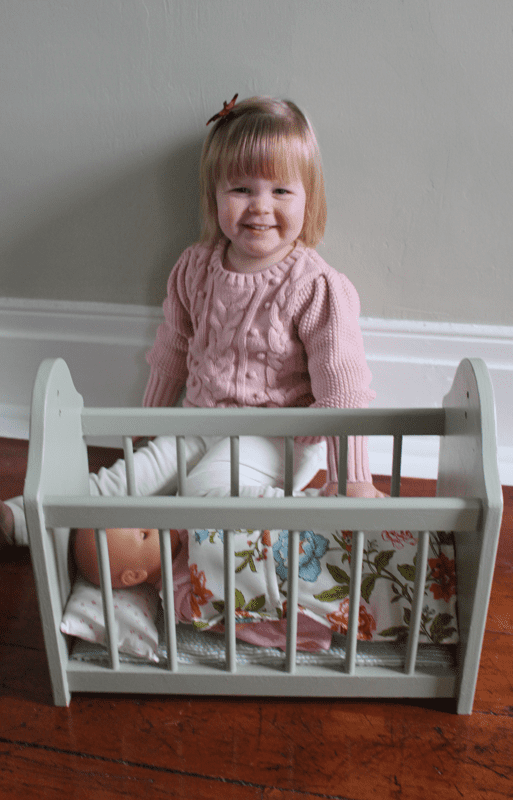
Seeing how excited Rosie was for her present made it so worth while and I had lots of fun having the chance to get creative. It was really special being able to take the time to make this DIY Doll Crib for her and knowing how much she’d enjoy it. It’s got me thinking about other handmade gift ideas for the girls. I’ve already got something I’m thinking about for Christmas this year. Stay tuned! Click here for more handmade gift ideas.
