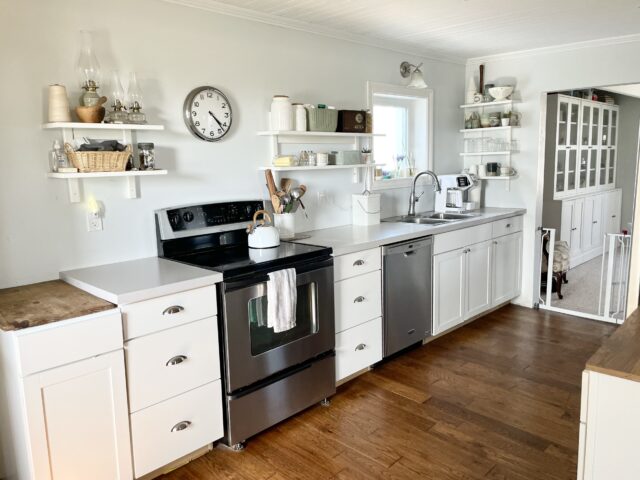
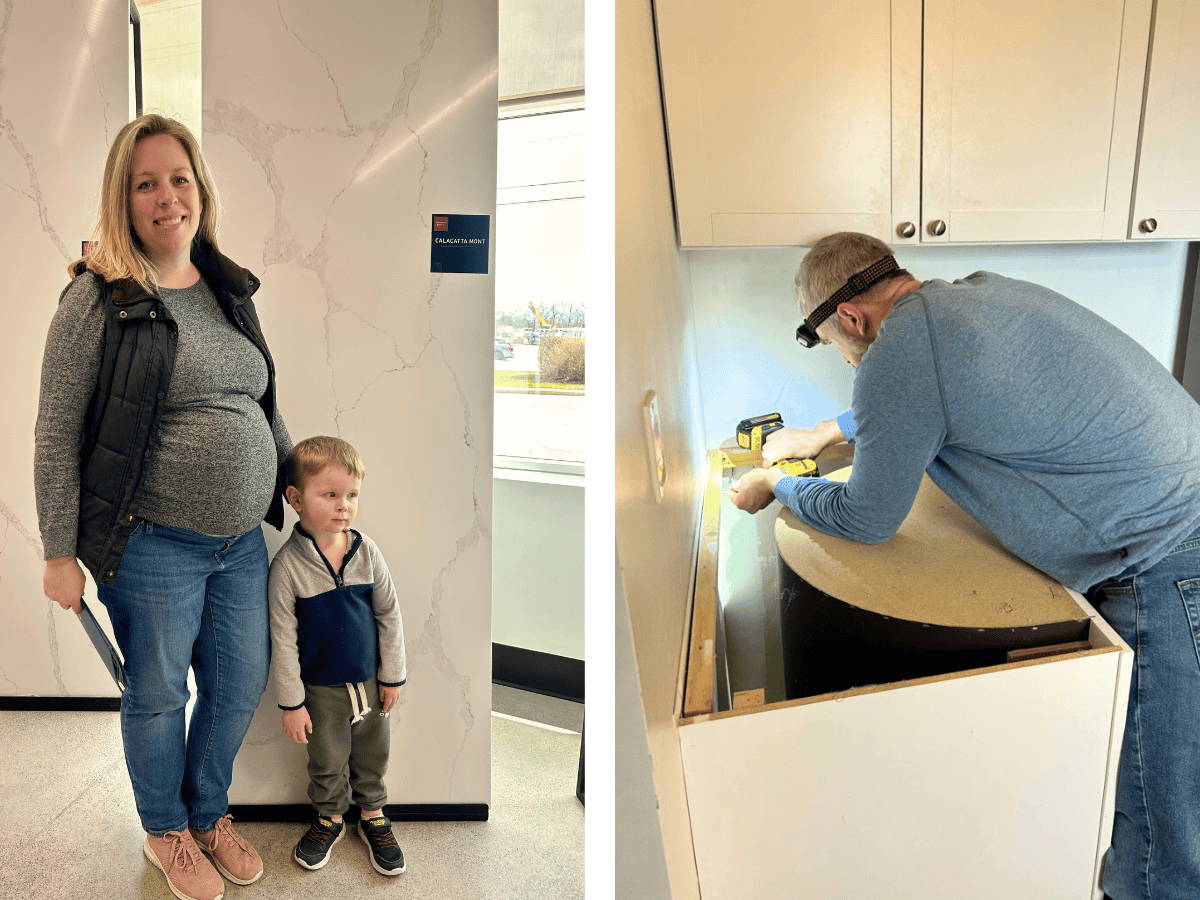
After months of making so many decisions on the new kitchen design for our 1903 farmhouse, it has been exciting to see it all come together over the last month.
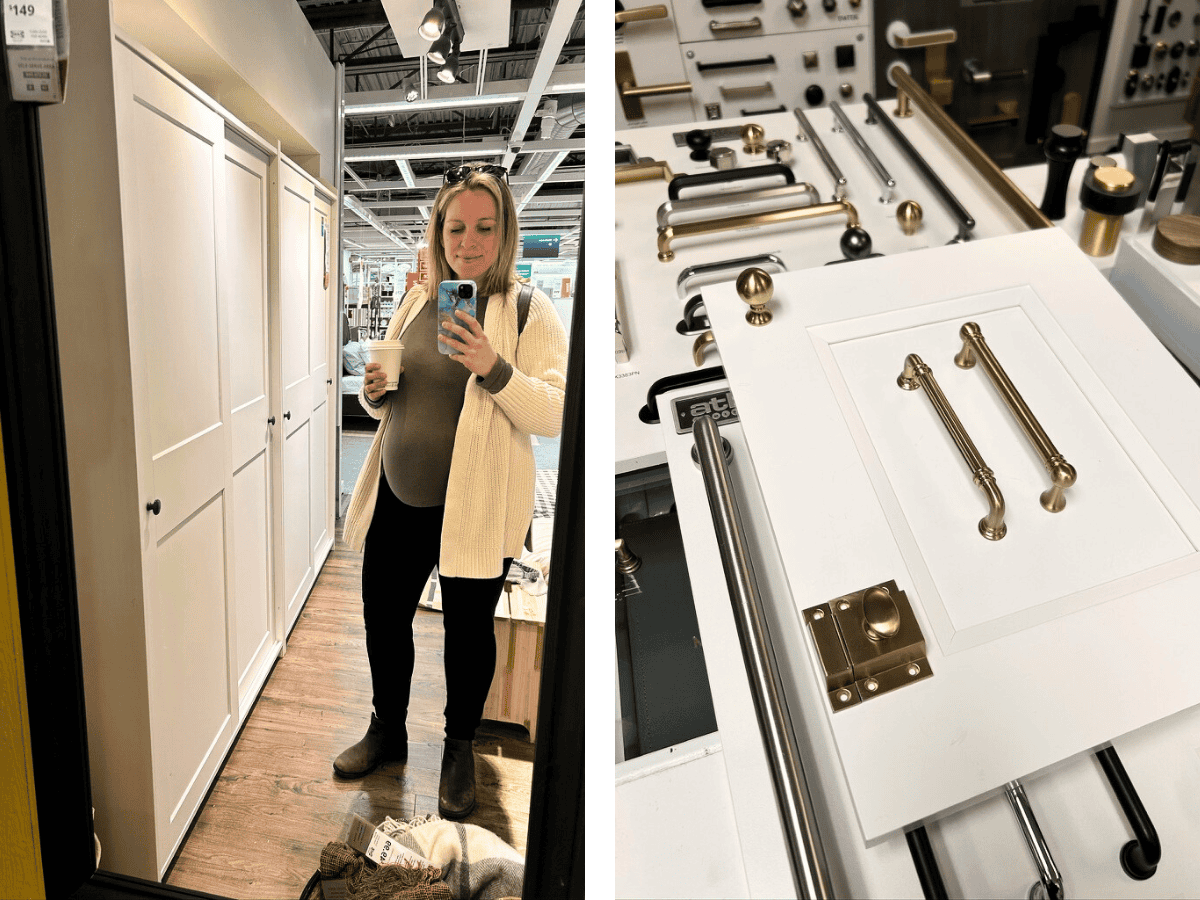
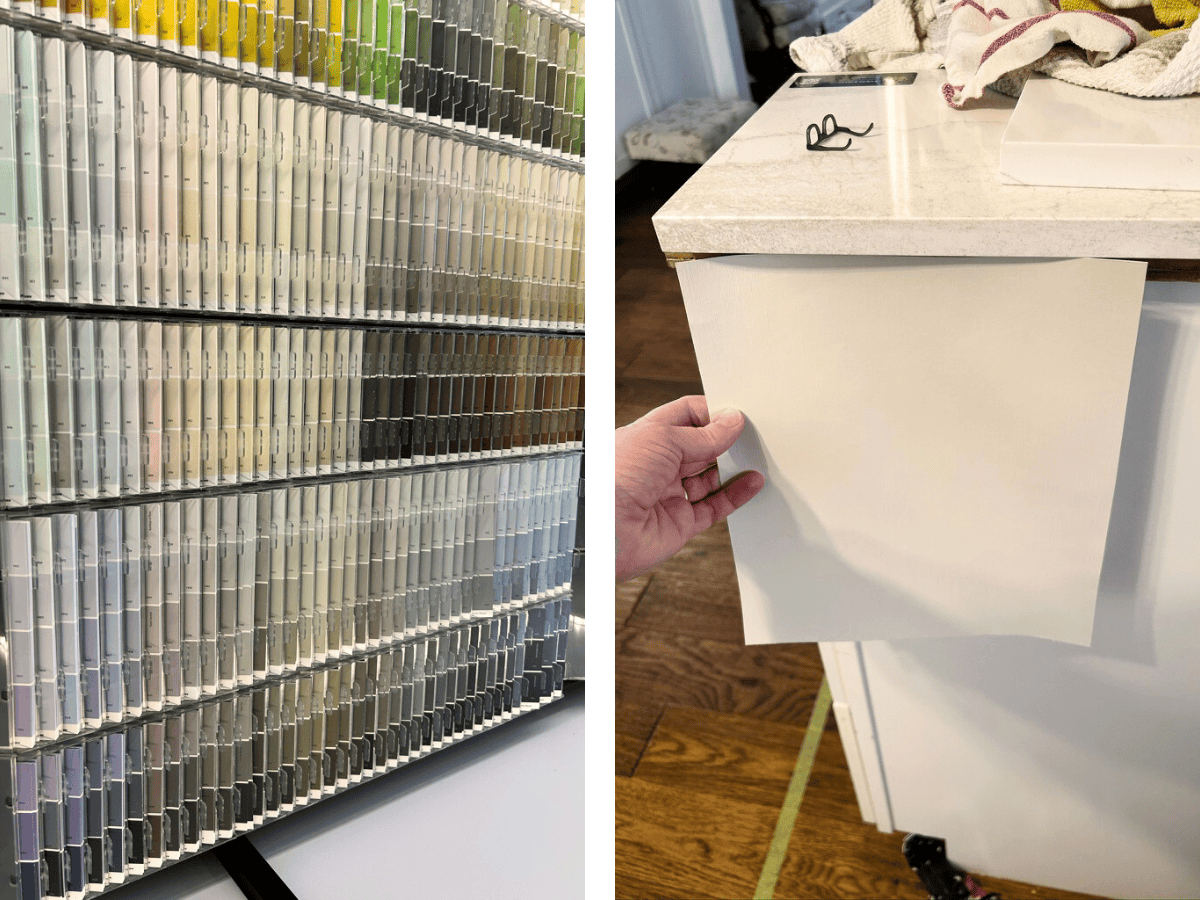
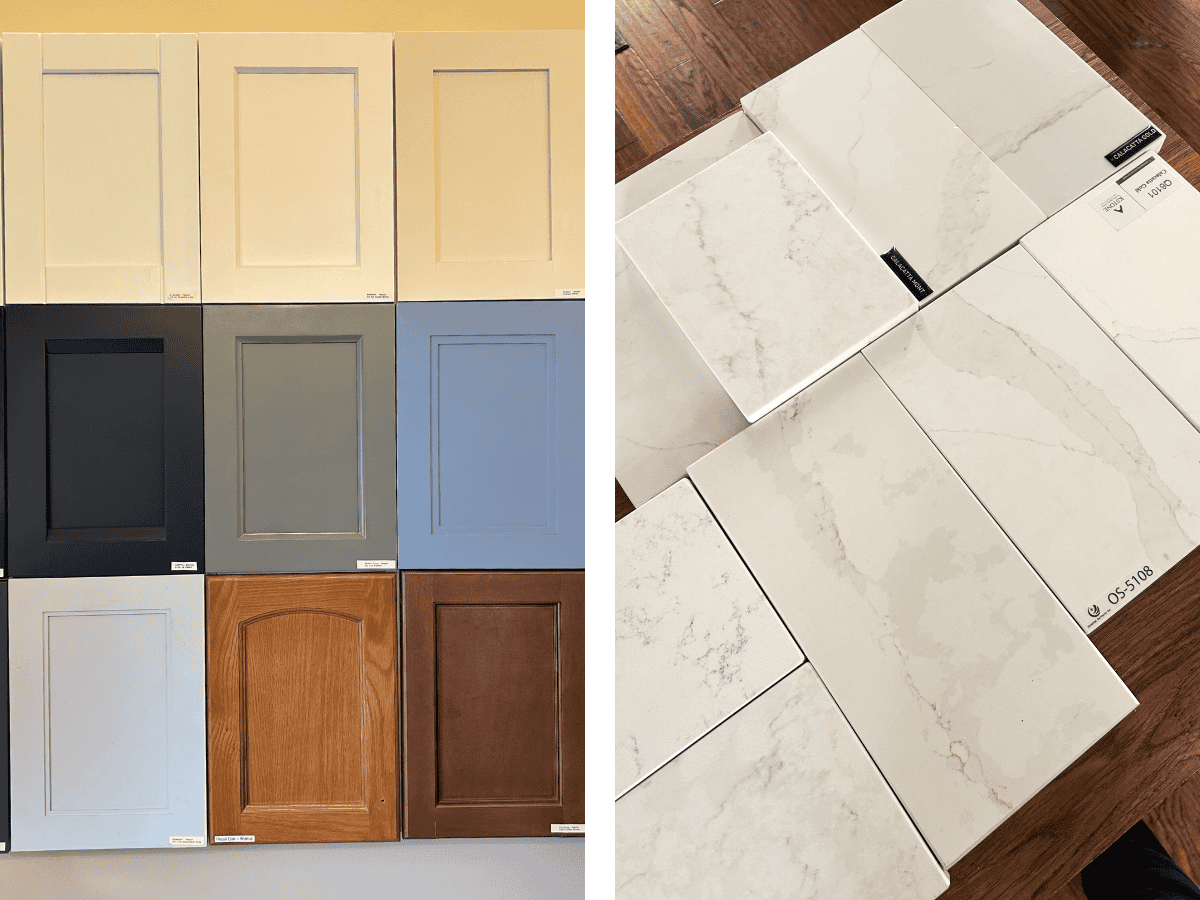
I’ve made trips all over to various vendors for everything from appliances and cabinets to countertops and hardware.
Last week, I shared a post on some of the choices and inspiration that we’ve used to create an English Country Kitchen look.

After playing around with several kitchen layout options, we kept coming back to a similar galley style like we already had. It works well for the flow of the main floor of our farmhouse and meant that we didn’t have to do anything major with electrical and plumbing. The width of our existing galley kitchen was already a good size for two or more cooks in the kitchen (we love to cook together). The main changes we had to make were the cabinet and appliance placements for getting the most out of the storage and counter space.
For most of the renovation, we have left it to the experts. We found great local businesses to handle the cabinets, countertops, electrical, plumbing and floor repairs, but there have still been plenty of things we’ve had to figure out ourselves.
Taking on the demolition of the old kitchen saved us quite a bit on the costs. We were also able to keep some of the pieces to make a cabinet area in our mudroom. We sold the rest to someone who was putting in a basement apartment. Our old kitchen pieces were in good shape, so I was glad to see they didn’t end up in the trash.
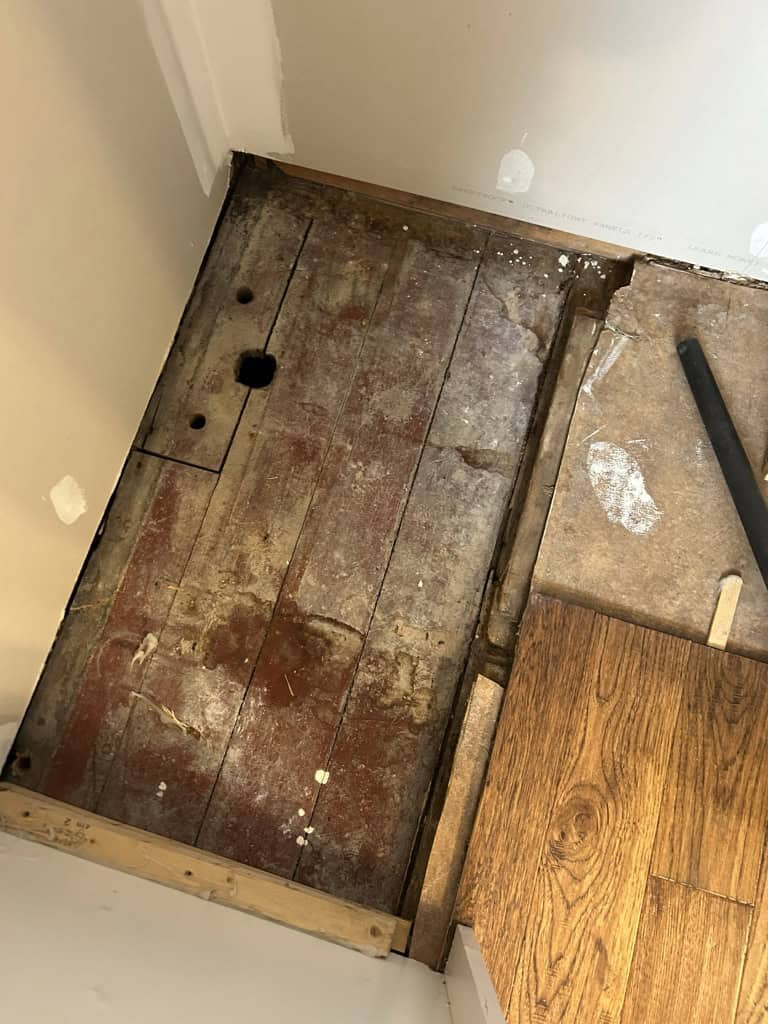
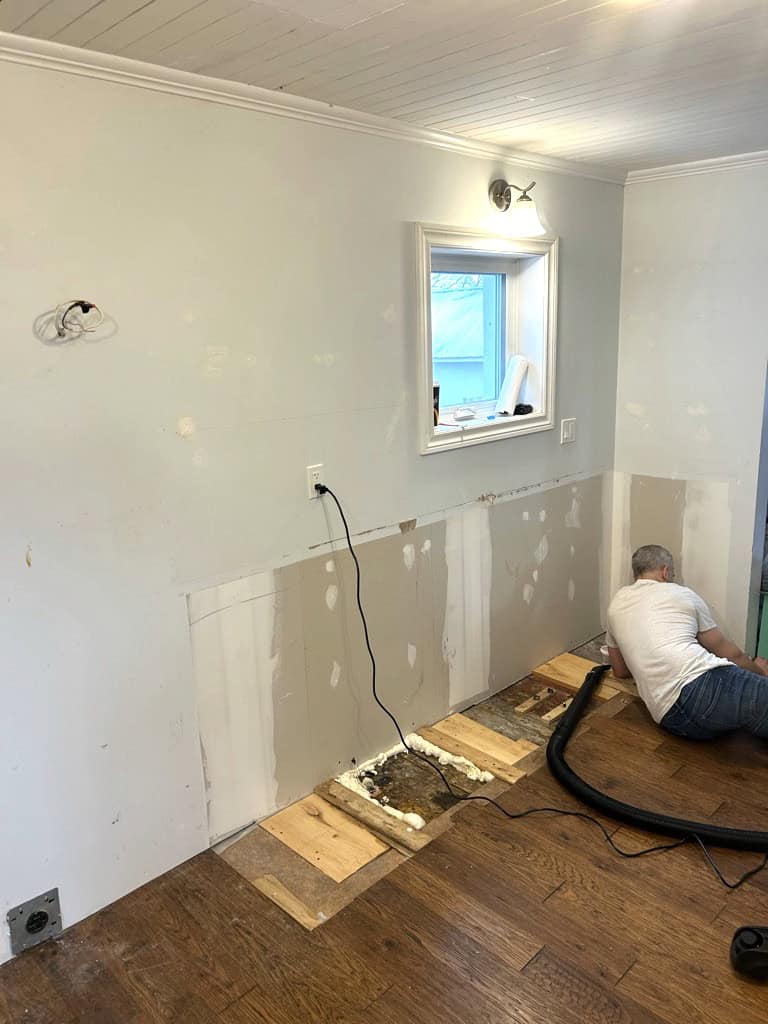
When we started to pull out the old cabinets, we realized that the old laminate flooring (from before we added in engineered hardwood) didn’t carry all the way under the cabinets. This meant we had to bring the flooring up to meet the engineered hardwood so that our floor installer could make the necessary repairs. We’d kept an extra box of the flooring for just a scenario like this and I’m glad we’d held onto it for 5 years.

We did find some pretty cool old newspapers on the original hardwood floors we found under some of the cabinets. There were advertisements for the old department store, Eaton’s, and a newspaper article from WWII.
While I worked on the general contracting for the renovation (with my little assistant), Garrett took over the demo, repairs and painting.

Even though the paint we chose says it is no-VOC, we erred on the side of caution with me being pregnant, and I took the kids to my parents’ house on the days he painted. We’ve had to keep our 6-month-old kitten, Luna, locked away upstairs because she was too curious about the paint too, ha!
It was exciting to come home and see the progress! We took a week to do all the demo, repairs and painting.
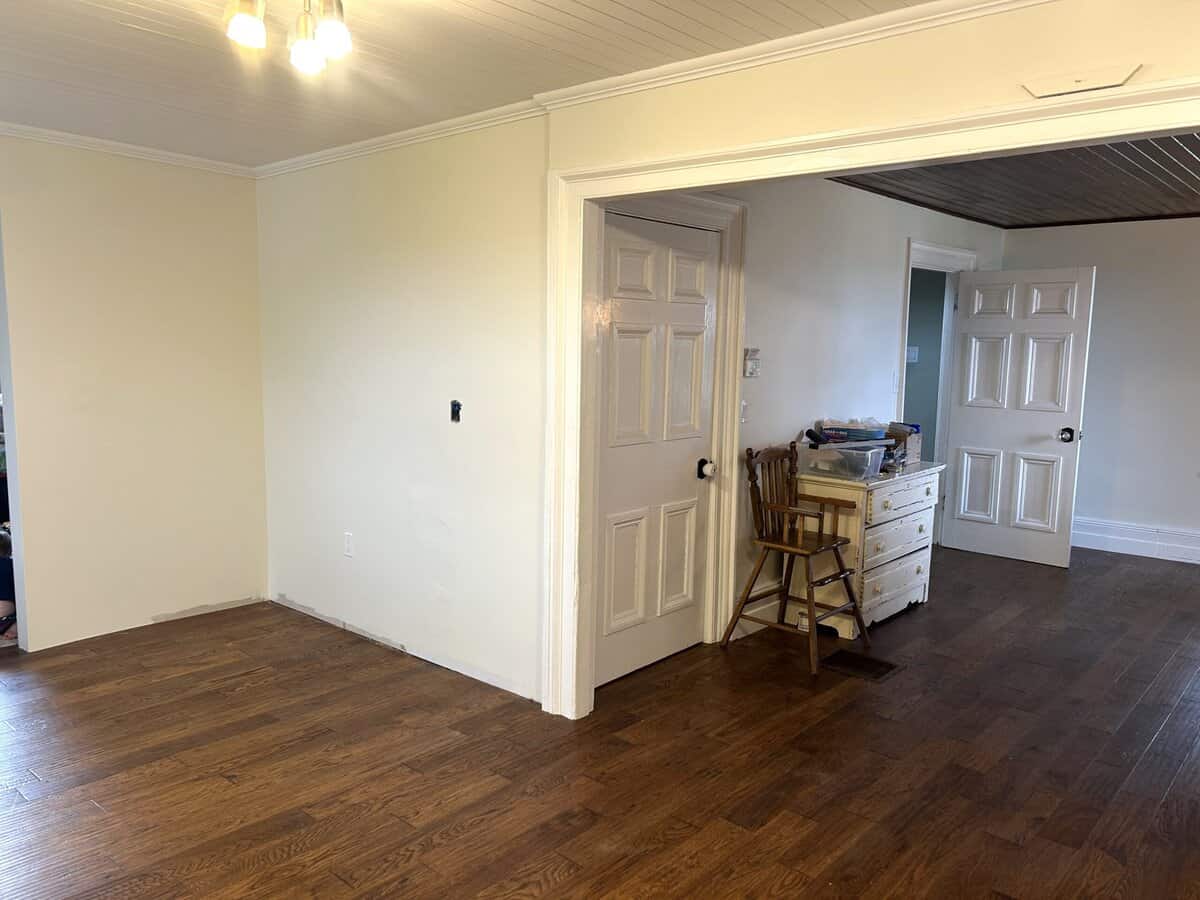
Before we knew it, the kitchen was a blank slate and ready for cabinet installation!
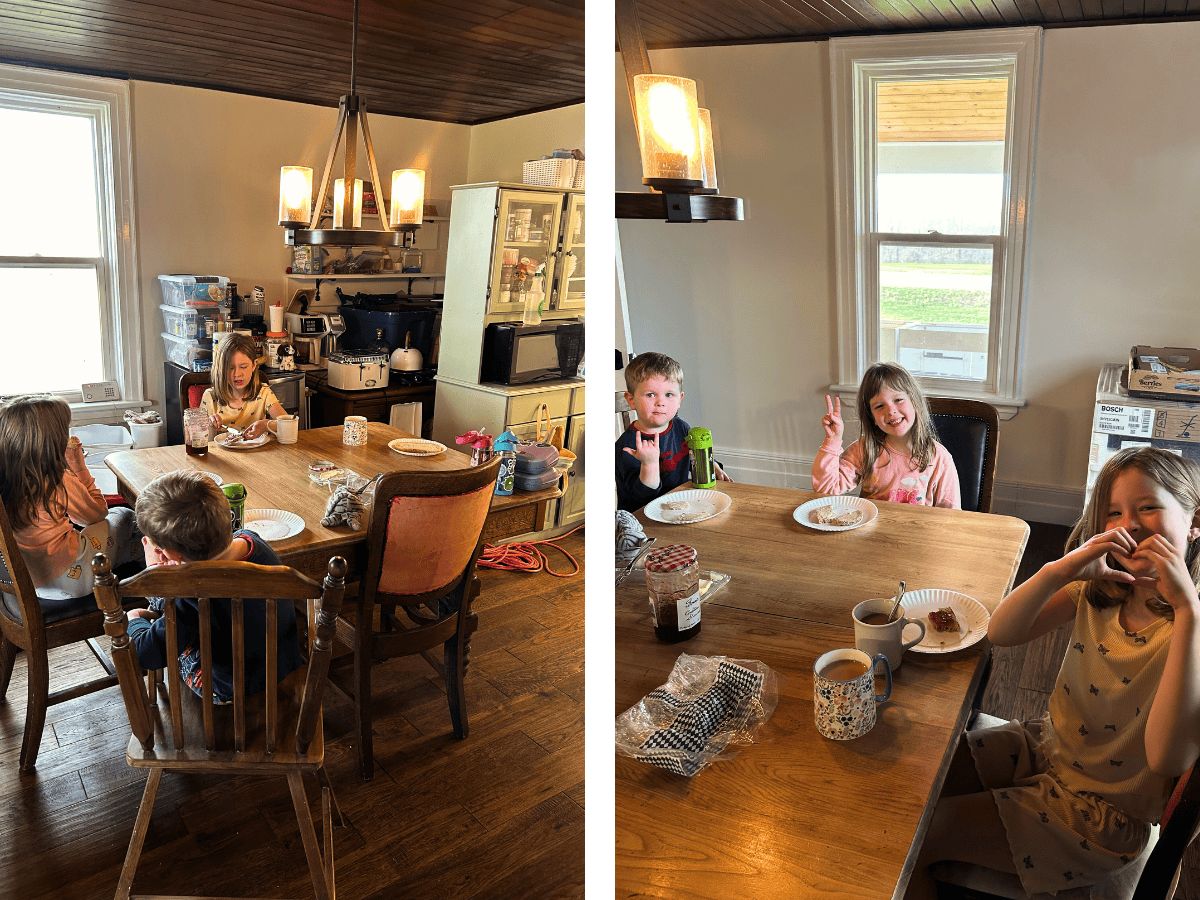
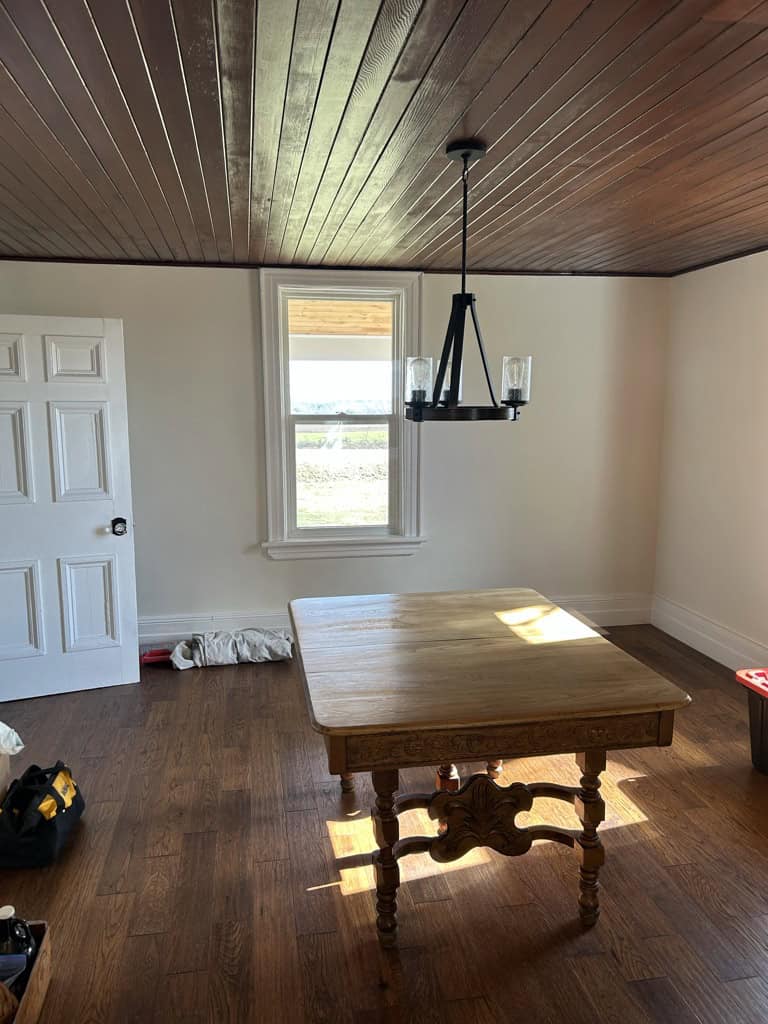
We’ve set up a temporary kitchen in a corner of our dining room using our old green hutch, our new bar fridge, the coffee maker, kettle, toaster and a hot plate. The kids have been good sports in all the chaos of the reno.
We have been doing our dishes in a basin on the dining room table using hot water from the powder room, or taking a laundry basket of dishes to my parents’ house in town. Not having a kitchen sink and dishwasher as a family of five has been the hardest part of the reno. You don’t realize how many times you use the sink within a day until you don’t have one!
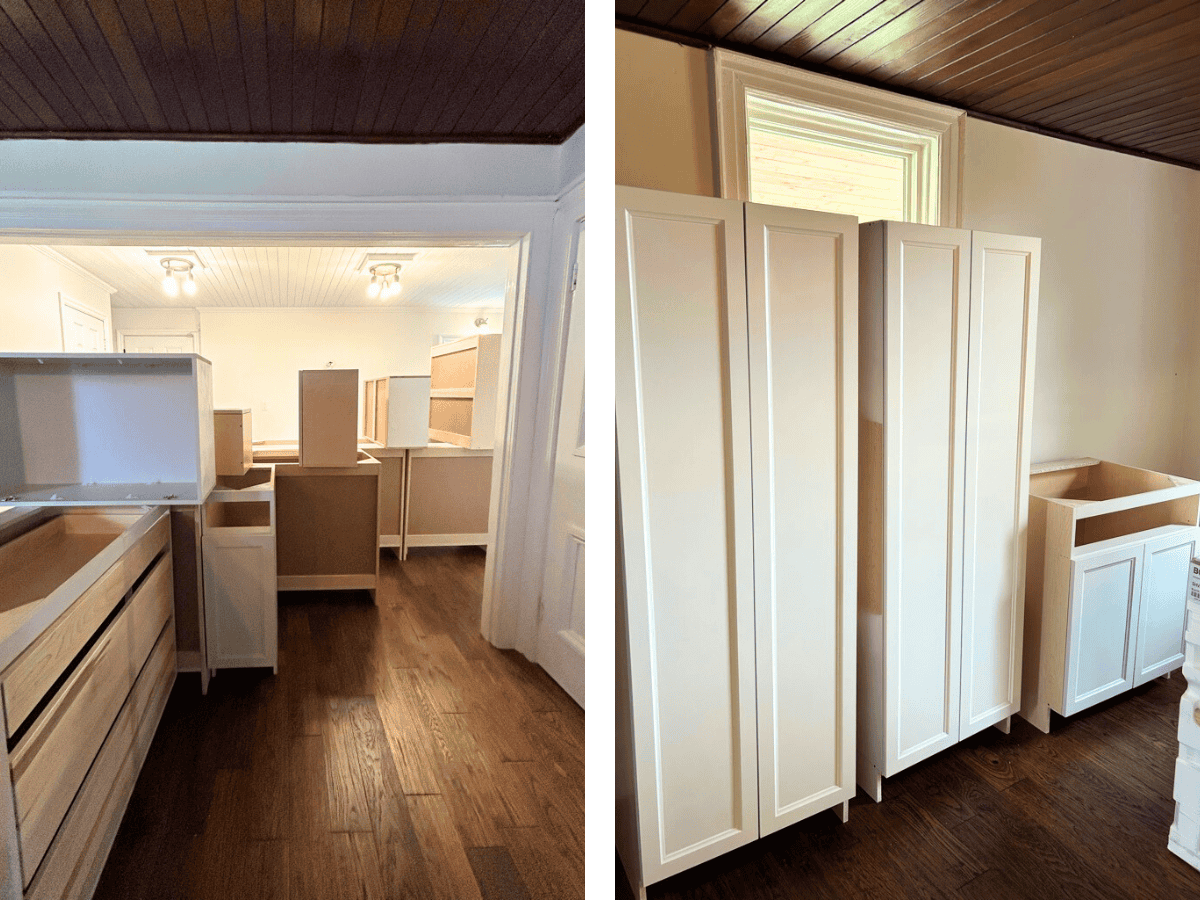
The cabinet delivery day felt like Christmas morning!
Next up, I’ll share the cabinets we’ve just had installed. Now it’s starting to feel like a real kitchen! I’ve been glad to get so much done before baby #4 arrives this month!
More Kitchen Renovation Blog Posts: