When decorating for the holidays, I try to reuse as many things as I can, to help reduce what we have to store in the apartment, and to keep my decorating within budget. Just looking around your own craft supplies, you can be inspired by things you never thought you’d use – like little scraps of Christmas fabric!
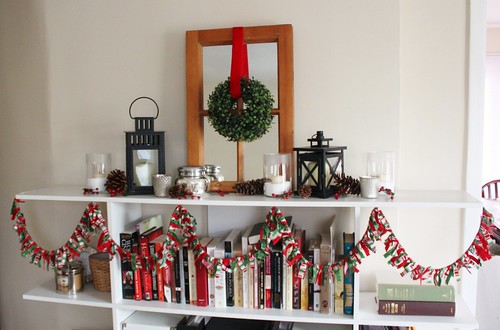
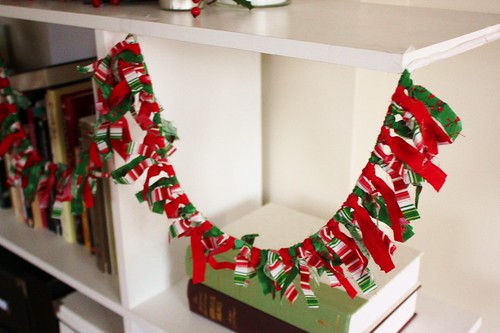
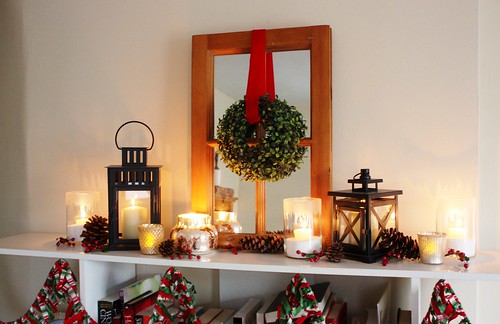
That was the inspiration for this year’s holiday bookcase mantel. I made a Fabric Scrap Garland (tutorial below) using odds and ends of the craft bin, and pulled in some of my favourite candles and lanterns to add some light.
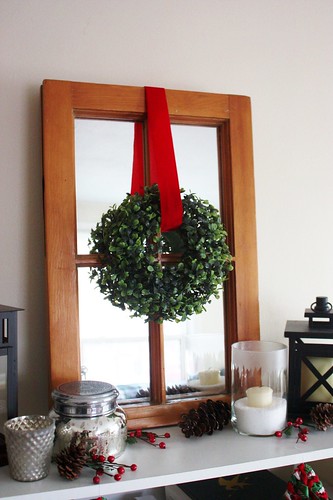
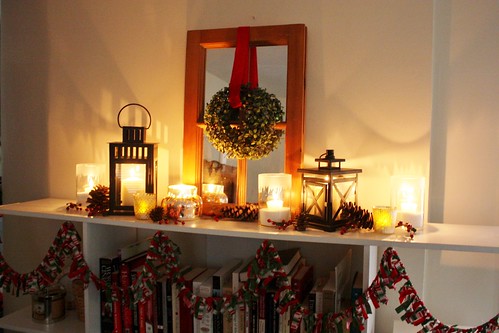
I kept the window frame mirror up from my fall mantle, but freshened it up with a simple wreath made from an old dollar store spring circle arrangement flipped on its side. A piece of lush red velvet ribbon (from my gift wrapping bin!), pinned into the back of the mirror, held it in place.
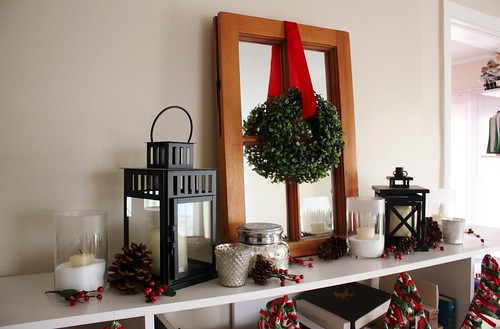
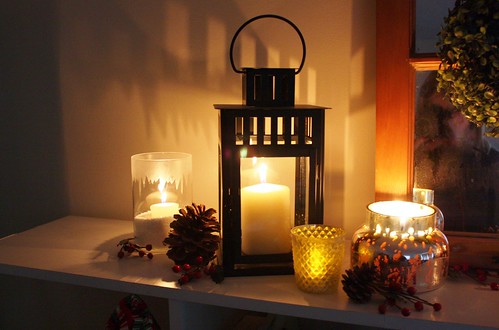
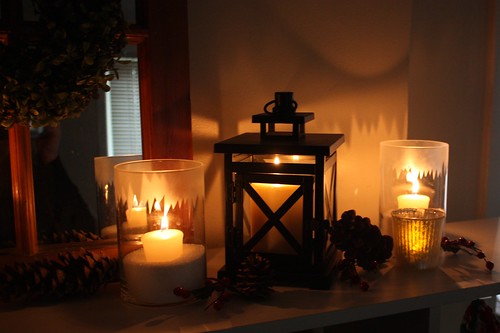
I loved finding another excuse to use my little lantern collection, and to pull in some outdoor elements, like pine cones from my parents’ home and some dried holly berries.
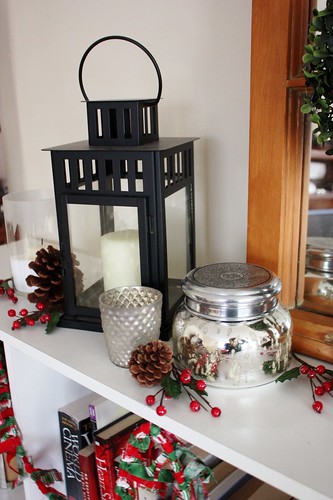
I even found a way to incorporate this beautiful Anthropologie mercury glass candle that Garrett’s parents gave me for my birthday this year.
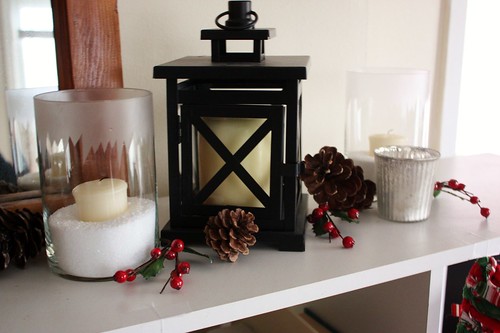
I made a few more Snowdrift Candles, using etching cream, to add to the mantel and tie into candles on the dining room table.
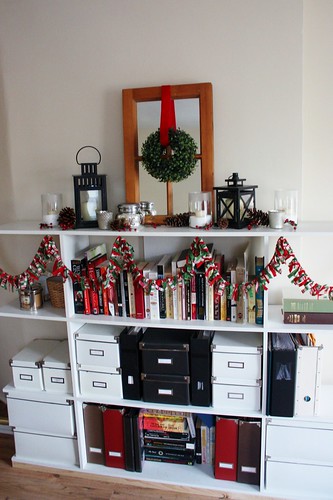
I only wish that I had a real mantel, to make the garland really pop! With the books behind it, I feel like it gets a bit lost in these photos, but in real life it is very noticeable.

This was a really fun and inexpensive holiday project, and I could see myself making these for all sorts of occasions – birthdays, baby showers, bridal showers, Easter, Valentine’s Day, St. Patrick’s Day and even Halloween! Go dig out your fabric scraps and make one for yourself!
What you’ll need:
- Cotton Fabric in Christmas Prints (go through your scrap pile!)
- Cotton/Polyester Blend Rope
- Scissors or Rotary Cutter with Mat
- Ruler
- Matches
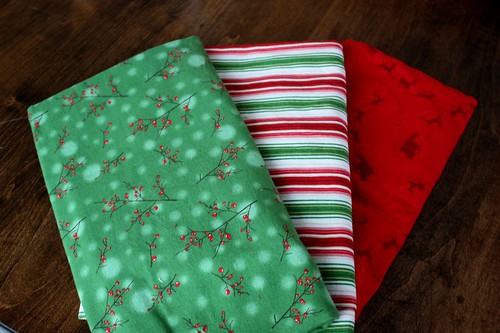
I have a variety of holiday fabrics left over from Christmas projects from previous years, like my Christmas Aprons and Reusable Fabric Gift Bags. There is usually some oddly cut end of the larger piece of fabric, or smaller pieces that were cut and set aside. I was able to use all of those up on this project, without cutting into the larger pieces of fabric.
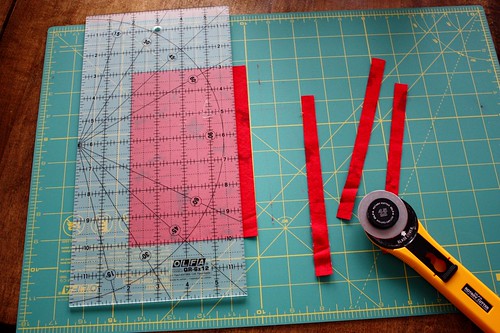
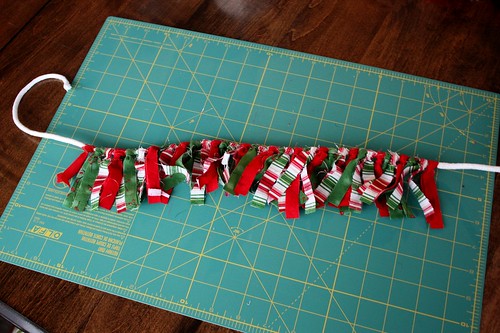
Using a cutting mat, larger ruler and rotary cutter, I cut the fabric into 6″ x 7″ rectangles. Lining up the ruler, I then used the rotary cutter to cut the fabric into 1″ x 7″ strips. You could also mark this with a pen and cut with scissors.
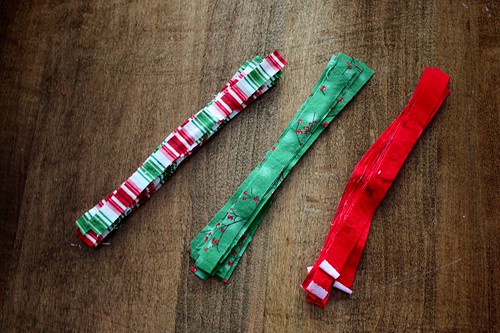
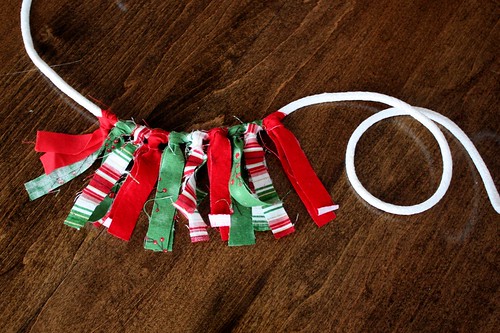
Continue cutting the fabric, until you have a small pile of strips of each colour you plan to use. You’ll need about 48-50 strips for every 15″ of rope.
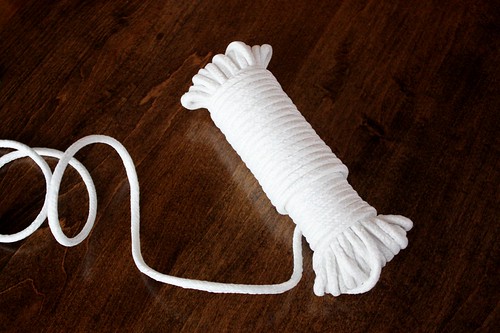
For rope, I went with thin cotton-polyester blend rope from a local hardware store. I got 100 ft for $3.00, and only used about 10 ft of it for this project ($0.30!).
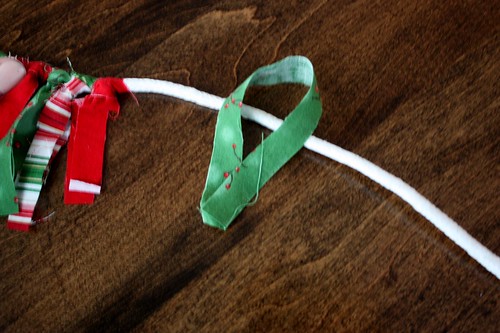
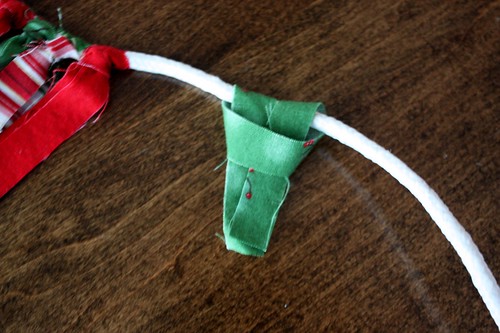
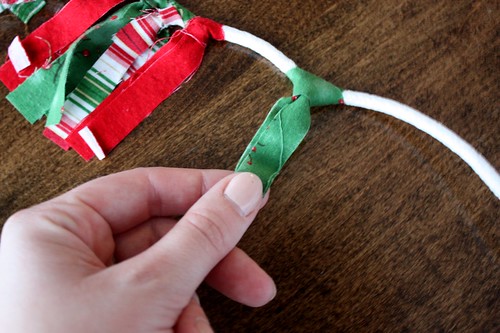
Once you get going, it goes by quickly. You can tie the knots as tight or as loose as you want, depending on the look you are going for.
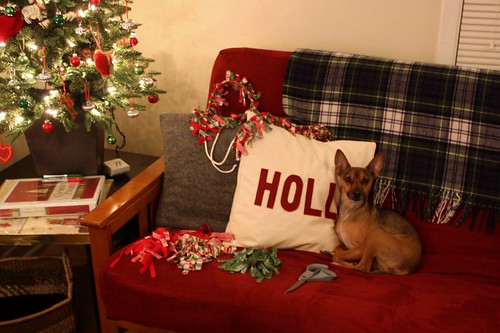
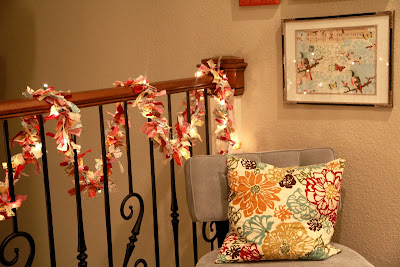
I set up my piles on the couch, popped in a holiday movie, settled in on the new Holly Jolly Canvas Christmas Pillows and was done by the end of the film. Whiskey of course had to be there to supervise.
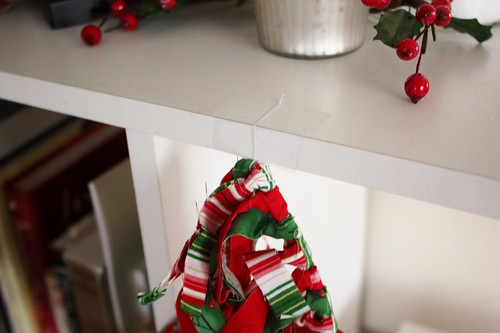
I tied a loop of thread on the garland where I wanted it to hang, and then taped it to the bookcase using clear scotch tape. Unless you are standing right beside it in the right light, you can’t even see it.
I love the festive touch that the garland adds to the mantel, and I hope to use in other areas of the house in the future, like as a garland for a Christmas tree!

I love your garland and your mantel looks so pretty all lit up! Great tutorial! 🙂
This turned out so well! 🙂 Thanks so much for sharing the tutorial! I saw your post on the Christmas Cheer link up and figured I’d stop on by! So glad I did, love your blog and excited to follow along!! 🙂
Shannon
Fabulously Vintage
How cute! I love the garland, and love the wreath and lanterns, too! So pretty!
What an adorable project — and you’re so right, this would be great for so many holidays! Thanks so much for the tutorial! I love your lantern collection, it really is gorgeous. And your mantel all lit up at night looks amazing!
I think your garland and accesorizing is so pretty! Such a festive space!
The fabric garland is so cute! I would love one of those in my little guy’s play area, so precious.
And they all look amazing. I think it’s just a matter of finding the right balance and putting it all in the right place for it to blossom. I’m talking about the fabric that you guys used here, it’s beautiful.
i love your garland and your mantel looks so pretty all lit up! Great tutorial! :).