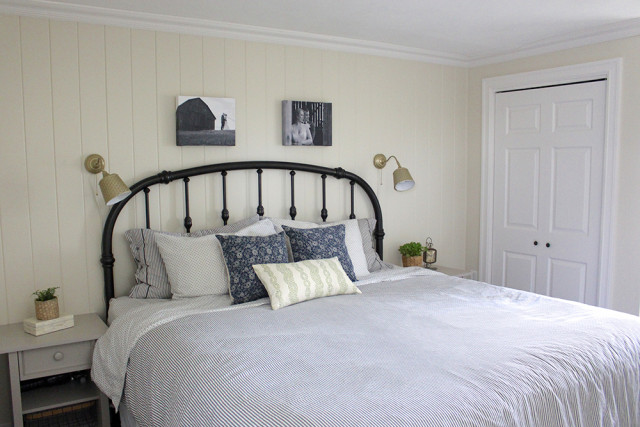
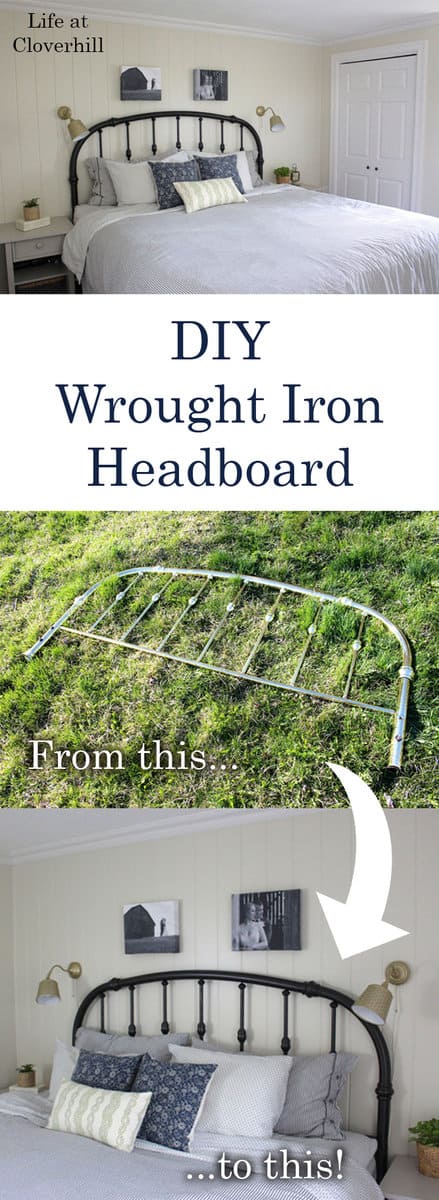
Back when I did the One Room Challenge this spring to makeover our master bedroom, there was one piece I was very excited about creating – our DIY wrought iron headboard. This DIY was one of the fastest projects that we did for the space and it gave the room some nice contrast.
After falling in love again and again with very expensive wrought iron bed frames at expensive home decor stores, I’m so glad we were able to do this on such a small budget.
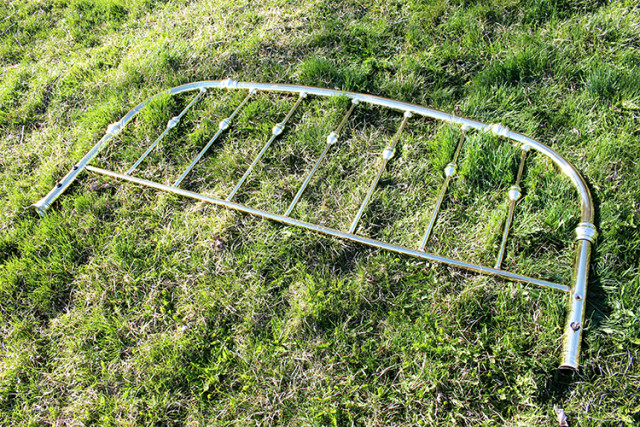
I found this old brass king size headboard for sale in our neighbourhood for only $20 and even though I didn’t know what to do with it yet, I stashed it away in the basement in hopes that we would someday make over our bedroom. Two years later, it was finally time to pull it out of storage – yay!
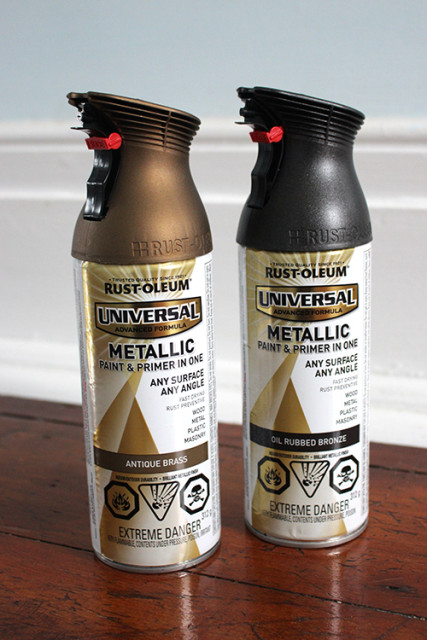
To give it the wrought iron effect we were going for, I picked Rustoleum Universal Metallic Paint in Oil Rubbed Bronze (on the right). I used a similar product by them when I painted a horseshoe for our last apartment and loved the result.
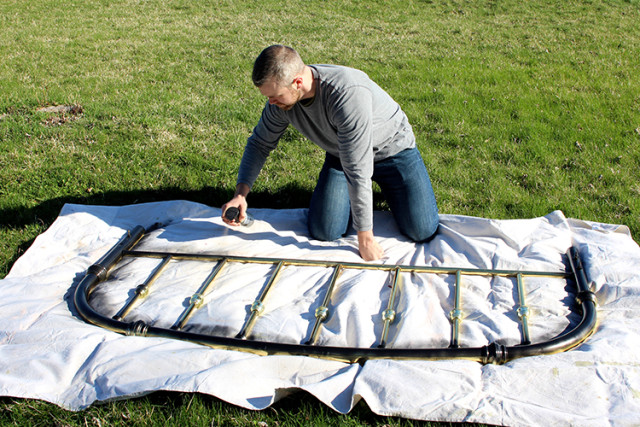
We gave it a quick wipe down and then Garrett gave it two light coats of the Oil Rubbed Bronze.
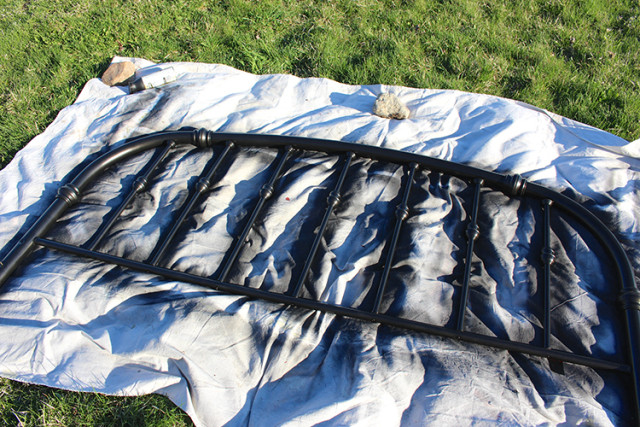
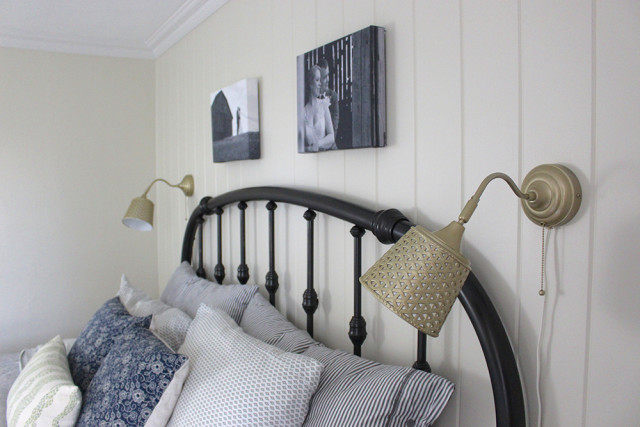
I fell in love with the results instantly! I wish we’d done this ages ago!

The headboard is too short on its own for our bed frame on its own and it was missing the legs that normally come with it. I found a piece of PVC pipe that I could perfectly fit the legs of the headboard into it. Then I attached them to the frame of our bed using black zip ties. It is almost the exact same colour as the paint and because it is normally hidden behind the sheets and the bed skirt, you never see it anyway. (I pulled them back for this photo)
The headboard does rest against the wall a little, so to prevent it from scratching our new tongue and groove walls and fresh paint, I put small brown felt furniture stickers on the high points at the back.

I love how this master bedroom turned out and it has become such a relaxing place for us to wind down every night. Be sure to check out the whole master bedroom renovation and see the final farmhouse master bedroom reveal.
Disclosure – Rustoleum generously provided me with their paint products to review. All opinions are my own.

As always, beautiful!
Thank you Diane 🙂
Gorgeous! I found the same headboard plus footboard and frame at a thrift store. I believe my headboard is a little taller since it appears mine has the extra leg. To help me with the height, with the PVC piping added can you tell me what is the center height (highest point) of your headboard?