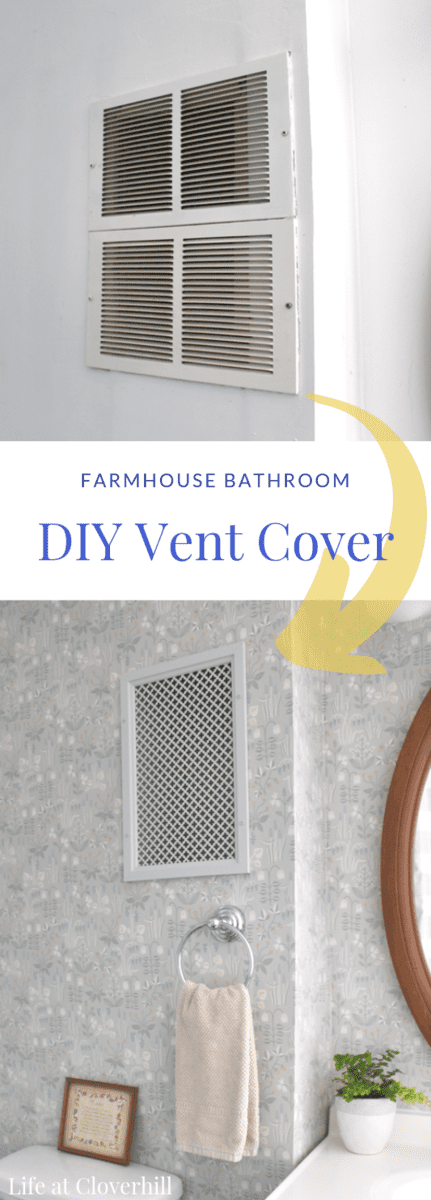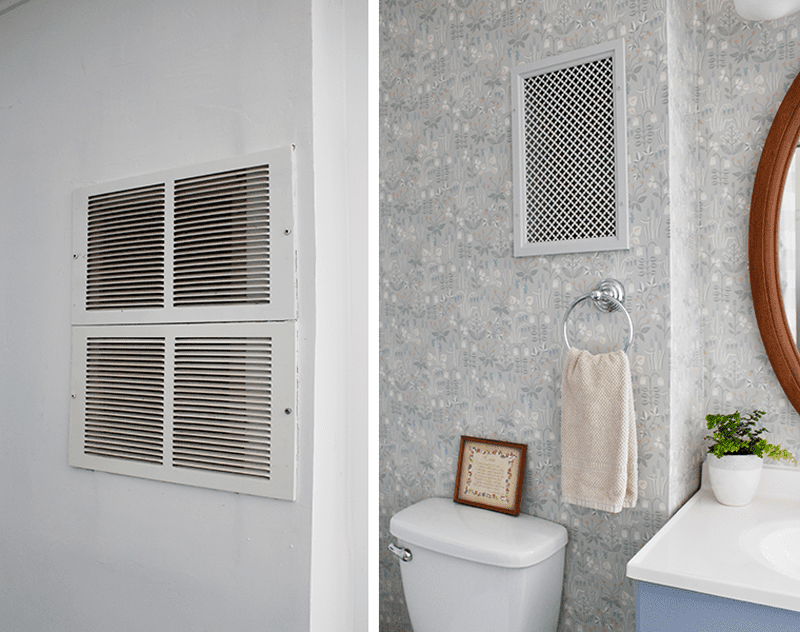
When we were renovating our upstairs bathroom at the farmhouse earlier this spring, we’d run into a dilemma of what to do with the two vent covers on the wall. After exhausting my search for one single cover to hide the hole for the exhaust, I came up with the idea to create my own custom sized vent cover.
I’m sharing all the details today, in hopes that it will inspire anyone else who is frustrated by the limited options. Making our own DIY vent cover was much easier than I expected and makes it look less conspicuous than it was before. You could use this same method to cover any vent or register and add a little style.
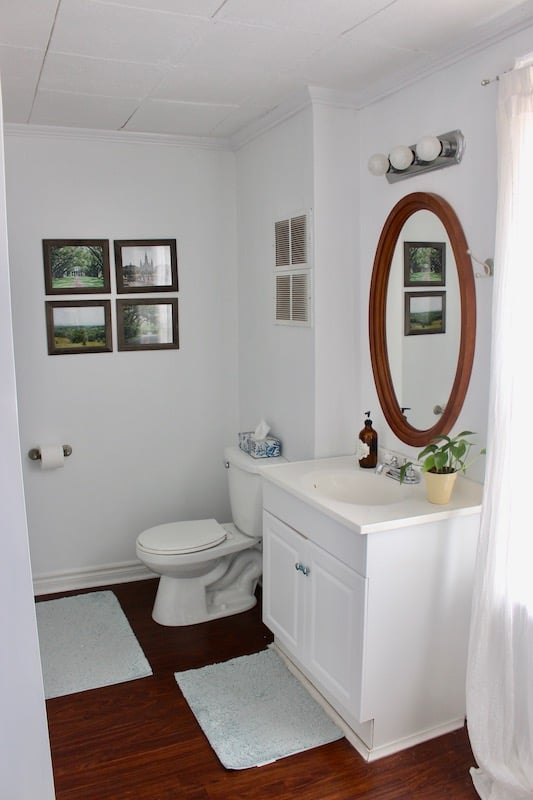
When we first started working on our bathroom renovation as part of the One Room Challenge, I really had no idea what I was going to do about the vent cover. It is in a pretty obvious place, right at eye level, and felt like such an eyesore. I was concerned that I’d spend all this time on the wallpaper, painting the vanity and updating the lights, only to have the vent cover staring right back at me.
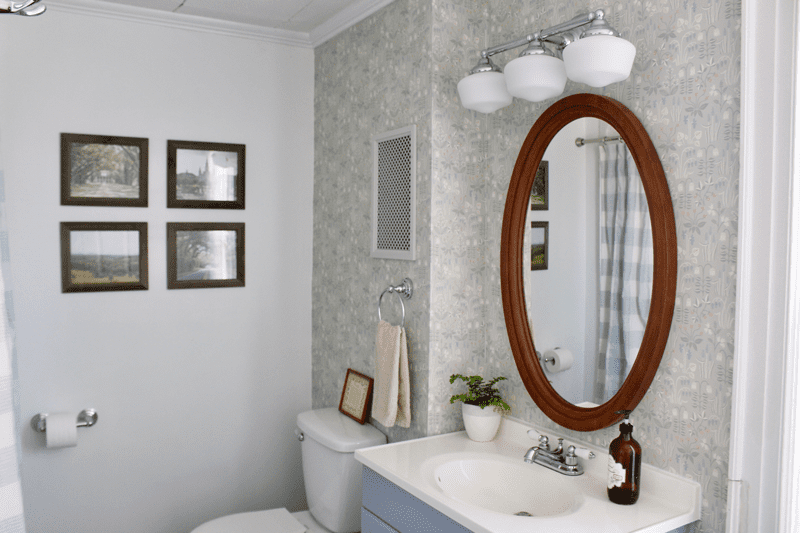
Making a DIY Vent Cover was the best solution and I was able to do it for under $25, using mostly materials that we already had on hand. Now it really blends in with the lovely new wallpaper much better and reminds me of expensive vents I’ve seen in historic homes.
DIY Vent Cover
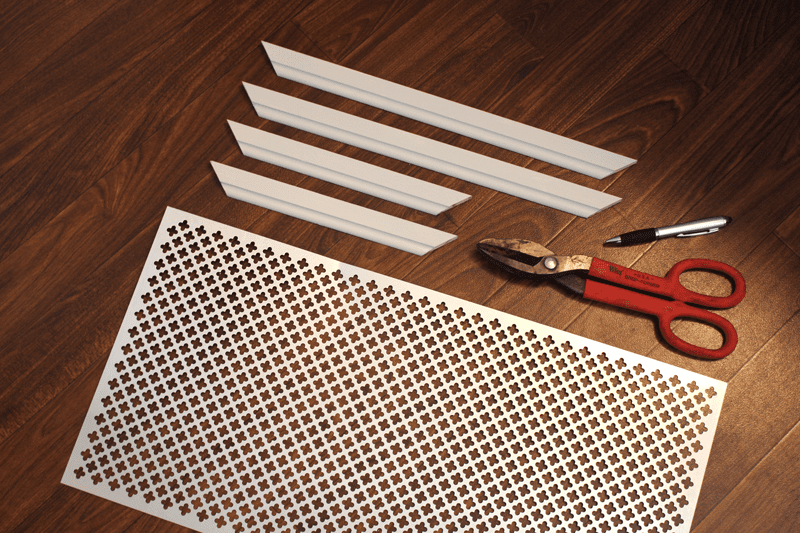
What you’ll need:
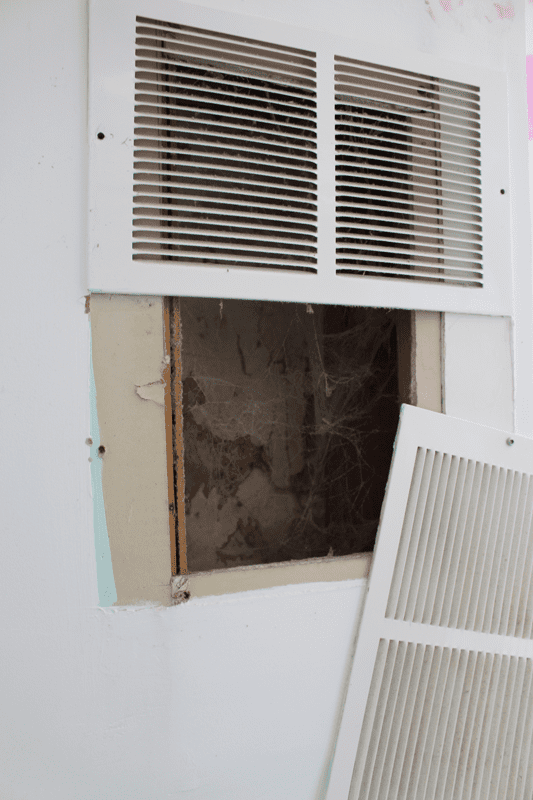
When I removed the old vent covers, I realized that they were much bigger than the actual hole for the vent. Inside the vent was like something out of the cryptkeeper. I had dusted the outside of the vent many times, but I had no idea that the inside was full of old spider webs, decades old wallpaper and lots of dust.
I vacuumed and cleaned out the vent tunnel and Garrett took on the big job of cleaning out the actual vent up inside the hole, because I was throughly convinced that a massive man-eating spider would come down. (It did not, haha)
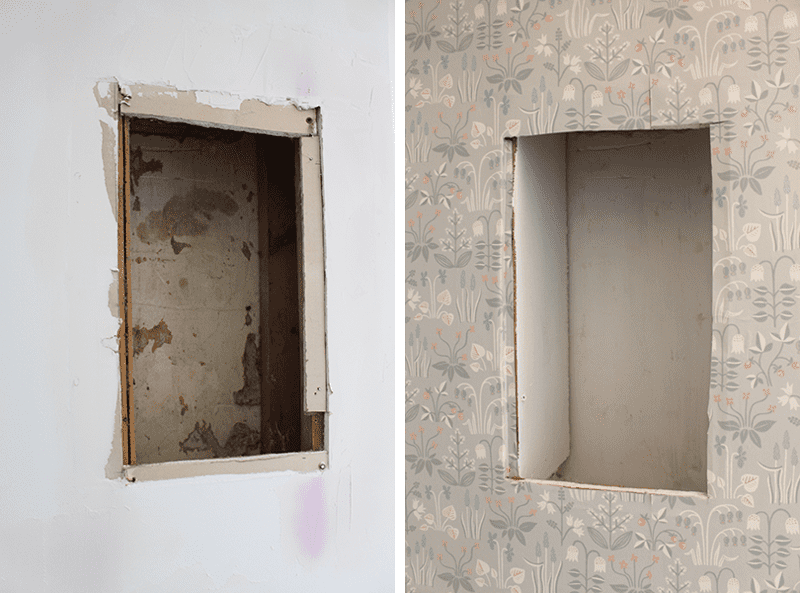
I repaired the drywall around the vent opening with spackle to create a smoother surface to apply the new wallpaper too. I also found some spare primer and paint in our basement stash and gave the inside a coat of simple grey paint. Seeing as you’ll be just barely able to see inside the vent, I wasn’t too concerned with making repairs to the walls inside, but painting it definitely helped it blend in.
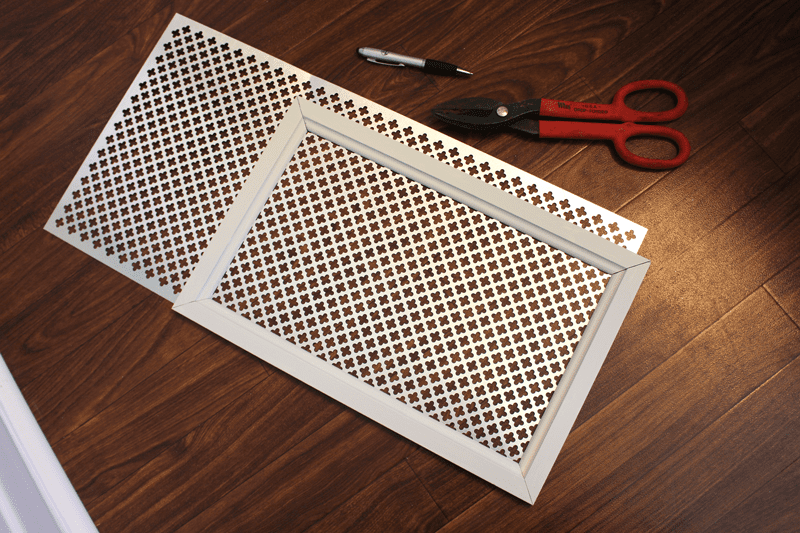
Using some leftover trim we had from another project, Garrett made a simple frame for the vent cover, using a miter saw. The frame is slightly bigger than the hole in the wall. The frame was glued and then held together with clamps while it dried. I held the frame over the sheet metal until I had it in a position I liked (in my case, with the design centred) and lightly traced it on the outside with a pencil. Using the sheet metal cutter, I carefully cut out the shape, coming in about 1/2″ from the drawn line on all four sides. This meant you wouldn’t see the edge of the sheet metal when the frame was hung on the wall. The metal becomes extremely sharp when cut, so take extra caution when handling it.
I’d had a small sample pot of good quality paint colour matched to the main colour of the wallpaper we used in this bathroom renovation, for painting a couple pieces of trim and blending any mistakes I made on my first time wallpapering. Using a small craft brush, I painted the sheet metal piece and the frame separately with several light layers of the paint. This vent cover was going up on a wall quite high and I wasn’t worried about anyone touching it. If you were doing a vent cover lower on the wall, where it may be bumped often, I would consider using a strong primer first to prevent the paint from rubbing off the metal.
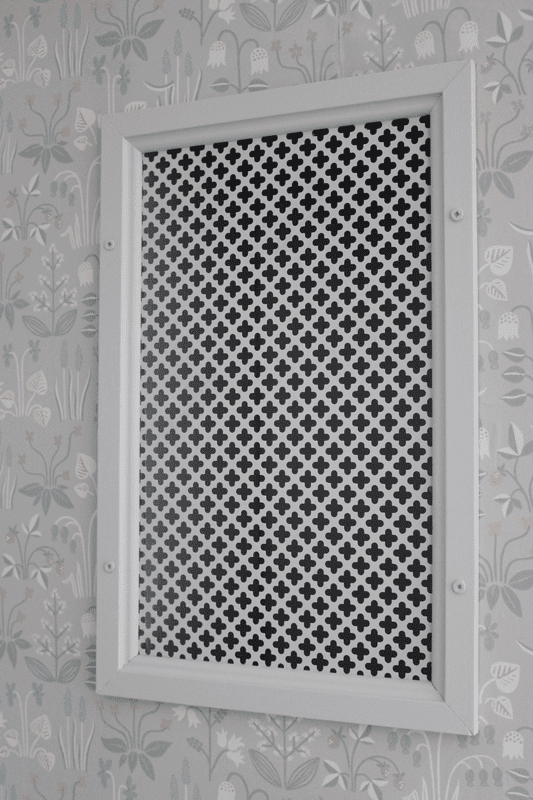
After the paint had dried, I glued the painted sheet metal to the painted frame and let it cure overnight. When putting it onto the wall, we used short wood screws and touched them up with a little bit of paint. This is not a vent that we access regularly and I’m not concerned with how accessible it is. If we really needed to get in there, it’s still quite easy to carefully unscrew it.

There you have it! An inexpensive fix to an unsightly design dilemma. I was even able to find a cloverleaf pattern for the sheet metal, which felt very appropriate for a century home called ‘Cloverhill’!
