Disclaimer: I was kindly gifted the Brinsea EcoGlow brooder. All thoughts and opinions are my own.
A brooder is the temporary home that chicks live in until they’re able to move into a chicken coop. Keep reading to learn how to create a safe and warm brooder space for your chicks.
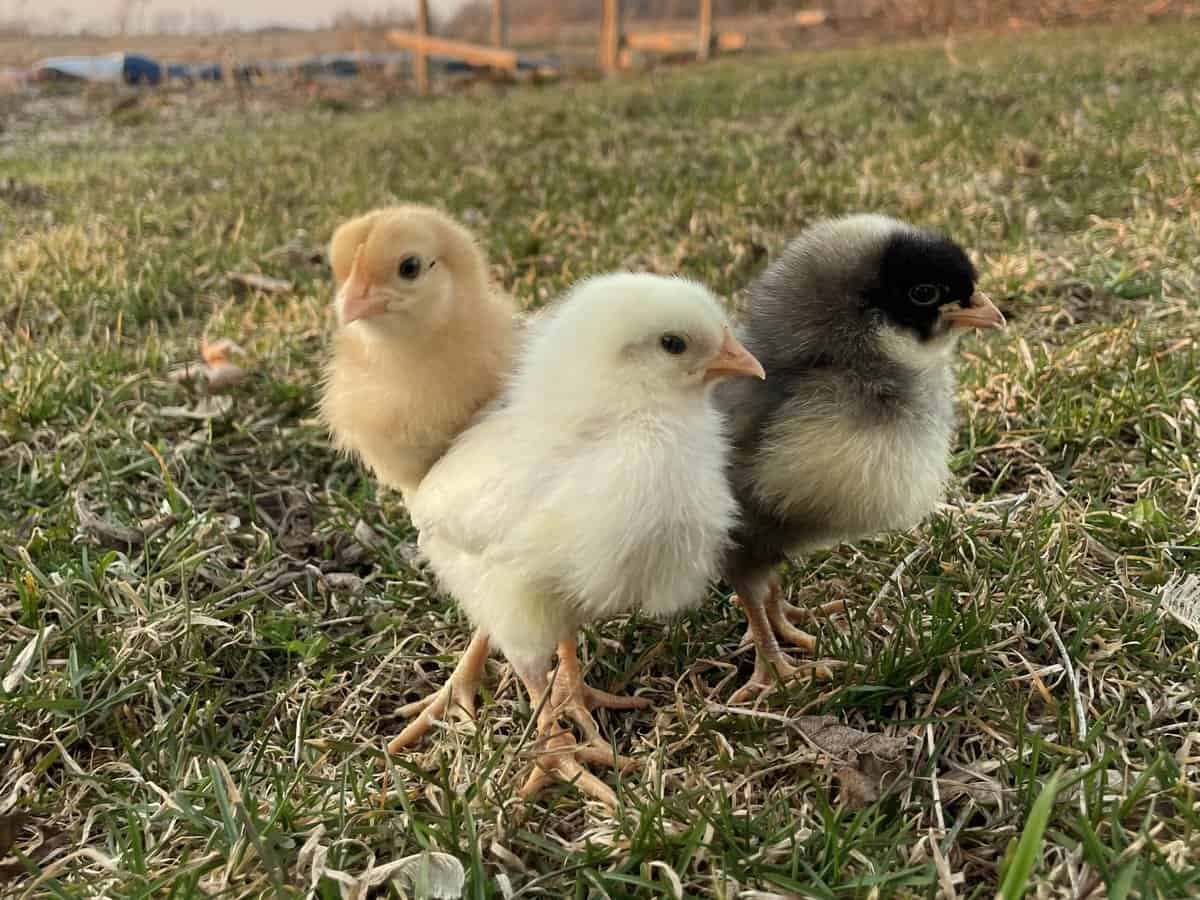
It was a fun spring last year at Cloverhill Farmhouse. We had baby chicks again!
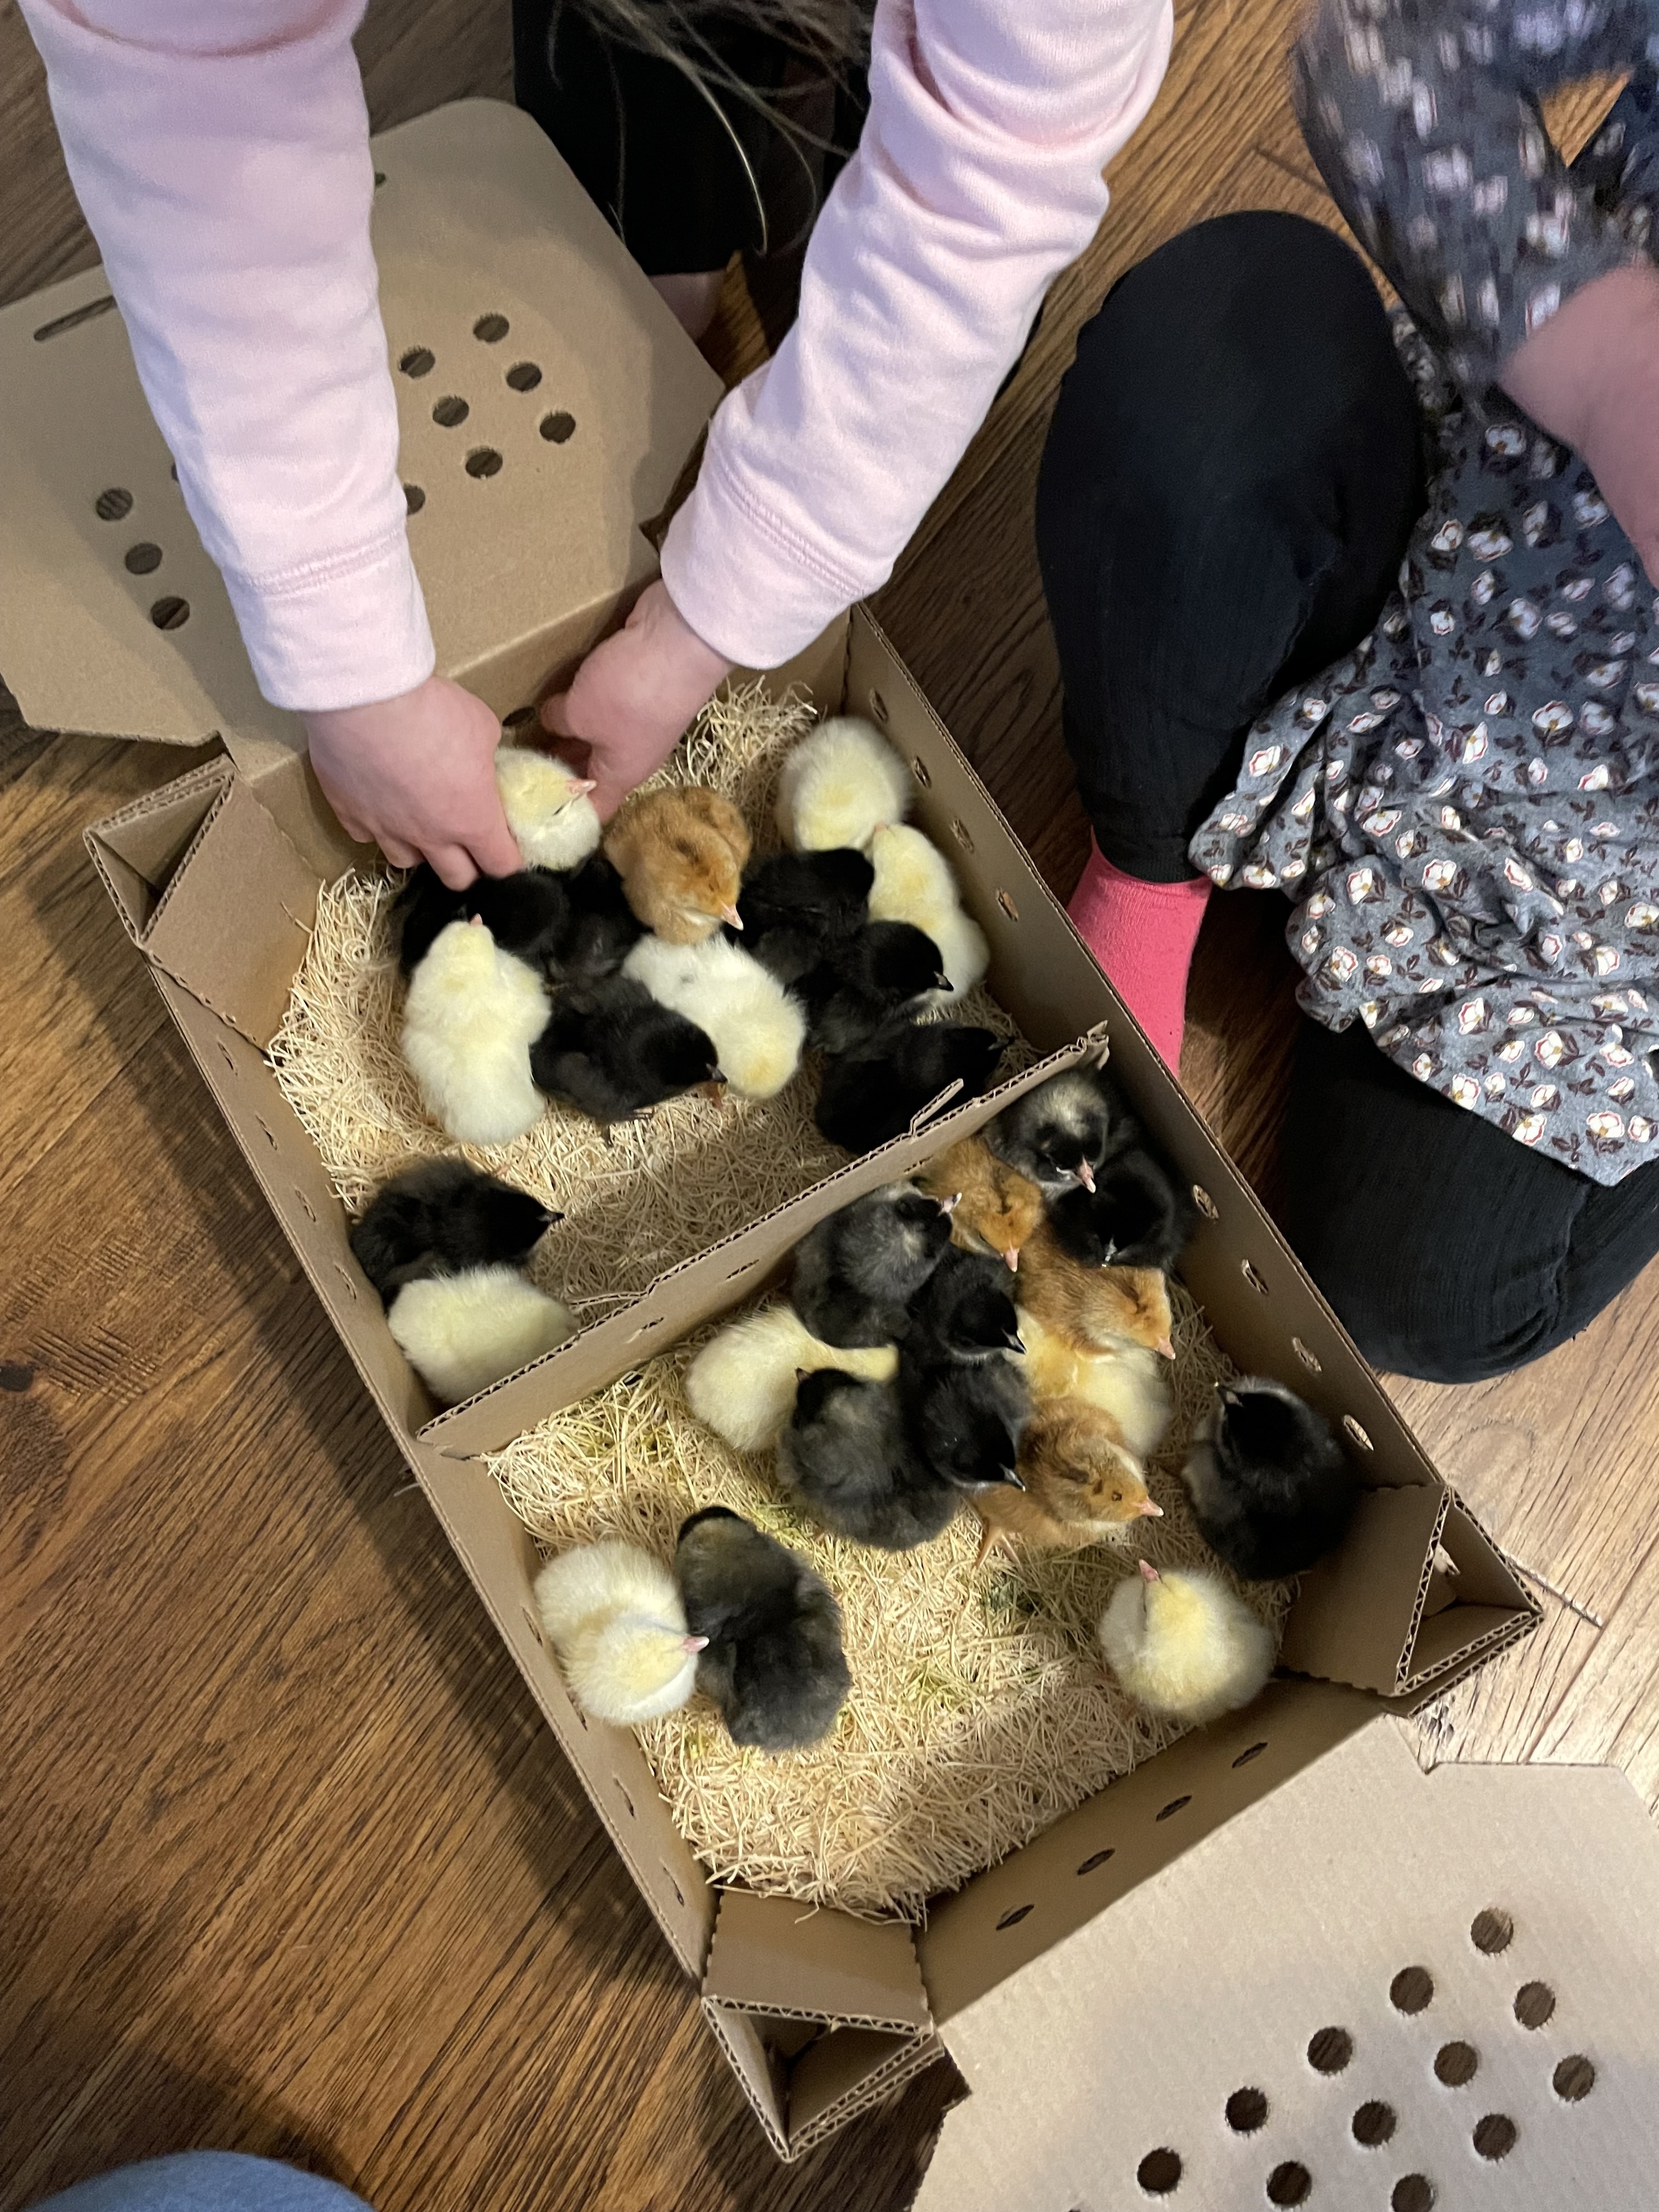
We ordered them through our local farm supply. There were supposed to be 28 chicks but after a couple days we recounted and had somehow ended up with 30! I told the kids maybe a couple extra decided to jump in the box, ha!
We picked several different varieties, mostly ones that are new to us but also a couple of our favourites:
- Barred Plymouth Rock: (Light Brown Eggs) Classic black and white striped feathers. We’ve had these ones before and they are one of the friendliest breeds with kids.
- Azure Blue: (Blue Eggs) Smaller chicken with silvery-white feathers and also our first blue eggs!
- Rhodebar: (Light Brown Eggs) Brown and white striped feathers with touches of black. They looked like chipmunks as day old chicks.
- Ivory Sasso: (Light Brown Eggs) White feathers with a few black spots.
- Noirans: (Dark Chocolate Brown Eggs) Black copper coloured feathers and lay the dark brown eggs that look like something you’d find in an Easter basket.
- Black Star: (Light Brown Eggs) Striking black hens with brown near their heads. Another breed we’ve had before and like (Also called Black Sex Link).
Table of Contents
- Getting Ready Before the Baby Chicks Come Home
- Heating Chicks Safely with a Brinsea EcoGlow Brooder Heater
- Monitoring Brooder Temperature
- Choosing a Chick Brooder Container
- How Much Space for Each Chick
- Picking Bedding for the Brooder
- Setting up Food & Water
- Adapting as Chicks Get Older
- More Posts on Our Chickens
Getting Ready Before the Baby Chicks Come Home
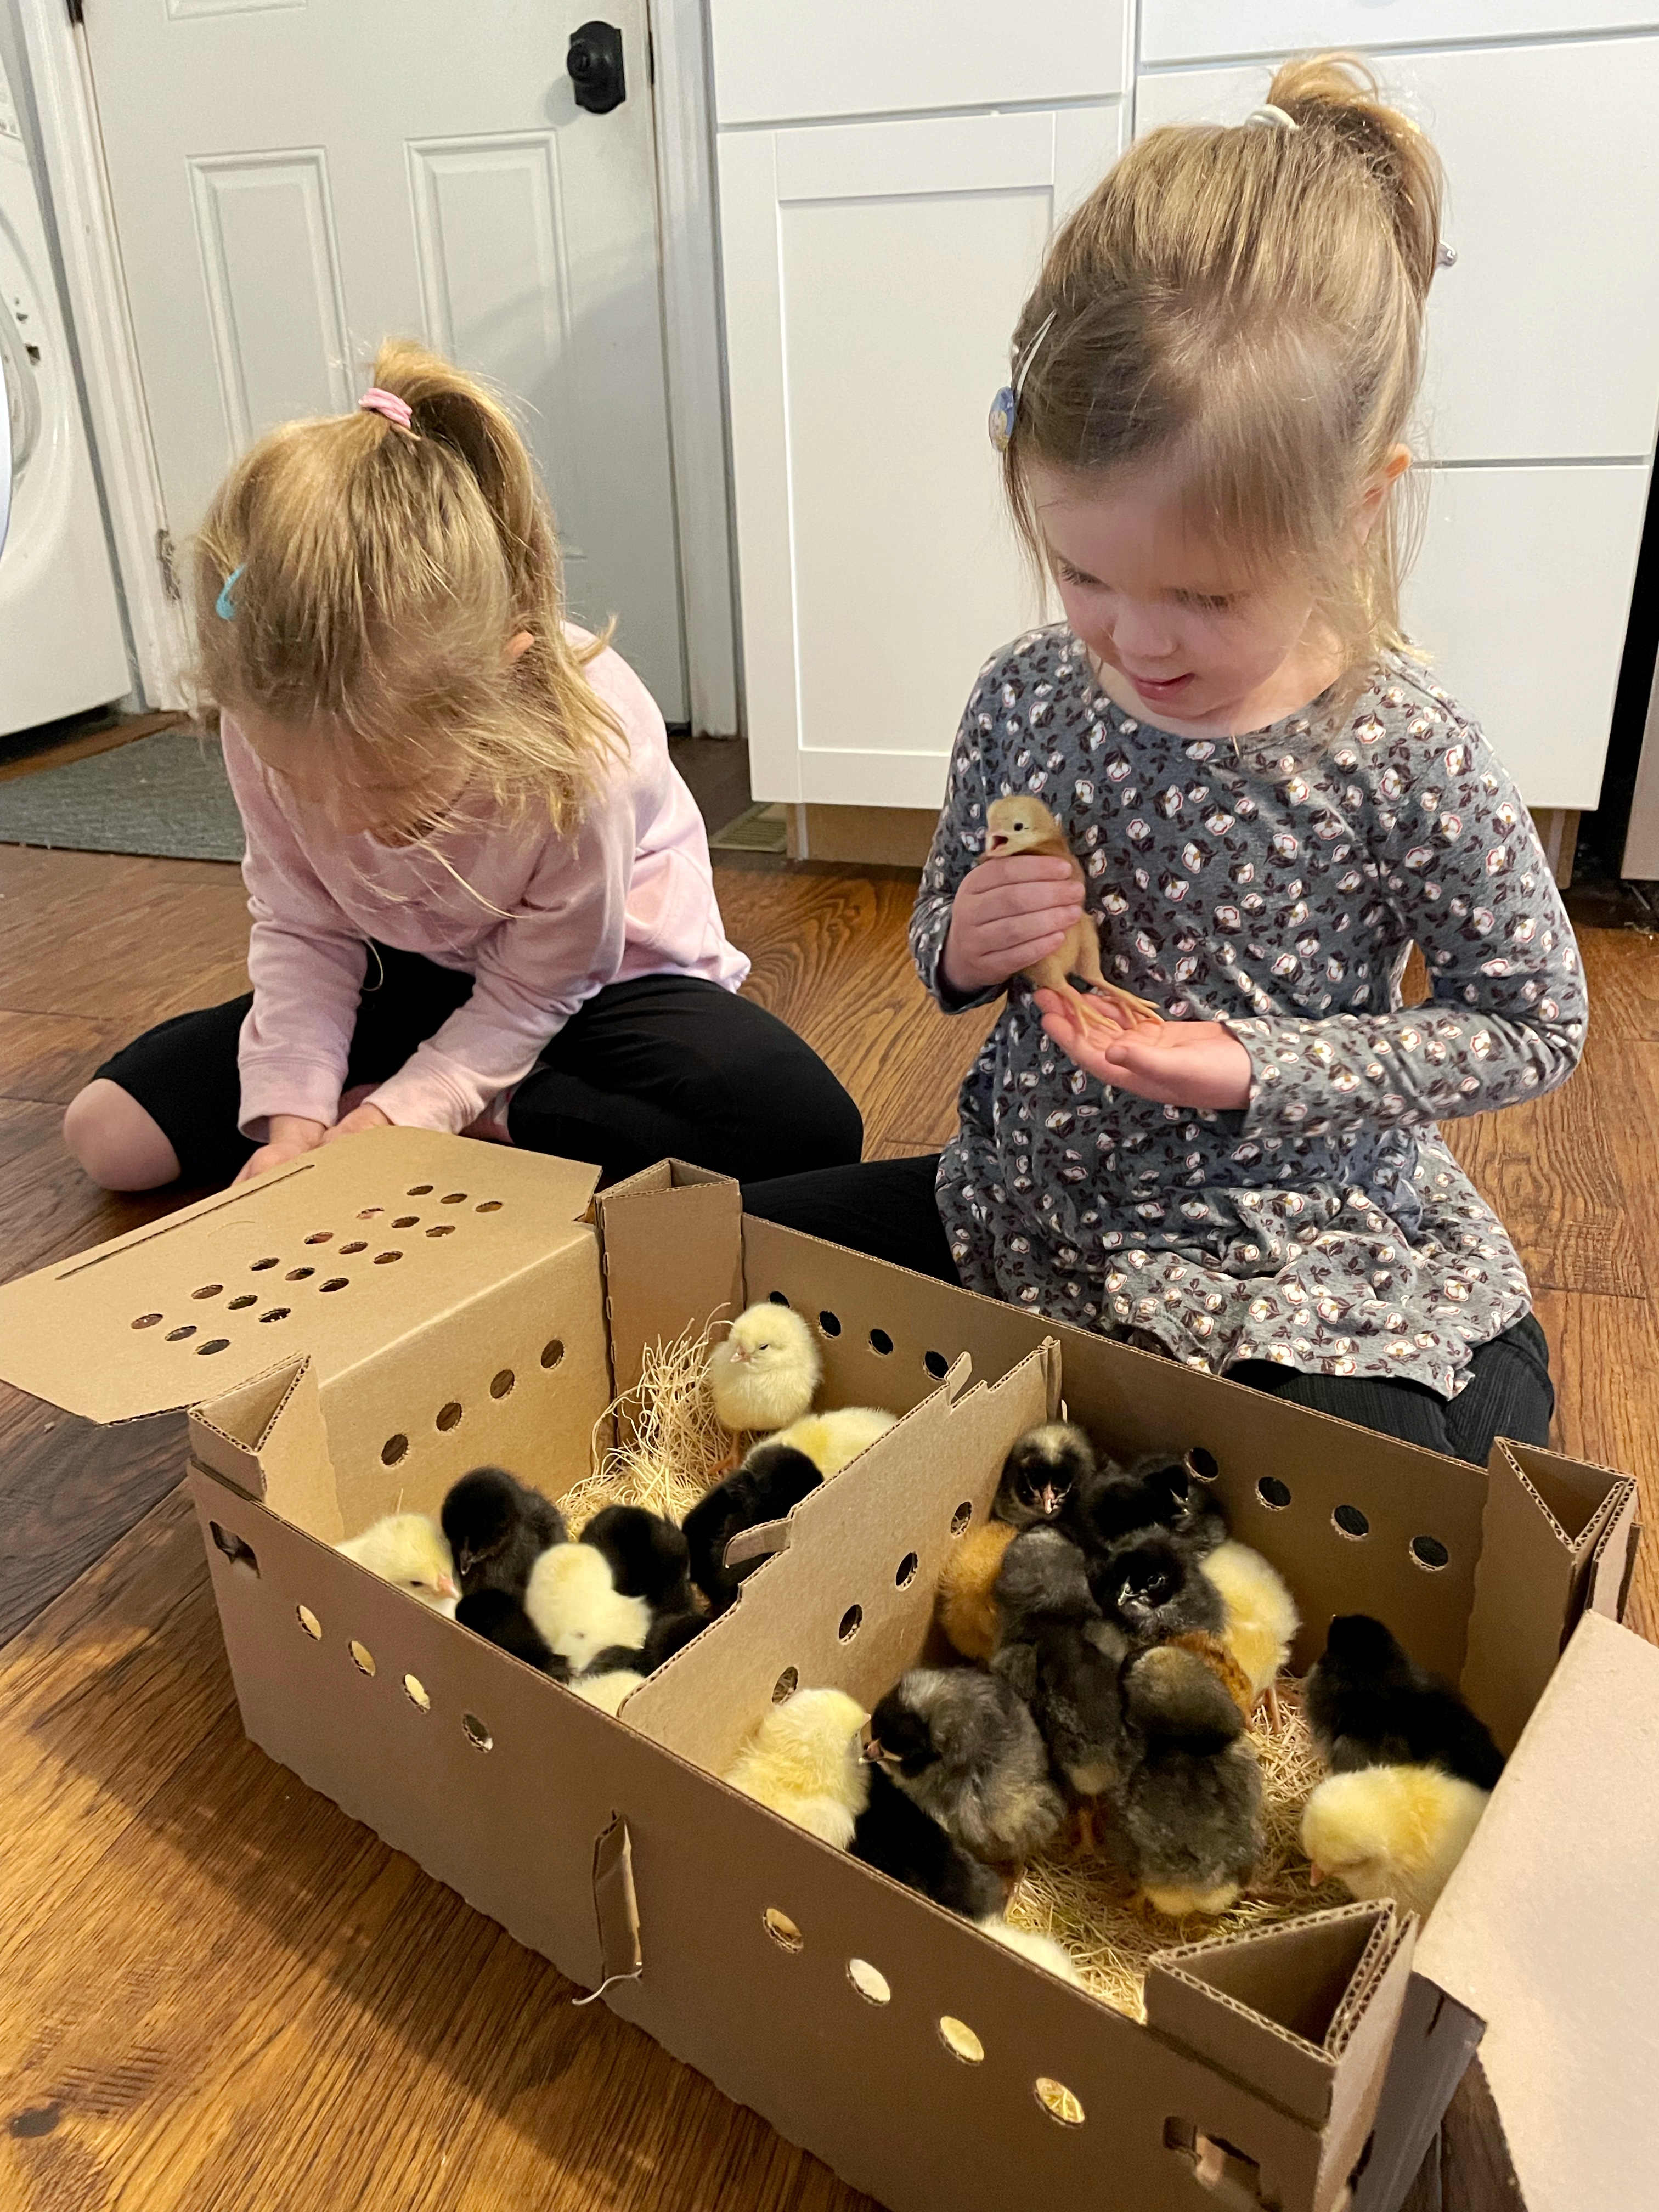
As tempting as it is to just go to the farm supply and pick up some baby chicks, it’s important to have their brooder ready before they come home. Wherever you decide to raise them, keep in mind that they will be there for the first 5-8 weeks.
Things that need to be considered:
- Indoors vs. Sheltered Location – While it’s nice to have them close by, chicks can also be messy indoors. As long as it isn’t too cold out, consider a sheltered location like a barn or garage.
- Temperature and Drafts – Lower temps, too many fluctuations and drafts can all be harmful to vulnerable young chicks.
- Predators – Make sure their brooder is safe from predators, including family pets.
- Noise – During the daylight hours, chicks can be very LOUD, especially if you have a large group.
- Dust – Chicks produce a great deal of dust, as they learn to scratch. More dust than you’d probably think, so make sure it is a space that you’re okay getting very dirty.
Heating Chicks Safely with a Brinsea EcoGlow Brooder Heater
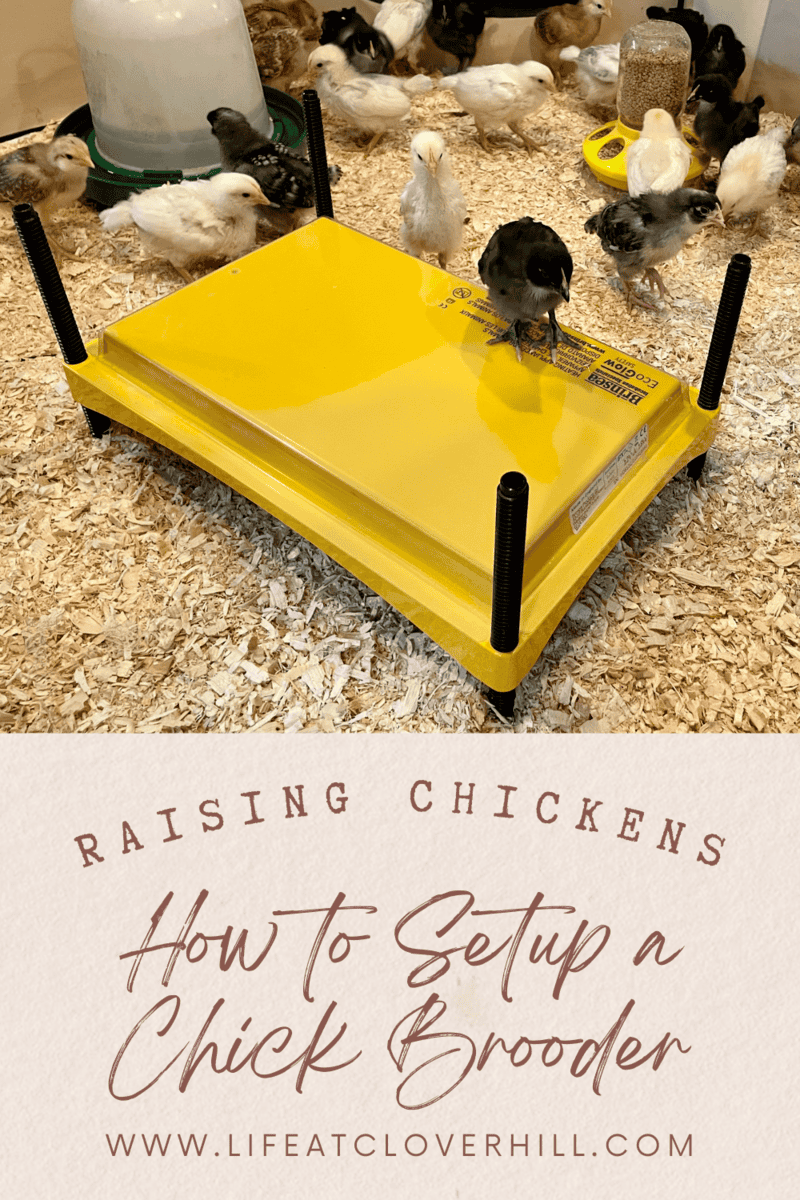
When we decided to get chicks again, the folks at Brinsea kindly sent us the EcoGlow Safety 1200 Chick Brooder heater. I’d heard only great things about this incredible product and was excited to try it out with our own new flock.
Newly hatched chicks are unable to regulate their own body temperature and need a little help. I found the EcoGlow Safety Chick Brooder has been the best chick heater option we’ve ever used, and here is why:
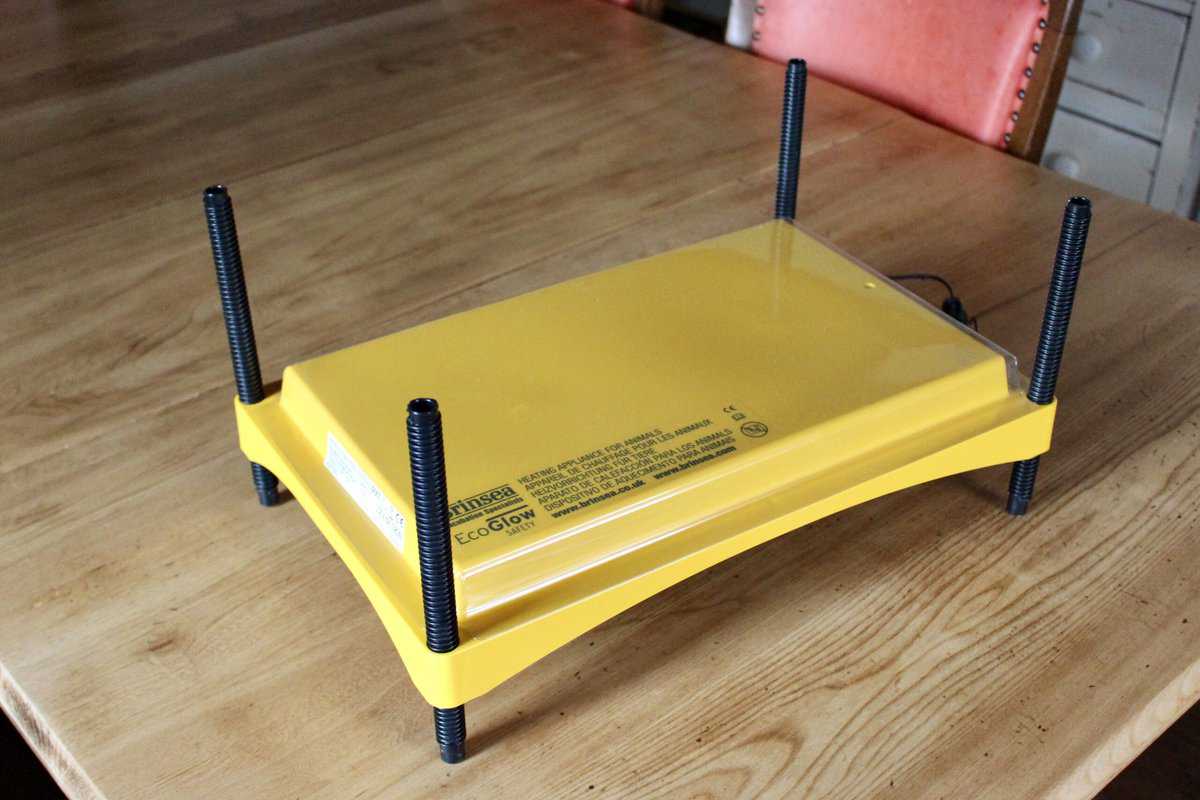
Reliable and Safe Heat Source – The EcoGlow Safety Chick Brooder uses a metal warming plate with heat radiation, evening out the hot and cold spots. We had previously used a traditional hanging brooder light and I was always very concerned about monitoring how hot/cold the chicks were based on where the light was set. I was also very worried that the light could fall over and create a fire hazard. Having the EcoGlow Safety Chick Brooder gave me great peace-of-mind that the chicks were safe and so was our home.
No Light Disruption – As the brooder provides heat but not additional light, it allows chicks to develop a natural day/night cycle. This is believed to improve weight gain and feather growth. A year after having used this, I noticed our chicks were very healthy and grew all their feather quite quickly. They would also all go to sleep at night, tucked in under the brooder, like a mother hen.
Economical – The EcoGlow Safety Chick Brooders only uses 12 watts of energy. Much better than your typical 250 watt brooder lamps.
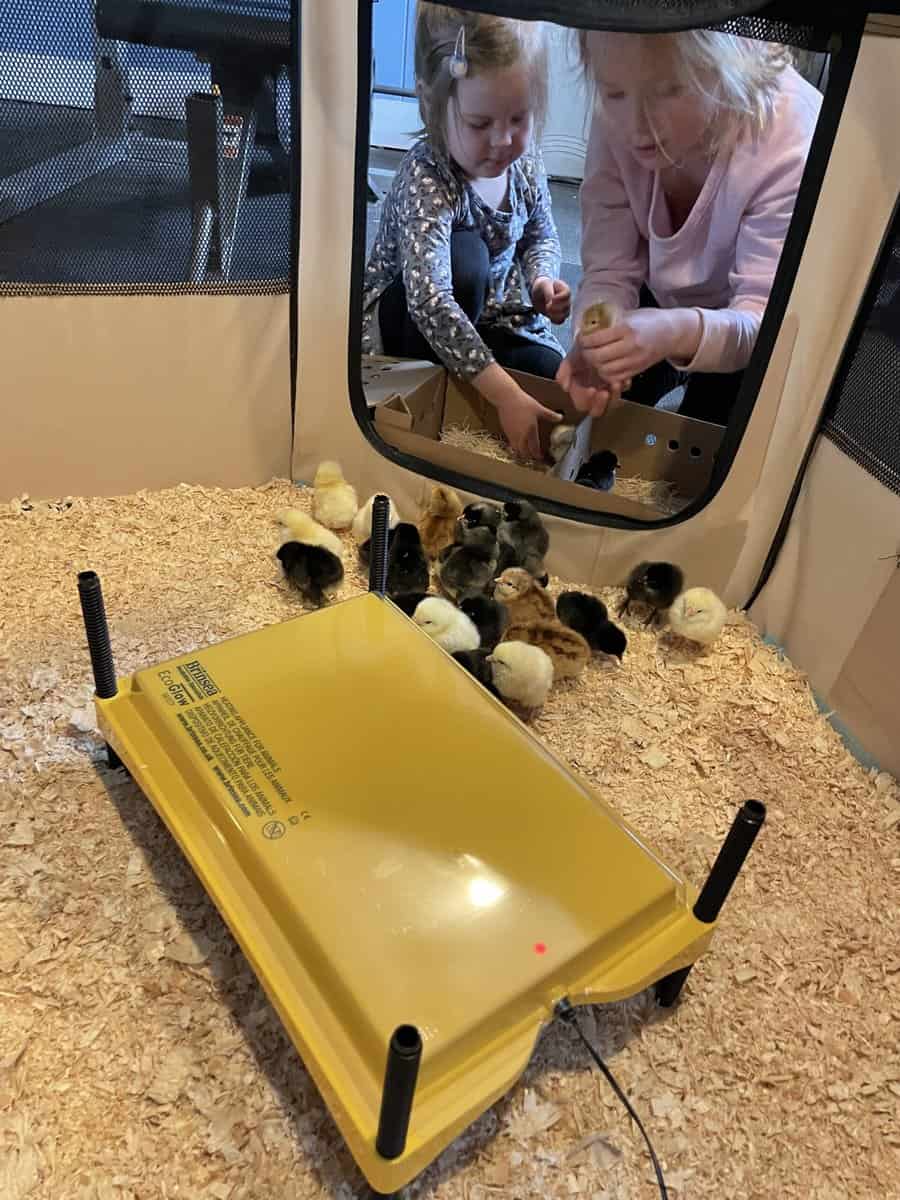
The Brinsea EcoGlow Safety Chick Brooder comes in two sizes:
- Brinsea EcoGlow Safety 1200 – Raise up to 35 newly hatched chicks or ducklings; and 20-25 older chicks.
- Brinsea EcoGlow Safety 600 – Raise up to 20 newly hatched chicks or ducklings; and 10-12 older chicks.
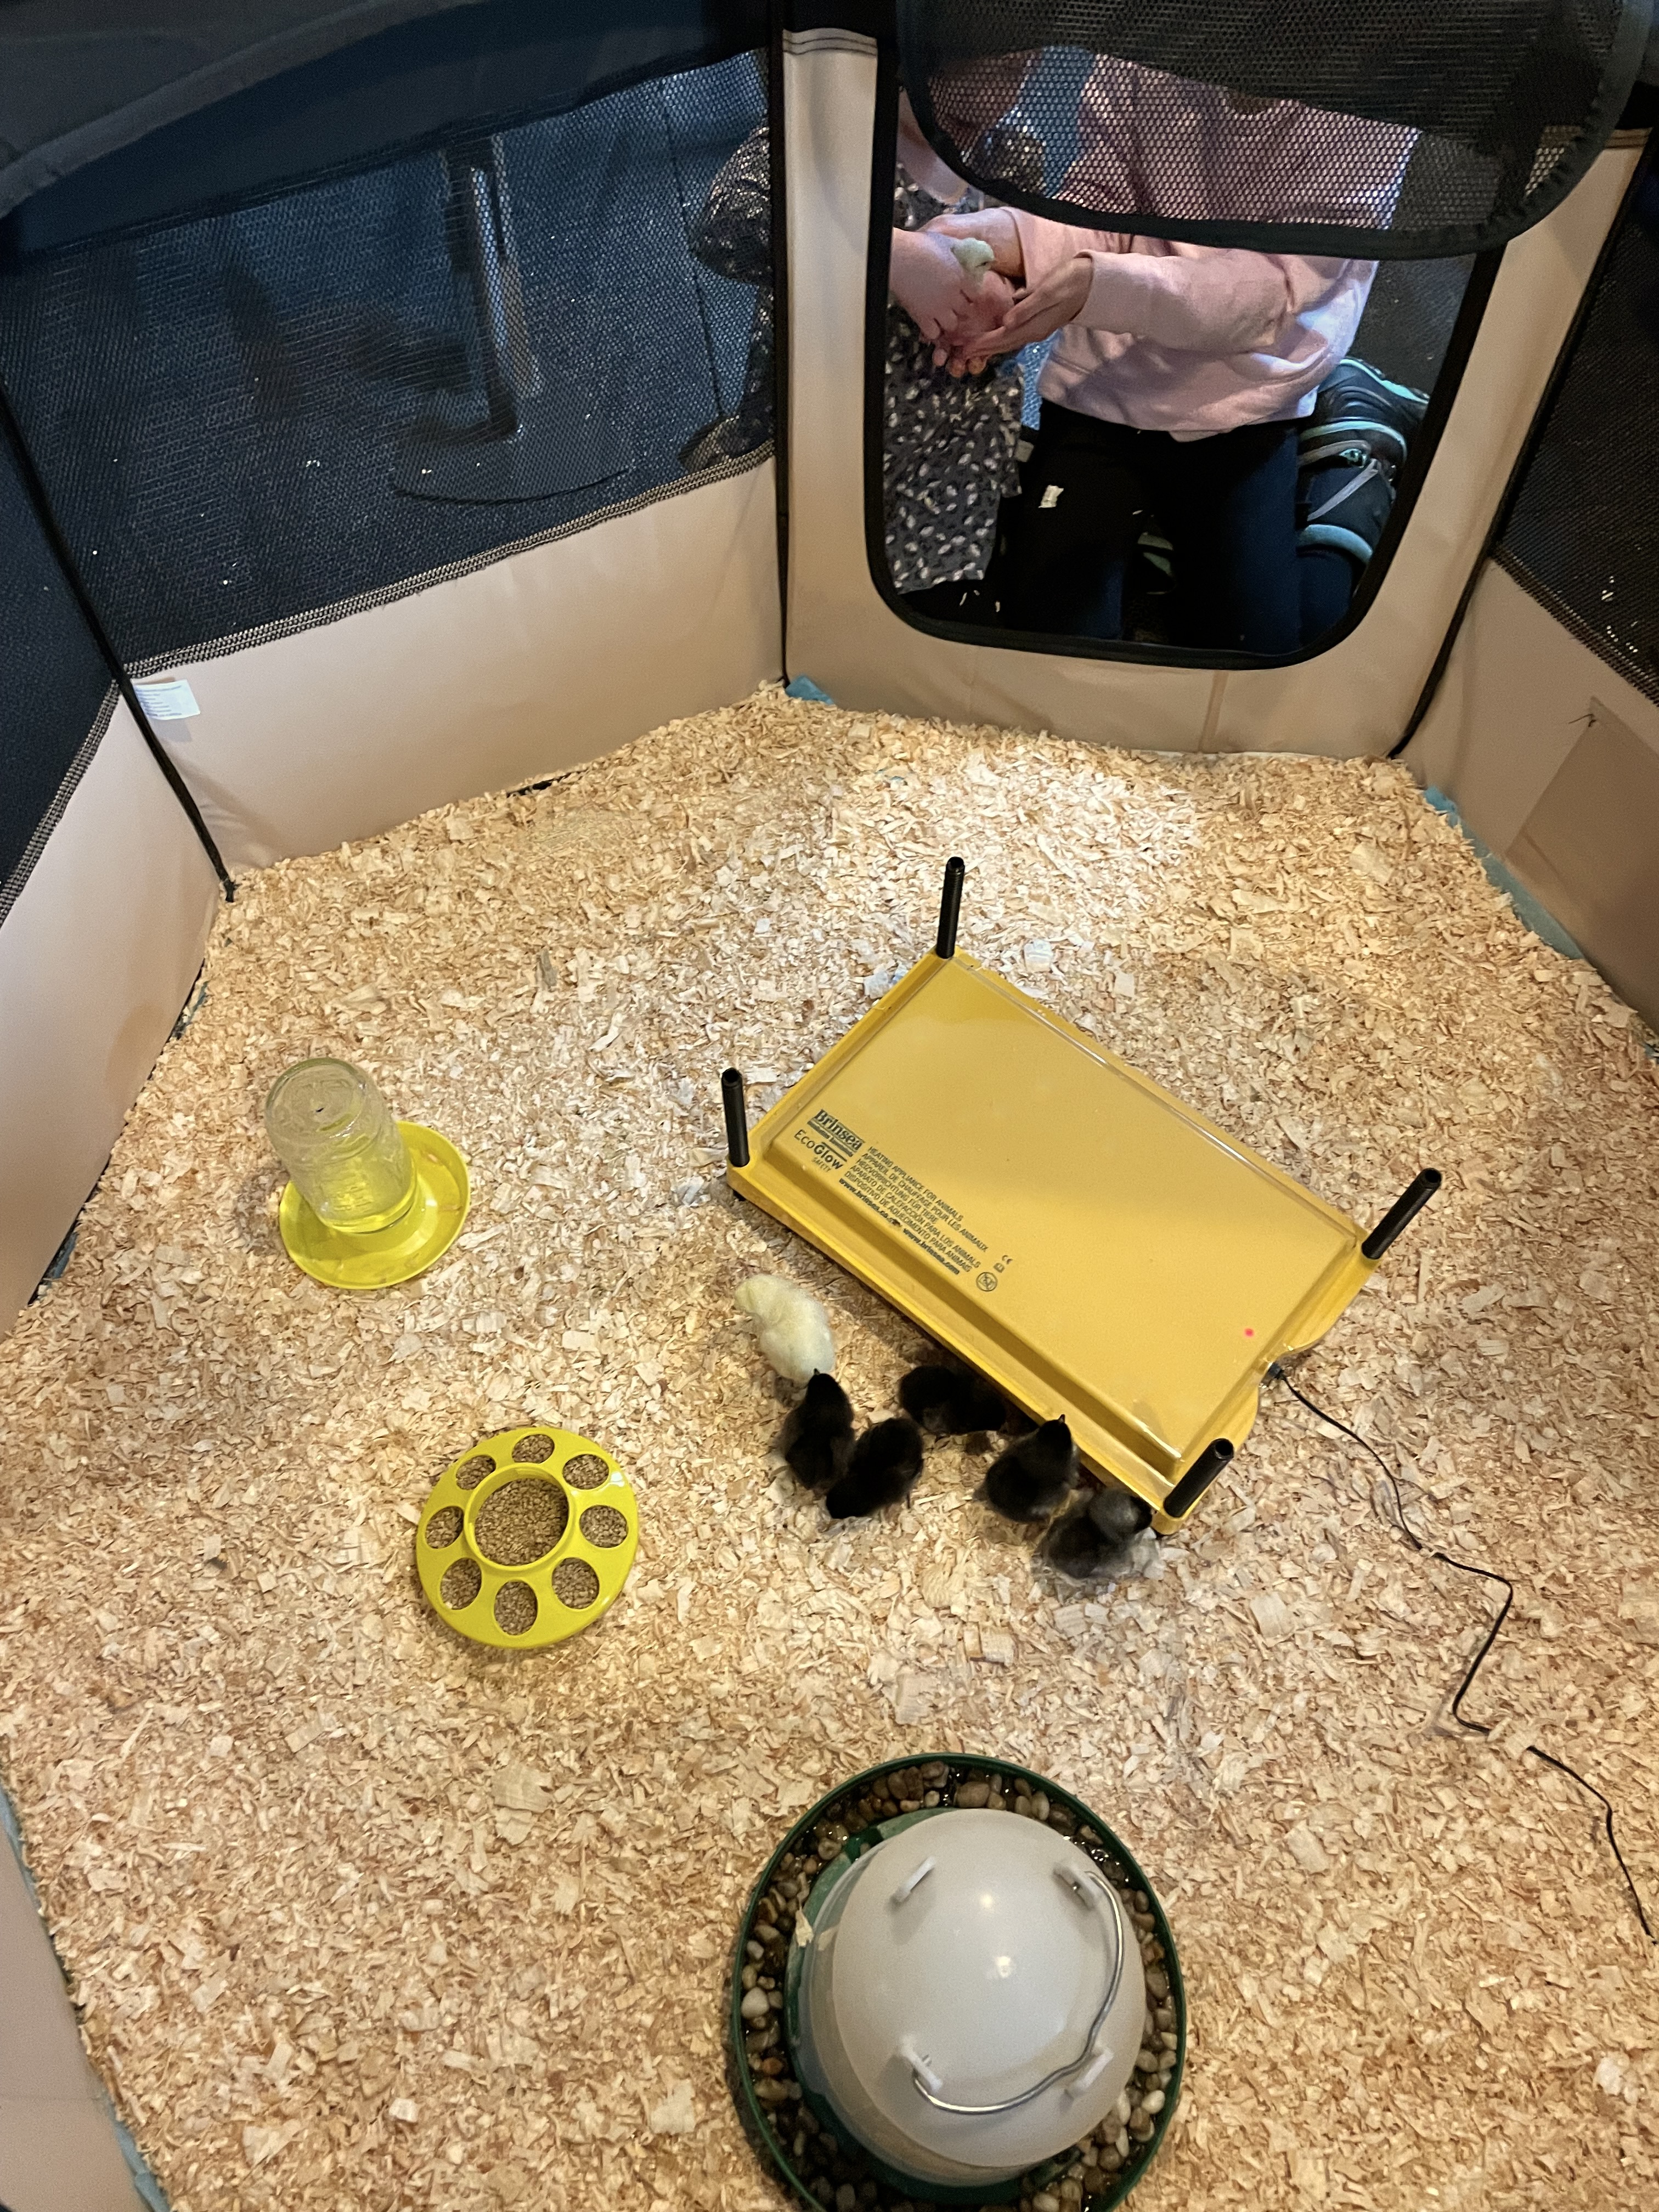
As soon as we brought the chicks home from the farm supply, they went right under the heater. We could hear their little chirps and peeps as they got settled in to warm up.
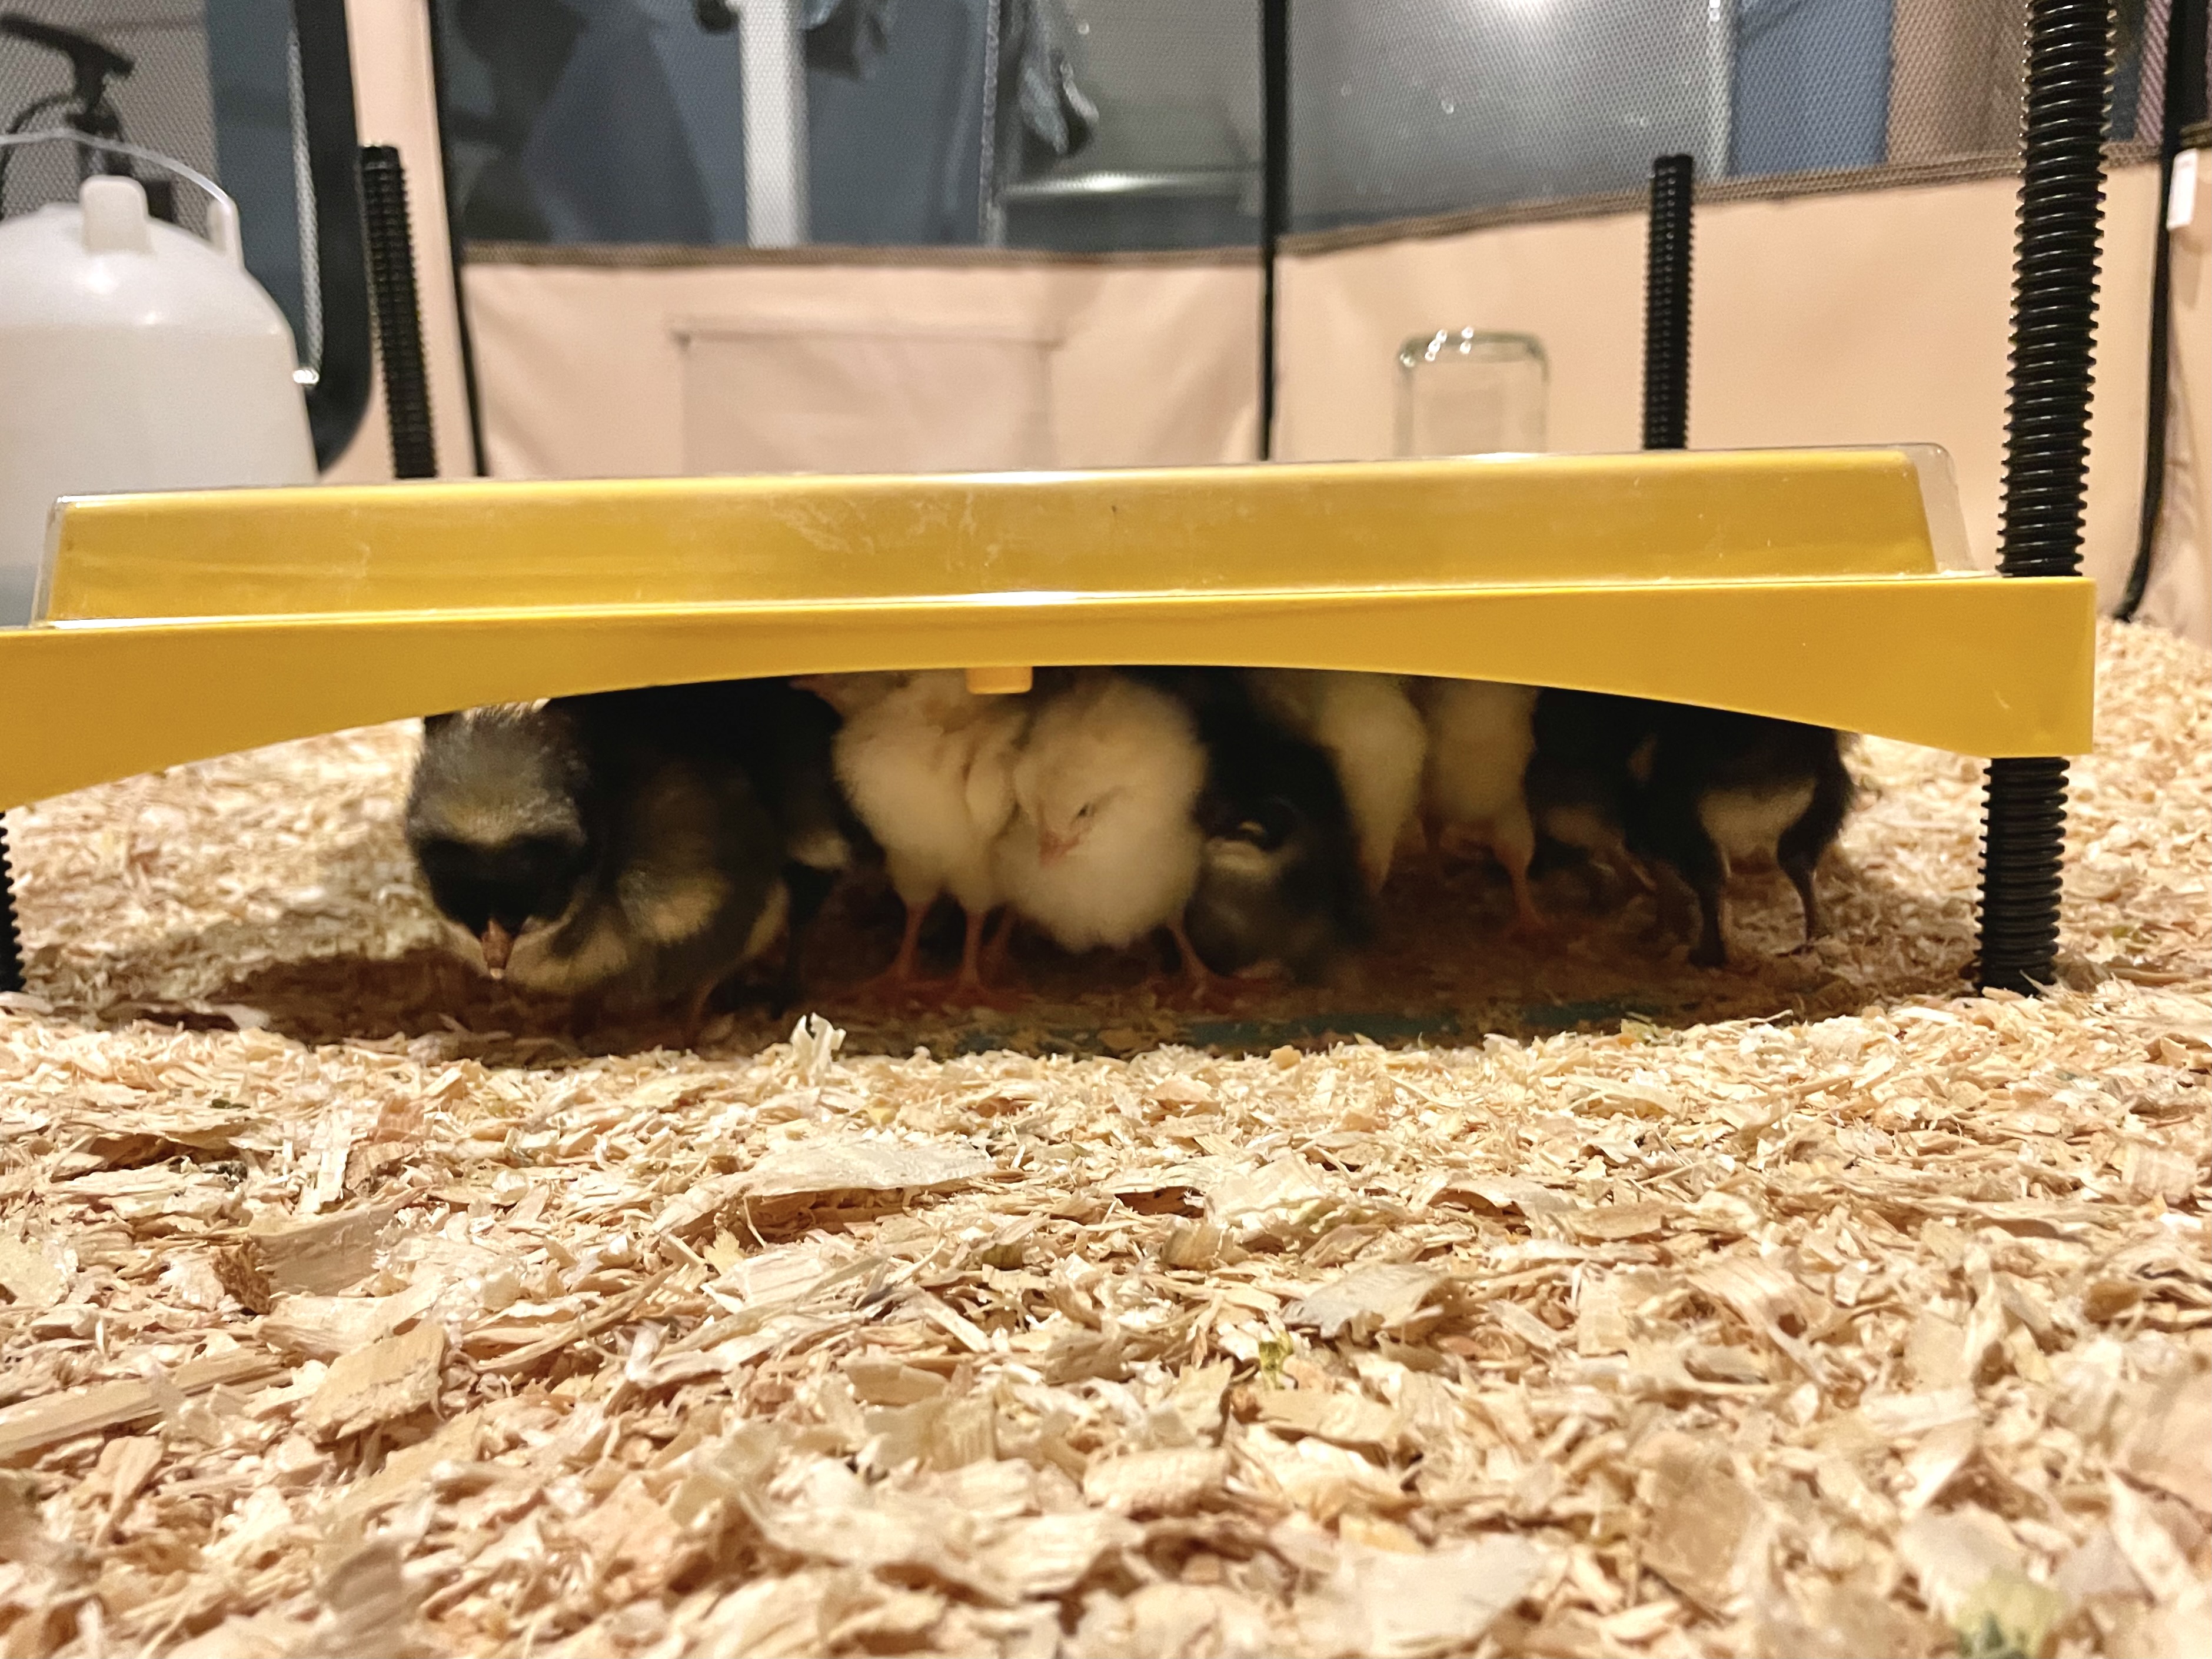
Seeing all of them huddled up together underneath the brooder those first few days was so sweet. Made me think of little babies tucked under the mother hen. They rarely came out at first, just for a quick drink and feeding, then back under the heater.
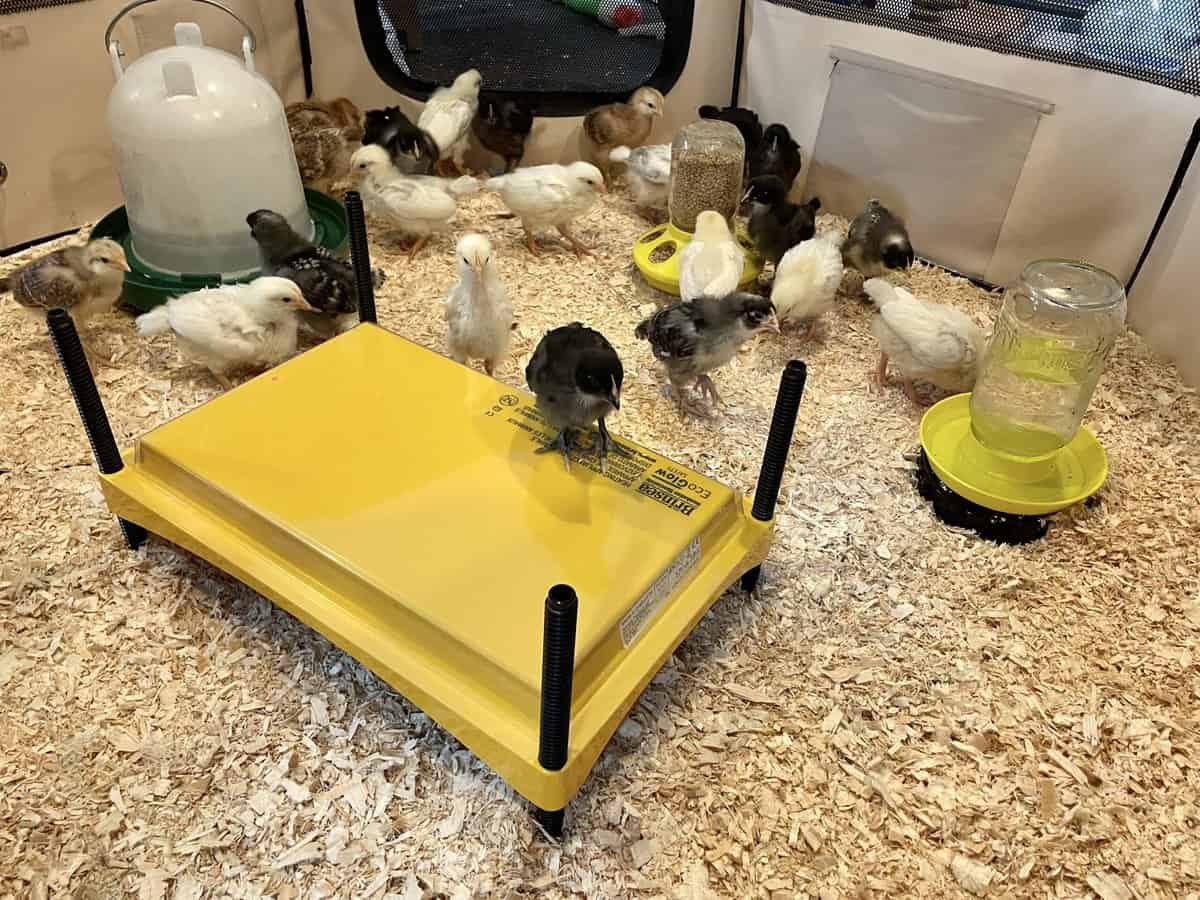
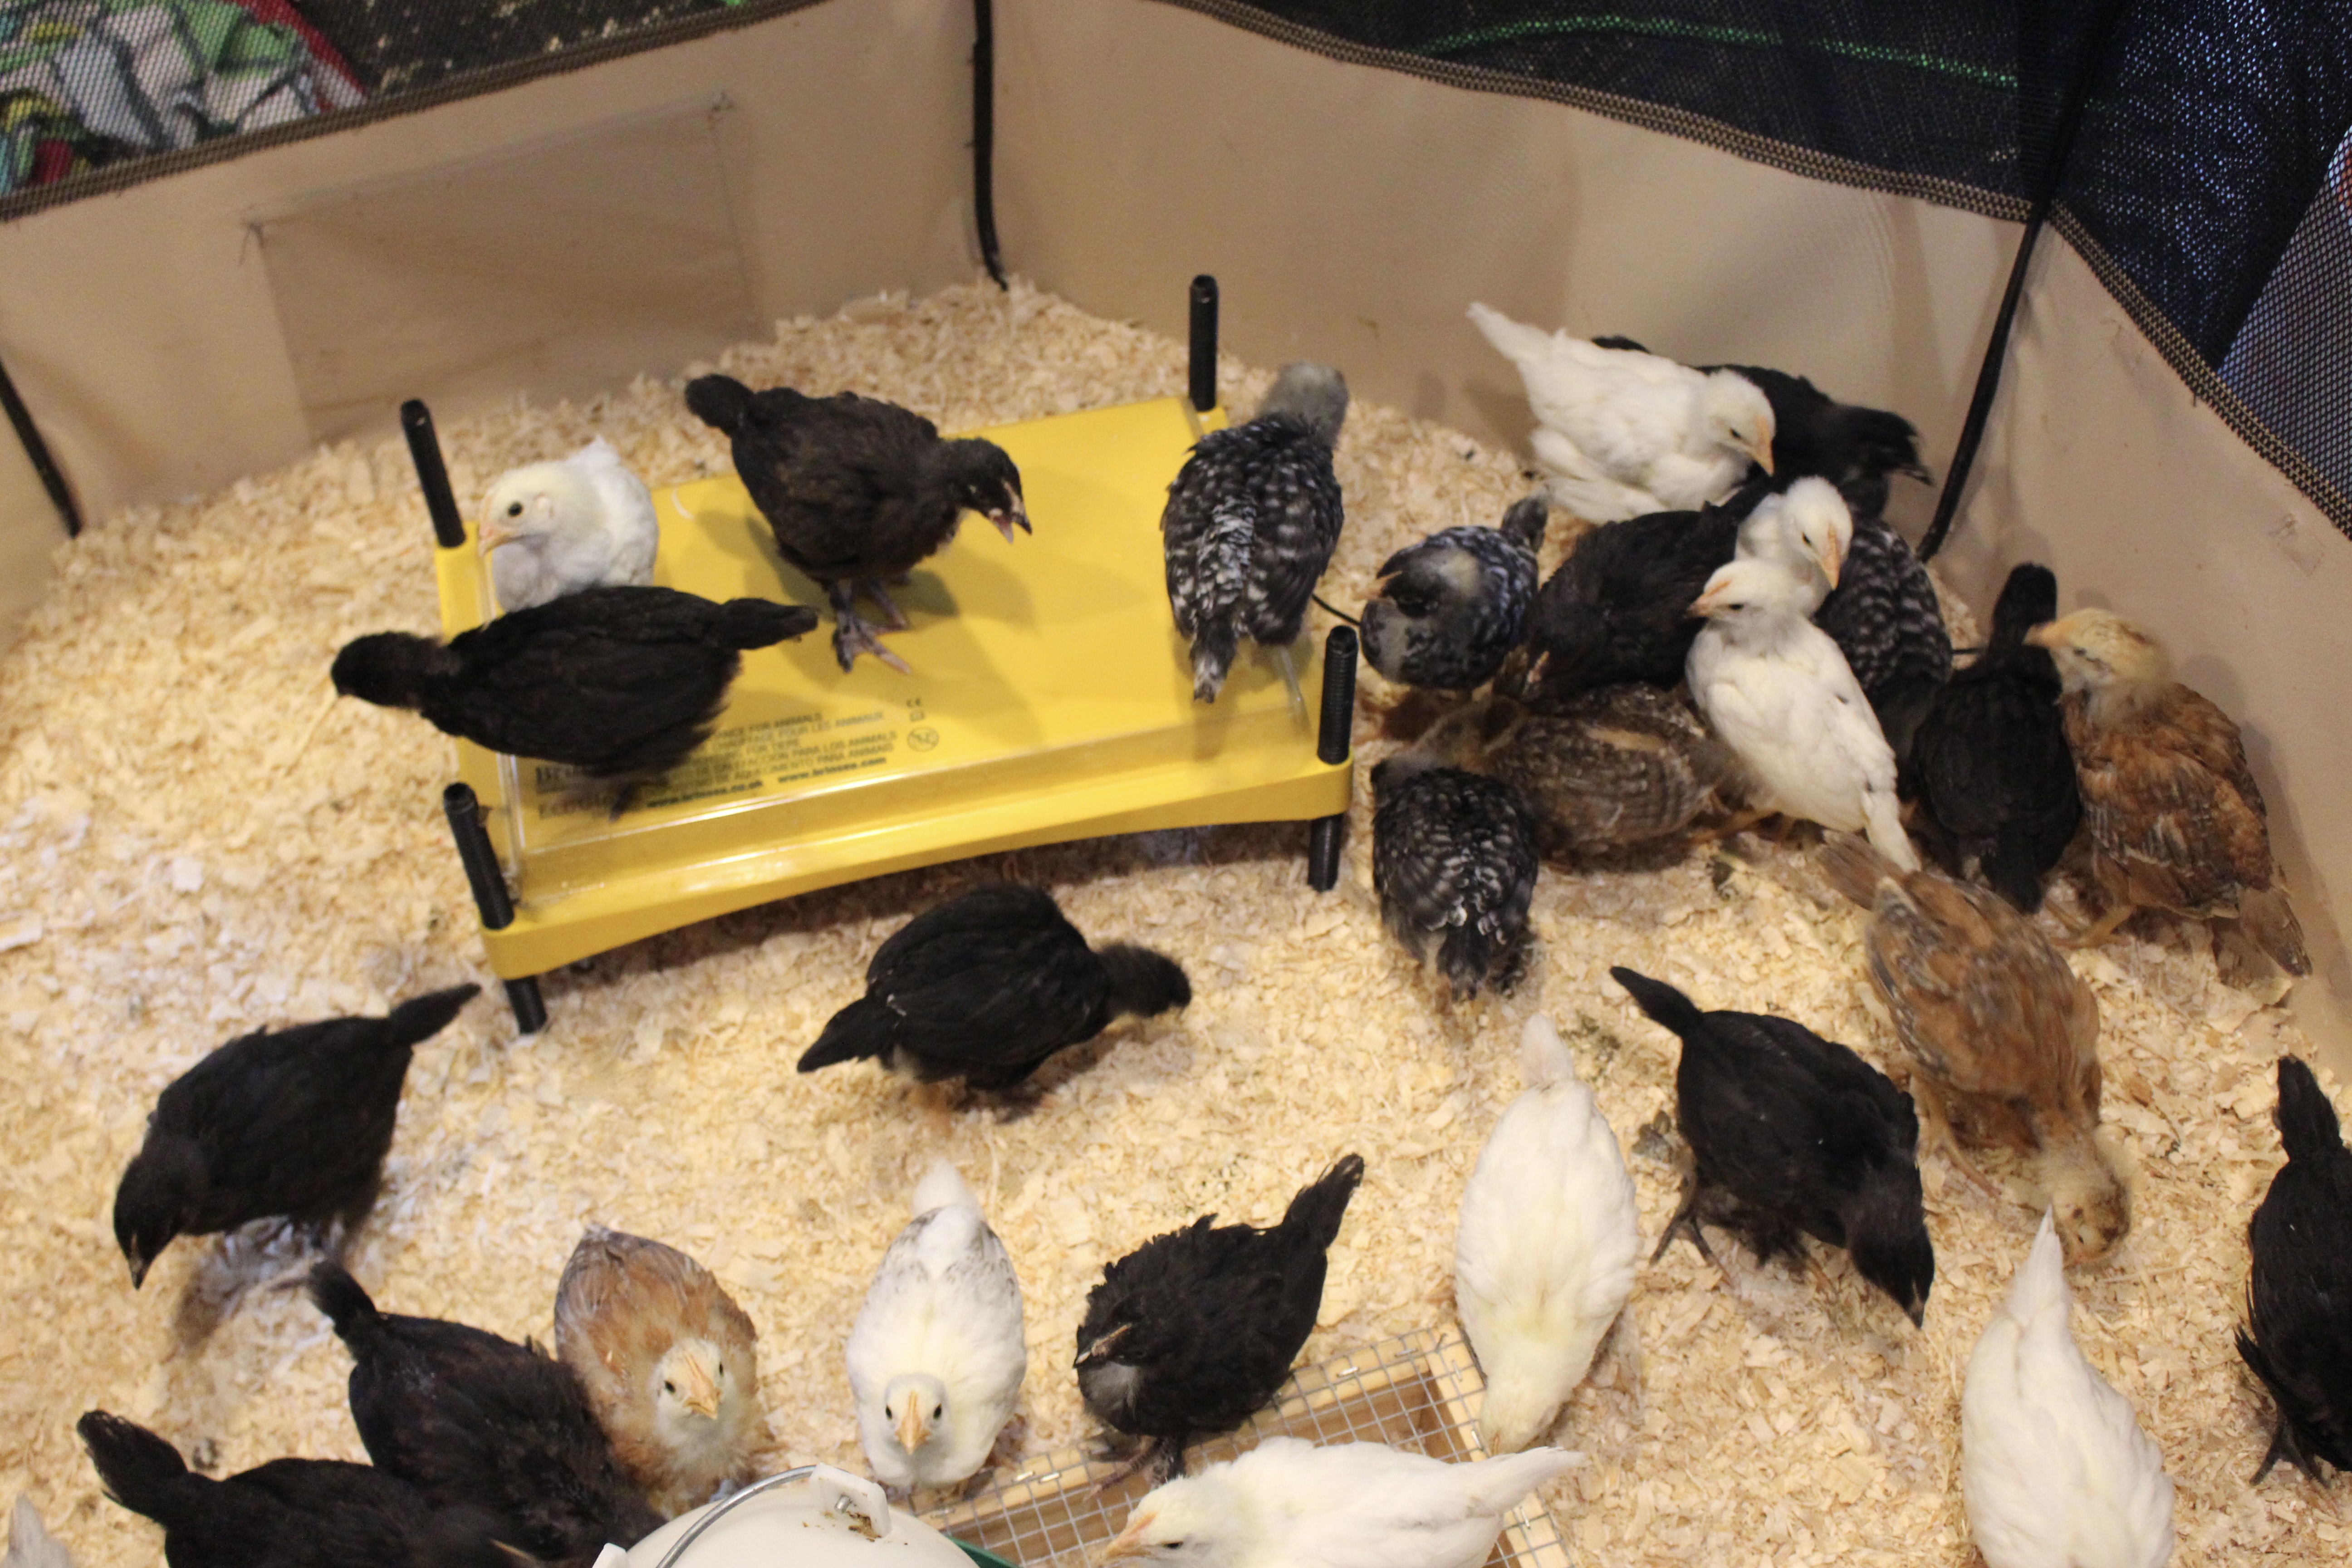
As the chicks got older and grew their feathers, they spent less time under the brooder and more time eating, drinking, and exploring. They still would huddle underneath the brooder together at night though. Using the four adjustable feet of the brooder, you can make it higher as the chicks get taller.
I also greatly appreciated the clear plastic cover on top of the Brinsea EcoGlow Safety 1200 Brooder, as it made it easy to clean up any droppings. Every time I’d check on the chicks, I’d find quite a few of them standing on the brooder, looking around at what they could get into next.
Monitoring Brooder Temperature
When using the Brinsea EcoGlow 1200, the room temperature needs to be no lower than 10°C (50°F). Our garage is insulated but unheated. We set up a small space heater to maintain the temperature on cooler nights. To monitor the room temperature, I have been using a bluetooth thermometer. It comes with two LCD screen monitors that you can see the temperature on it, but also monitor through an app. I was able to keep an eye on both our chick brooder and my greenhouse from the phone. Win win!
Choosing a Chick Brooder Container
There are a variety of options for what you can use for a chick brooder. It’s key to make sure that your brooder container has rounded corners. Chicks can get themselves huddled together in a tight corner and smother each other. Over the years we have used three different methods, which have all worked well.
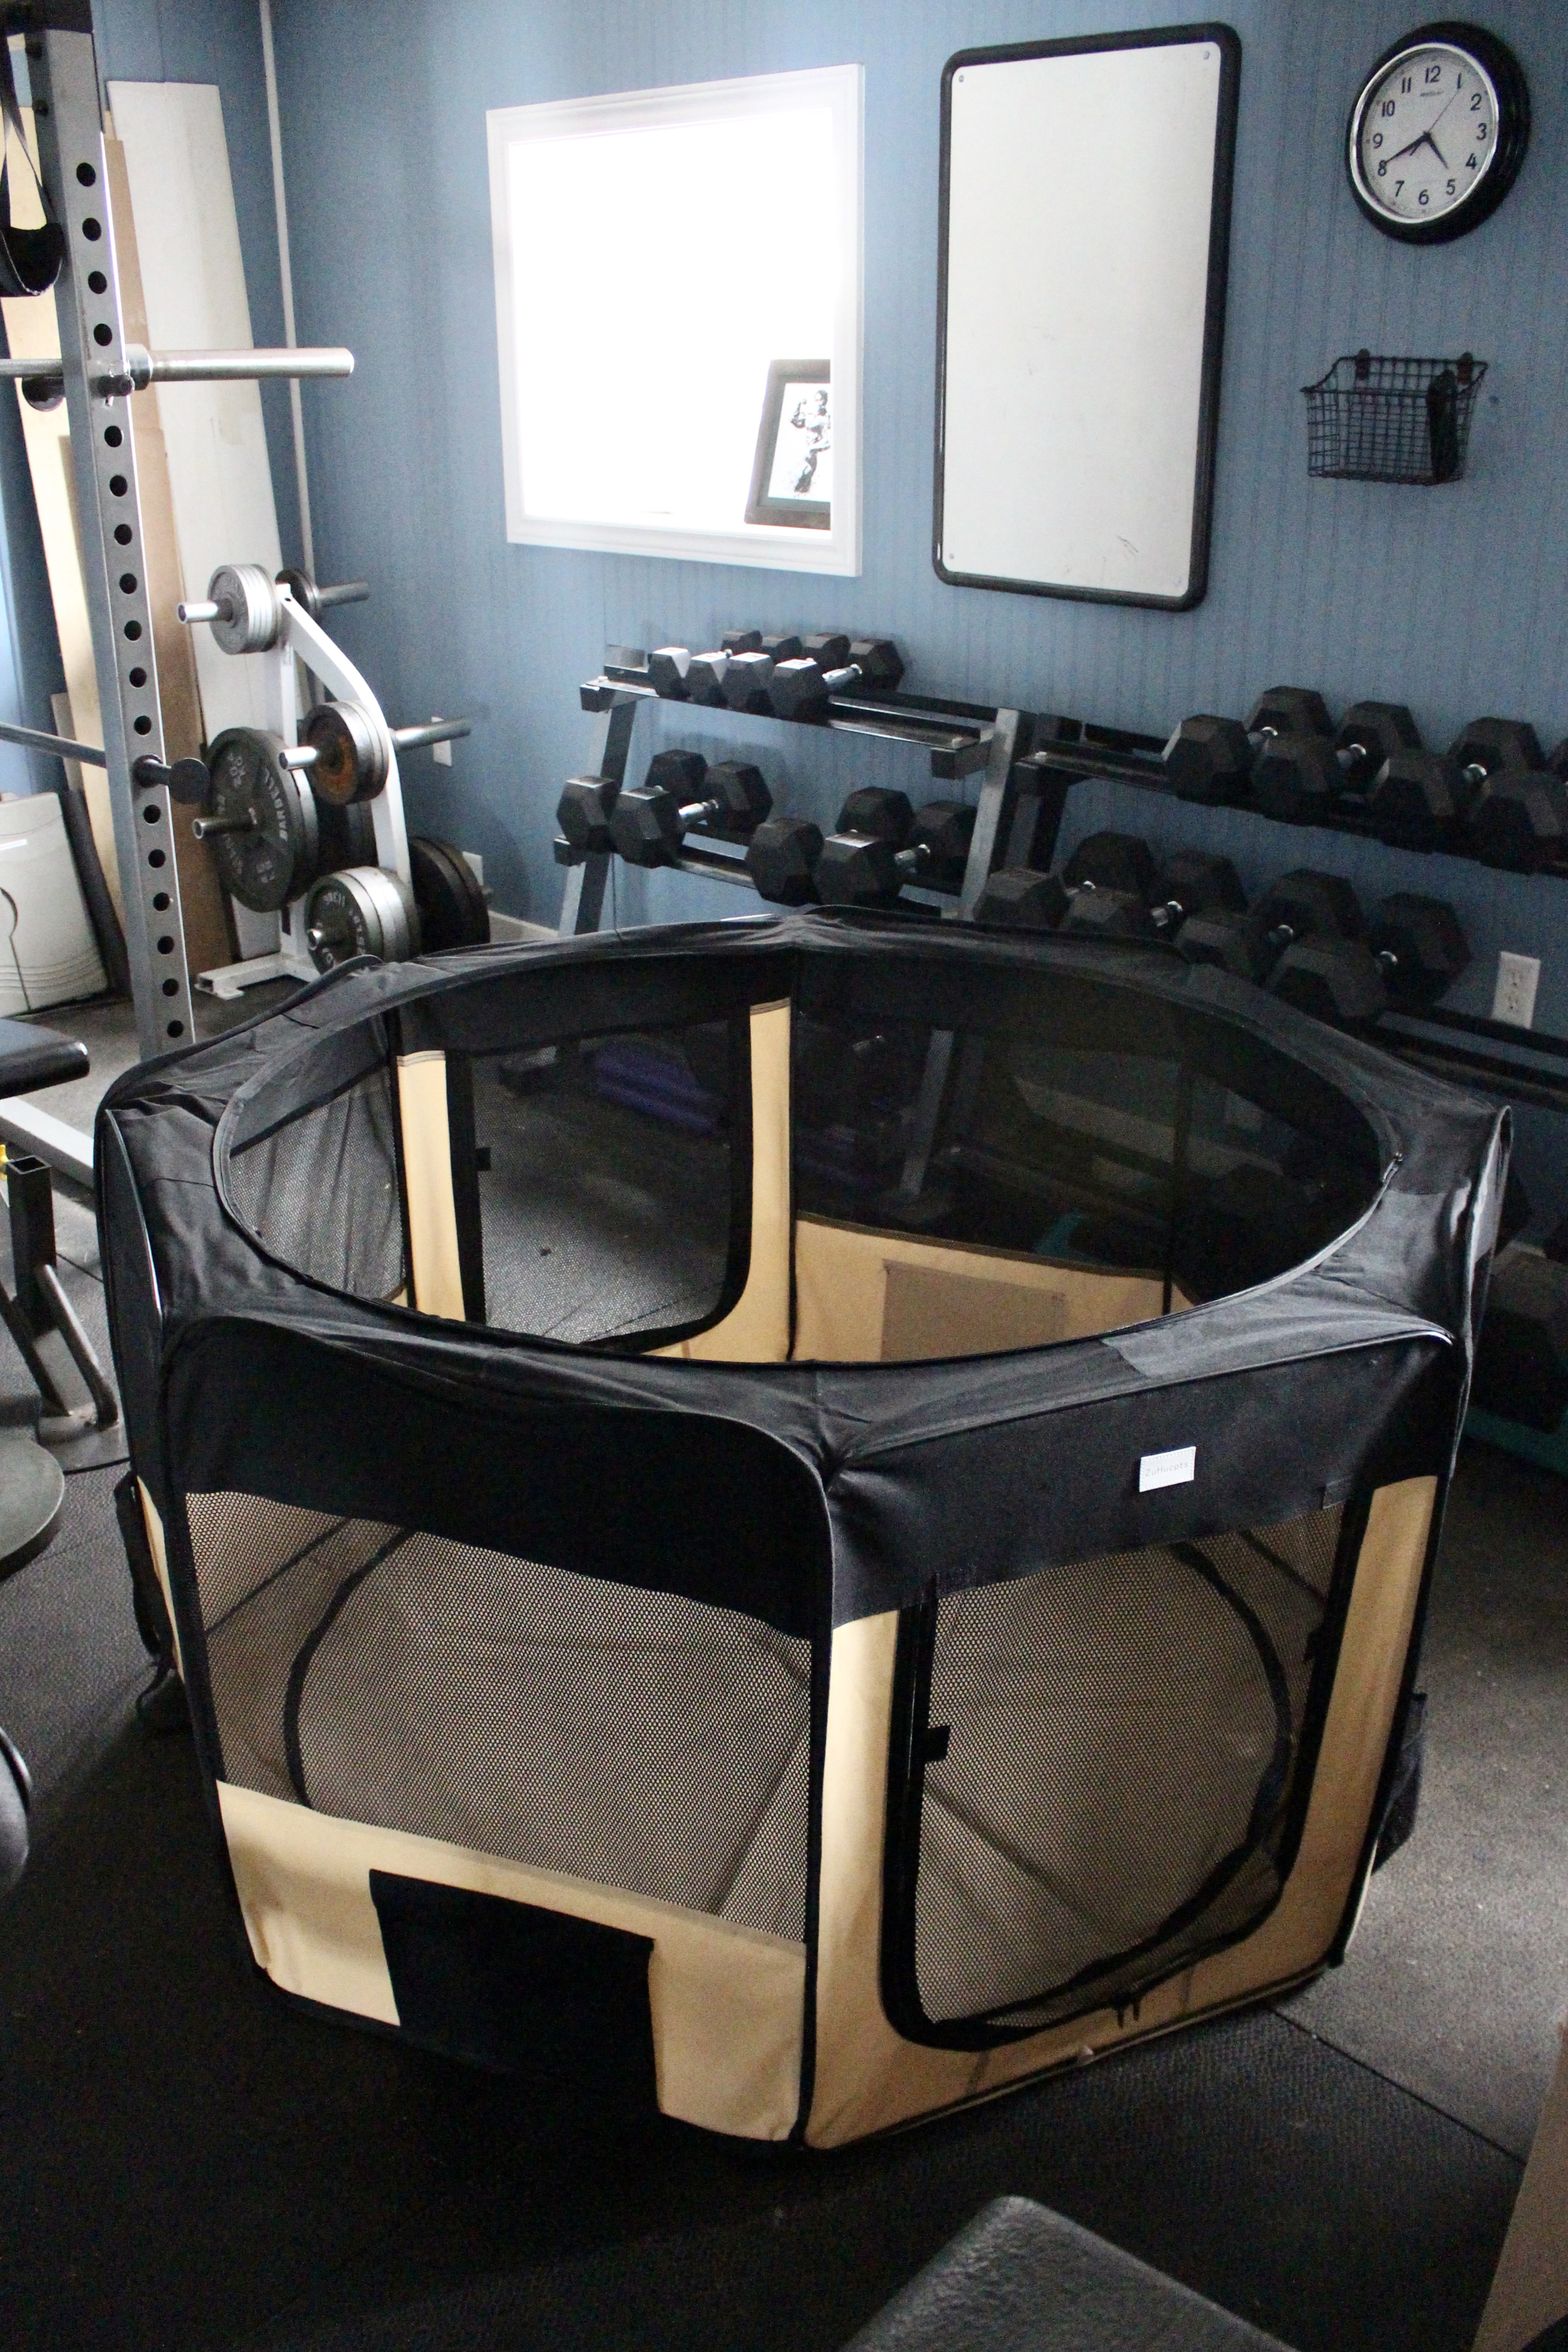
Puppy Playpen – This foldable playpen is the setup we used with our chicks this time and I liked it the most out of all the brooder options we have used. It folds out to a large space with a zippered waterproof bottom and a zipper mesh top. These come in a variety of sizes to fit however many chicks you have. This one cost approx $100 and fits all 30 of our chicks comfortably.
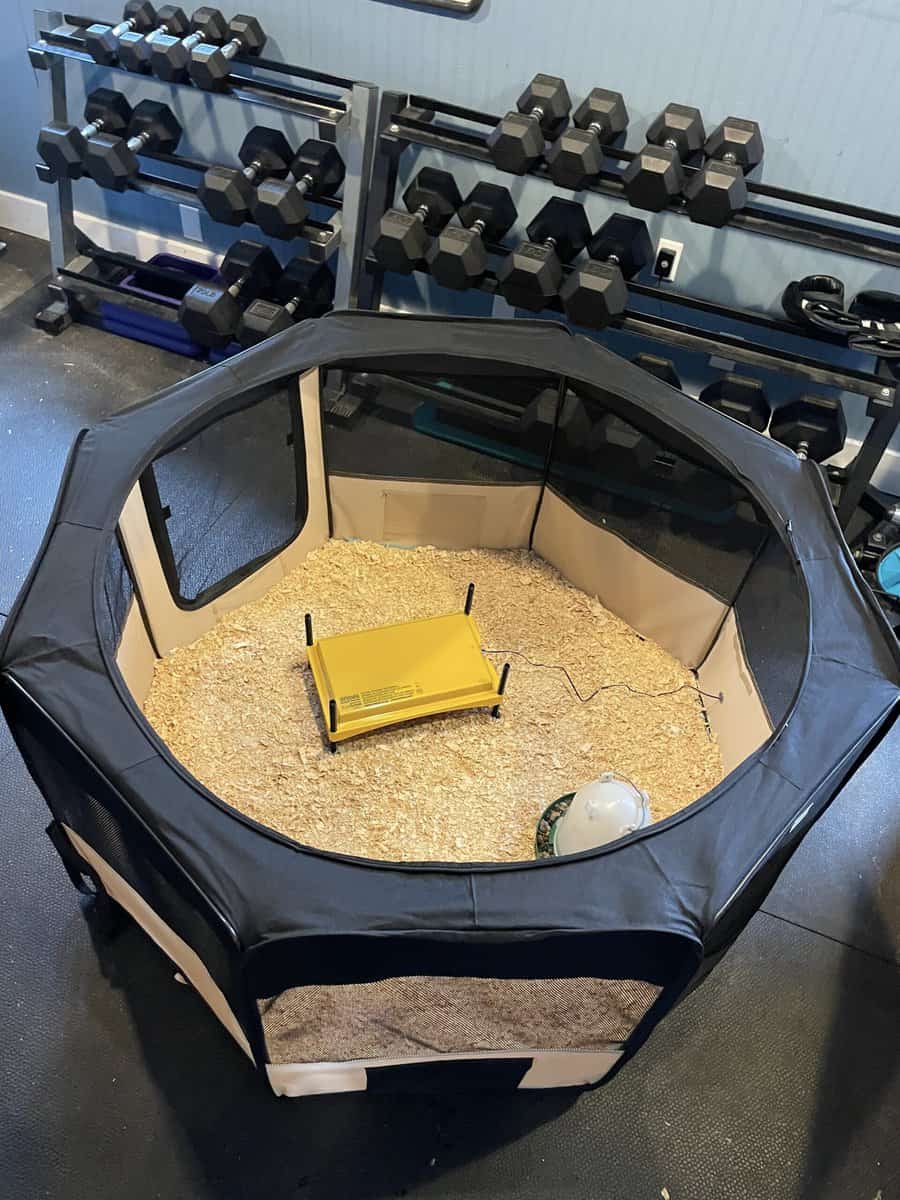
When the weather got warmer, we used the play pen without the bottom as a corral to let them do more exploring outside. I also like that we can use this pen for any other animals we might have in the future, and it folds up easily into a narrow carrying case.
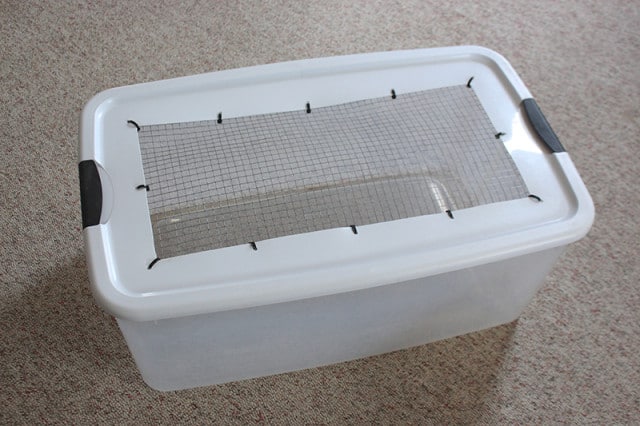
Plastic Storage Bin – This was an inexpensive DIY Brooder project that was easy to move outside and clean. We had 6 chicks in this setup, and kept it in the house until they were old enough to move into our unheated mudroom. It was an easy brooder to make and cost less than $25.
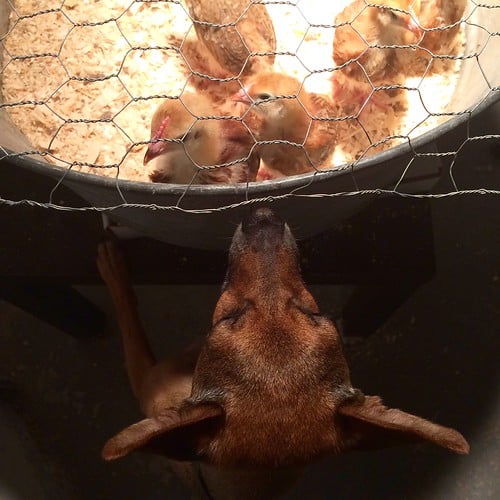
Galvanized Tub or Stock Tank – The first year we had chicks, we used a large circular galvanized tub with a piece of chicken wire across the top. It was a simple setup using materials we already had on hand, and worked well for just a few chicks.
How Much Space for Each Chick
When picking your brooder container, you need to determine there is enough space for each chick. Not just for when they’re a cute little fluff ball that first week, but also when they grow.
As a general rule you need:
- 0.5 sq ft per chick at 1 week
- 0.75 sq ft per chick at 4 weeks
For example, our plastic container brooder is 33″ x 20″ = 4.58 sq ft. This could fit 9 chicks on day one, but only 6 chicks by the time they reach 4 weeks.
Our newer puppy playpen is approx 22.5 sq ft, which could have fit 45 chicks on the first day. By the time they reach 4 weeks, it will still fit all 30 comfortably.
Picking Bedding for the Brooder
When picking a bedding, you need to look for bedding material that absorbs moisture, combats odours and is safe for chicks. For the main part of our bedding, I liked to use pine shavings as they are readily available at farm supply stores, safe for chicks and inexpensive.
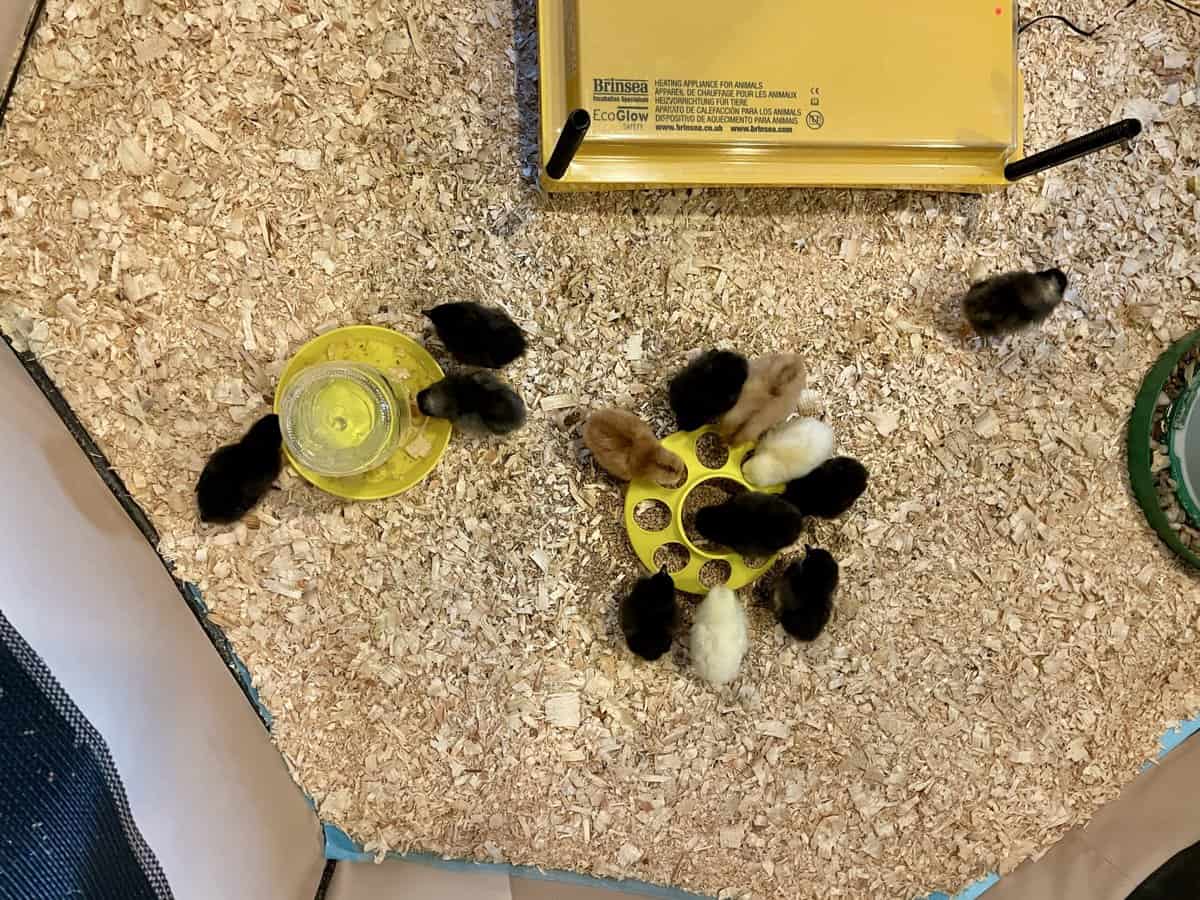
If the surface is too slippery, even under the pine shavings, chicks can get “splay legs”. For our smaller brooder, I used drawer liner under the pine shavings.
For our larger playpen brooder this time, I’ve lined the bottom with inexpensive puppy training pads to help absorb moisture and then added a thick layer of pine shavings on top.
Setting up Food & Water
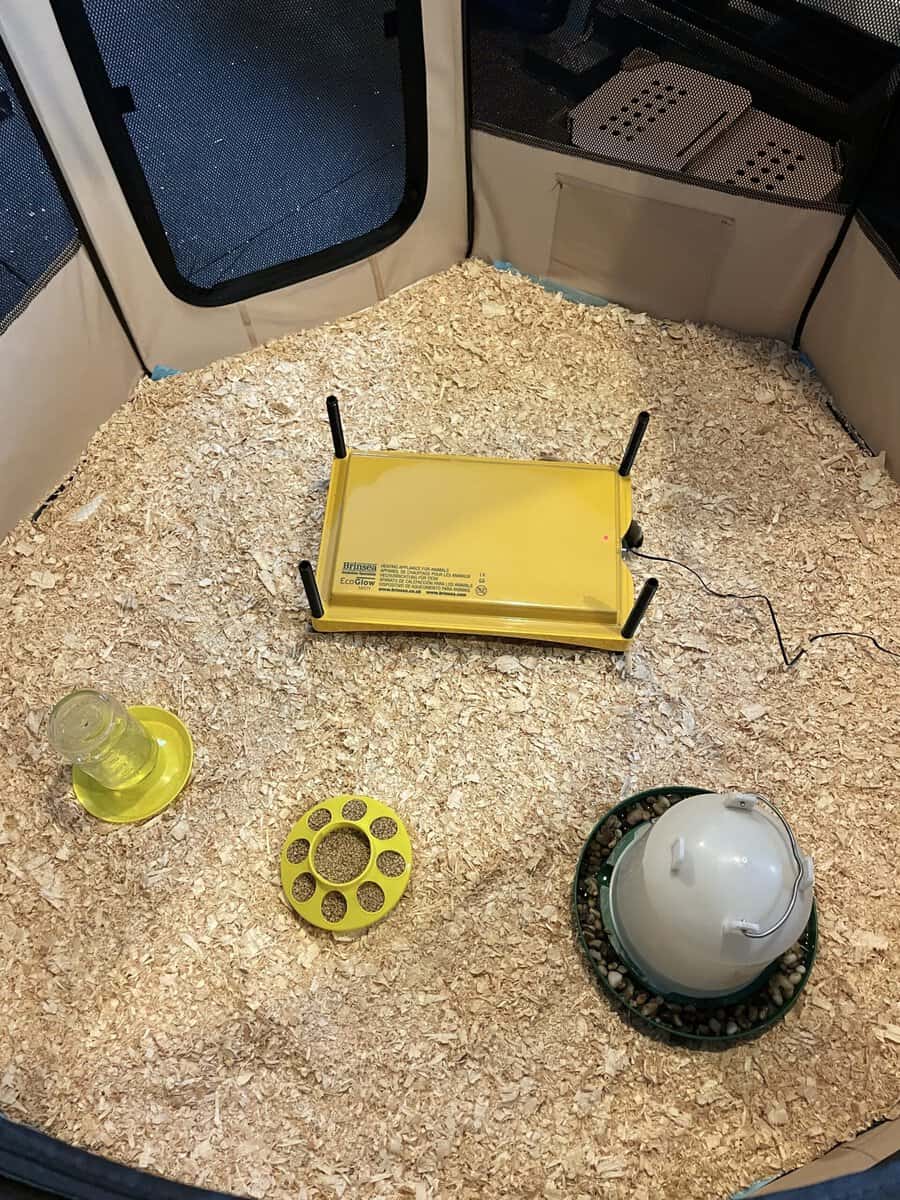
We typically use one or two 1L feeders and waterers that are easy to clean and refill. With 30 chicks, I also setup our larger 1 gallon chicken waterer with a layer of pebbles in the bottom to prevent accidental drownings.
Adapting as Chicks Get Older
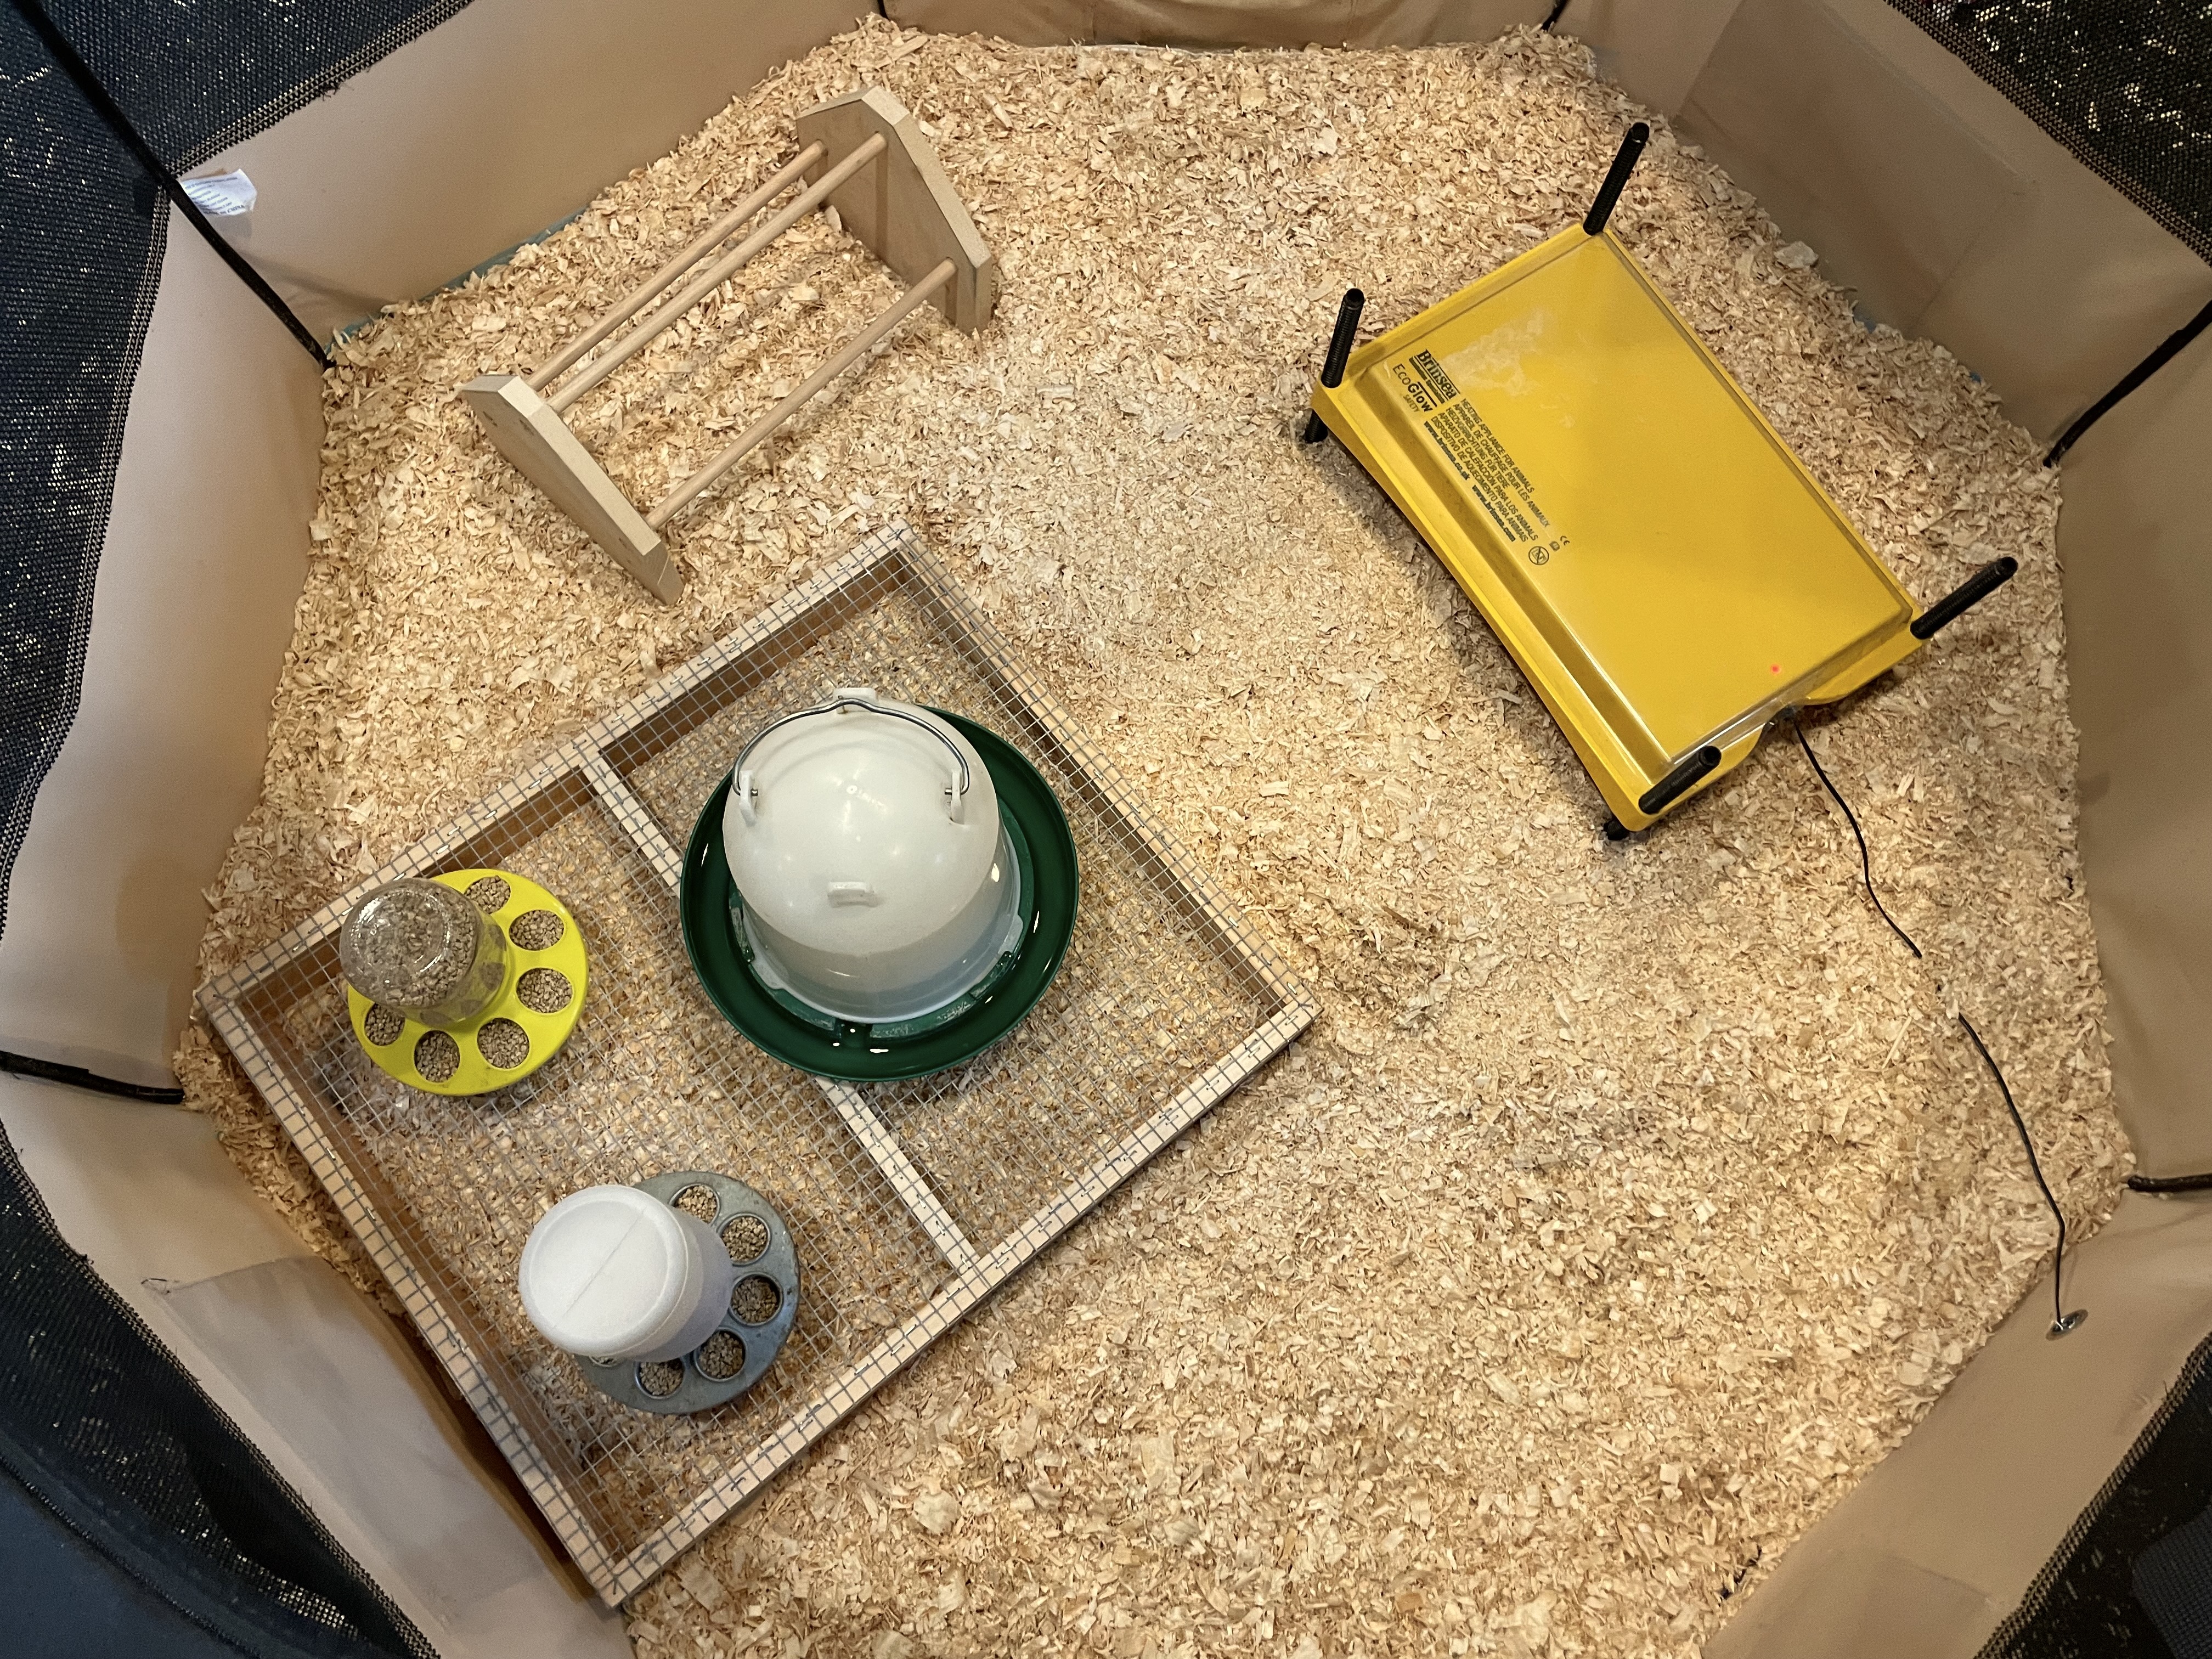
As our chicks got older, we adapted their living space. We noticed they were knocking their food and water over more often, and getting shavings and droppings in their water. After seeing this idea online, we built a platform for their food and water. We also made them a little perch to practice roosting.
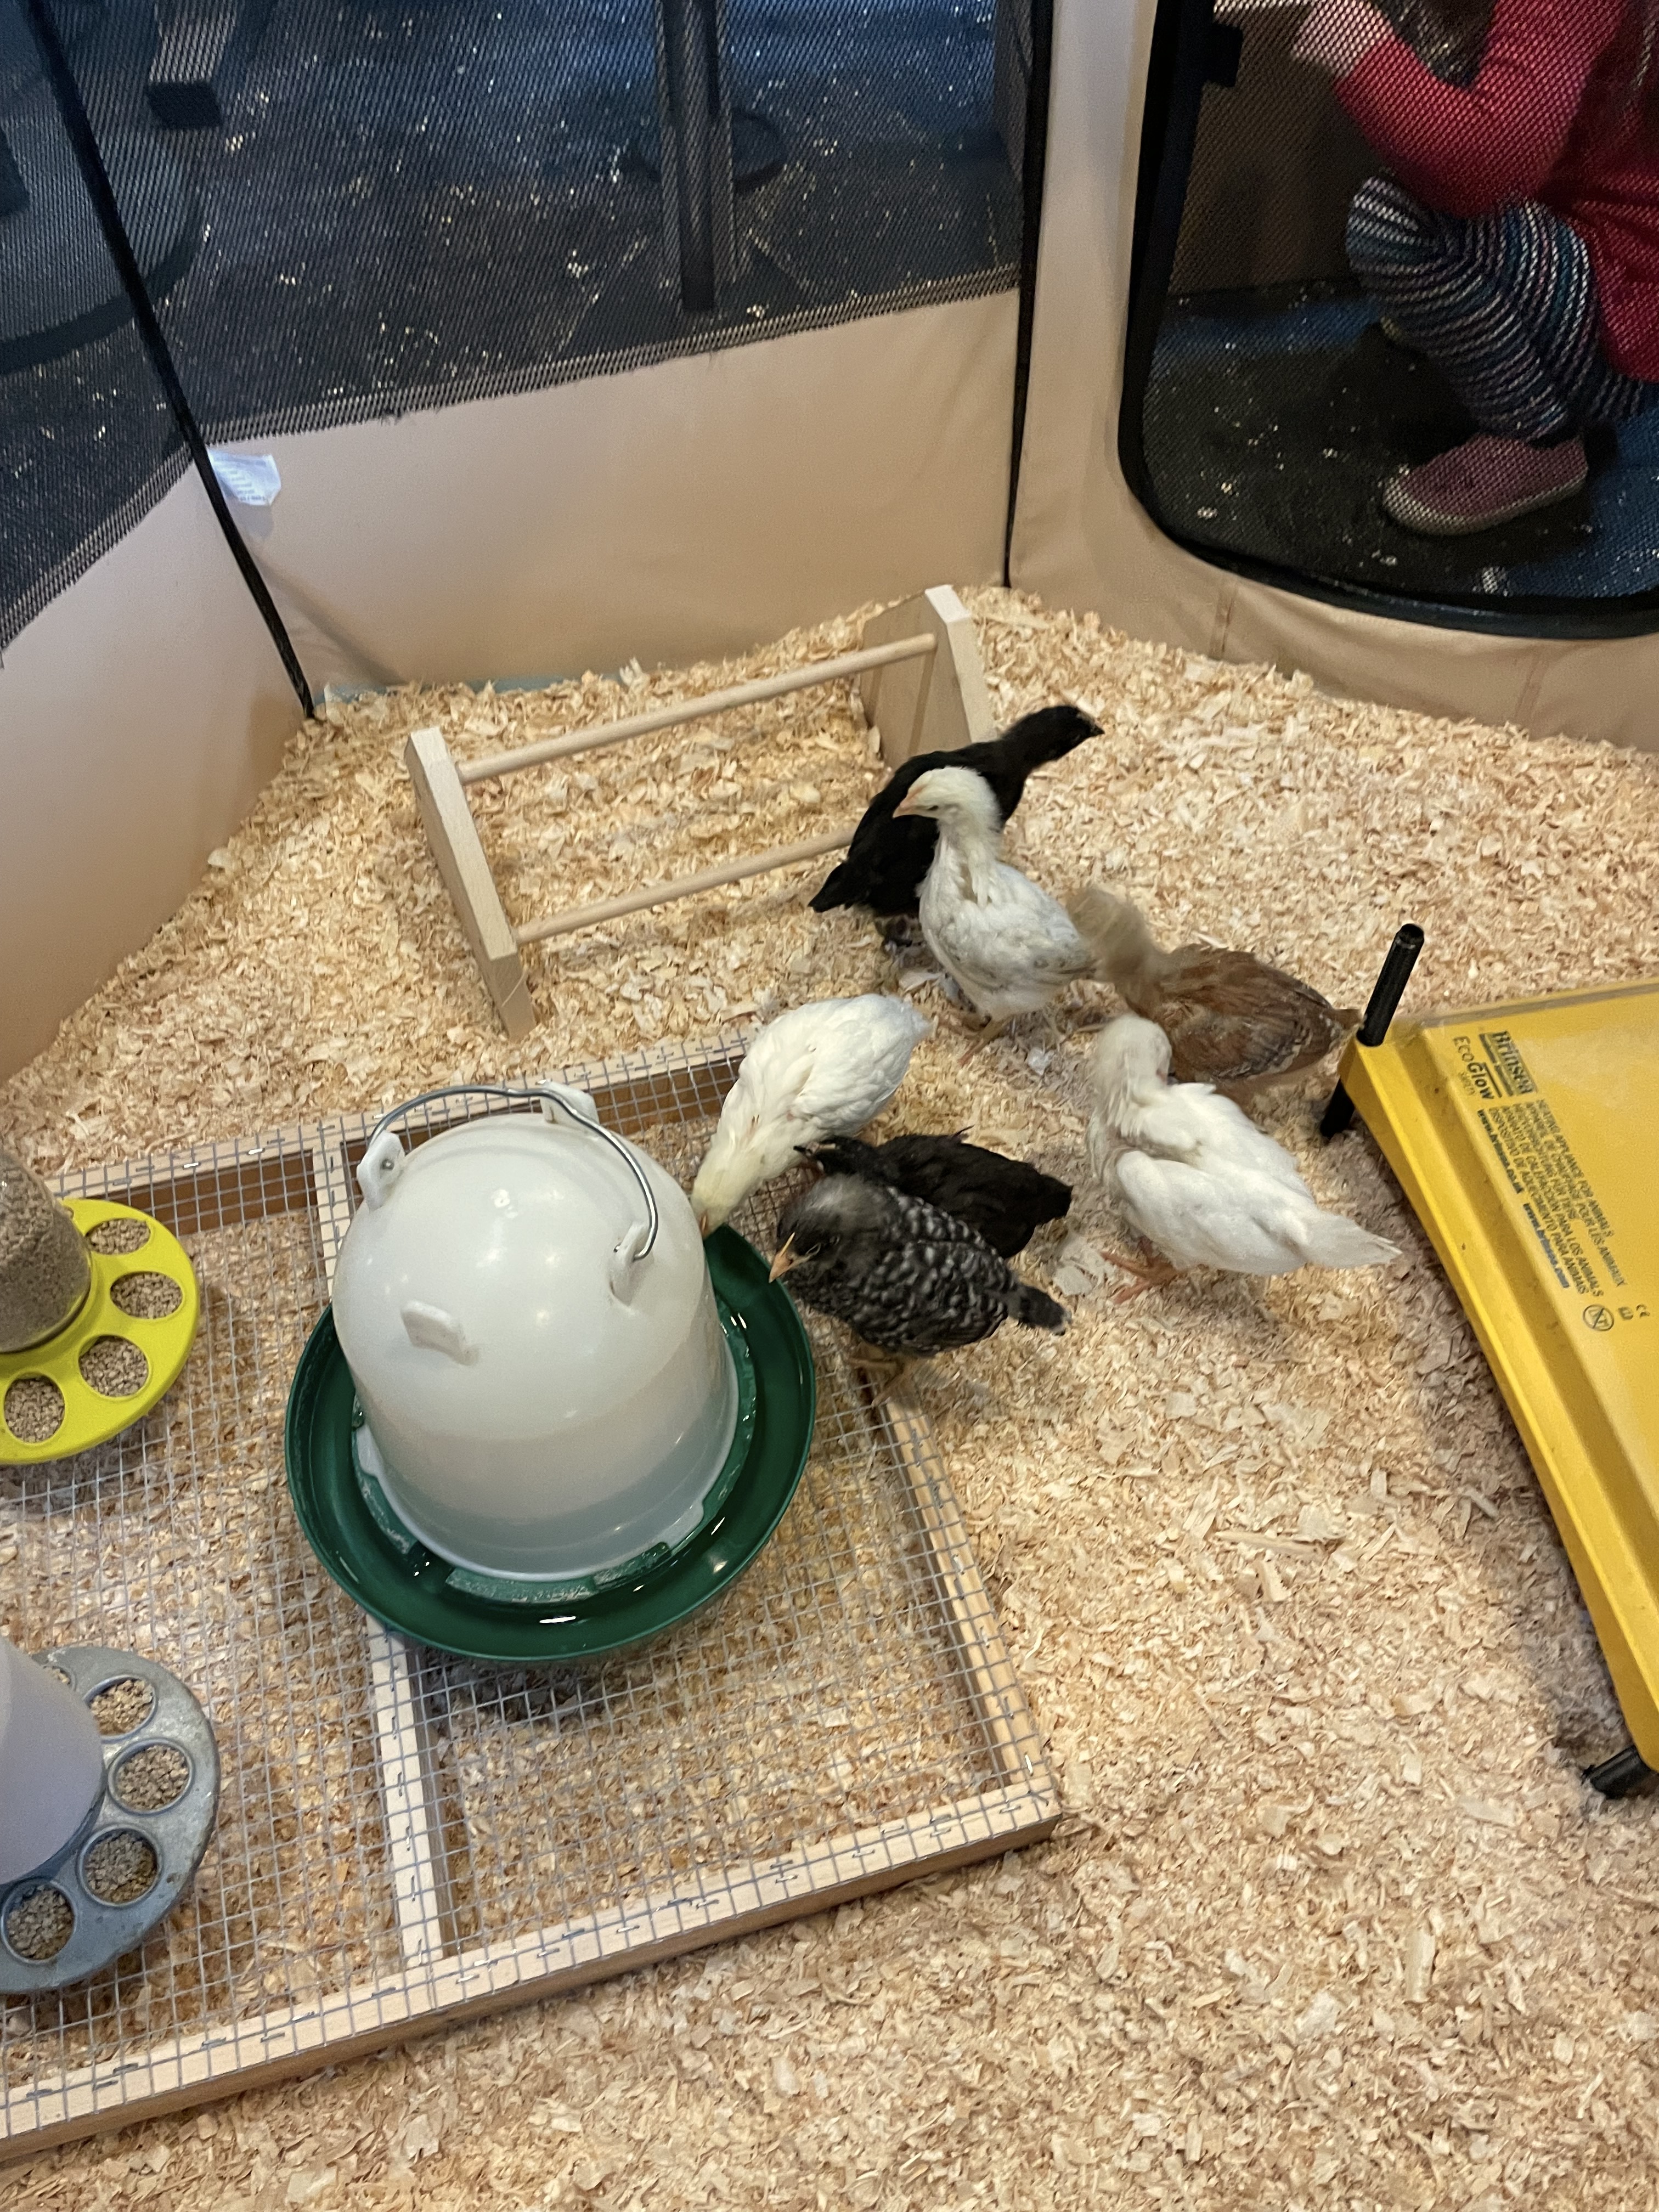
We noticed a dramatic difference in how the platform kept the waterer clean. Game changer!
I hope you’ve found this helpful with setting up your own chick brooder. Good luck!
More Posts on Our Chickens
- 8 Essentials for Backyard Chickens
- Keeping Backyard Chickens Warm in the Winter
- Our First Chicken Coop – Part 1 & Part 2
- Farm Fresh Eggs Carton Tag Template
