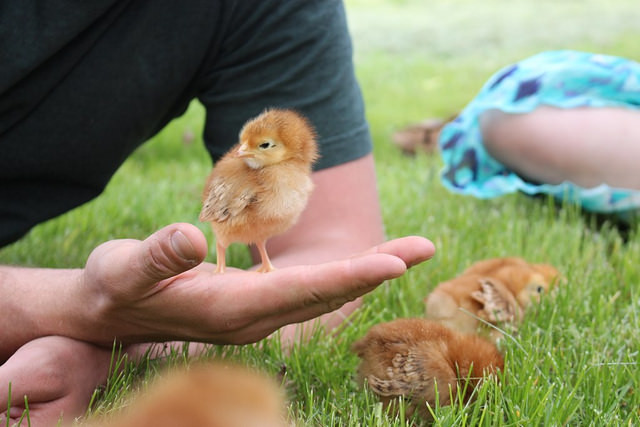
Is there anything cuter than baby chicks in the springtime? Raising chickens is such a fun part of country life and now it’s becoming even more popular in more urban areas as well. In the three years we’ve been here, we’ve had baby chicks twice and I’d do it every year if I could! Last spring I made our own DIY Chick Brooder and it was so easy to put together. I’ve got a tutorial below, along with a video tour of our brooder at the bottom of this post.
We got our first chickens the day after we moved into the farmhouse when my family surprised me with five baby Red Star chicks for my 30th birthday. Talk about a real welcome to the country! They also made us the cutest Chicken Coop (see Part 1 and Part 2) for our backyard. With those first chicks, I used an old metal wash basin filled with pine shavings and it worked okay, but it didn’t take long for them to grow out of it.
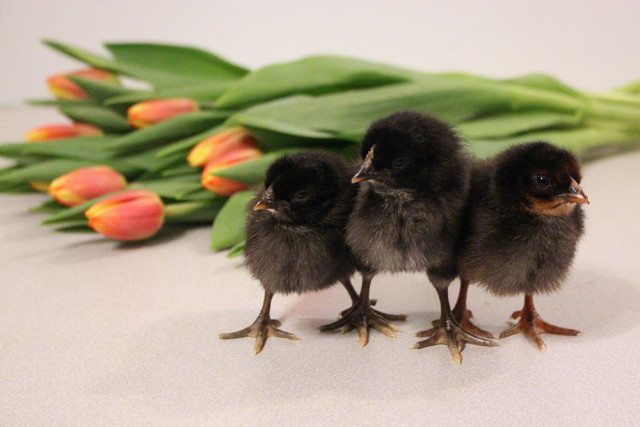
When we got our second batch of chicks (Black Star Chickens this time), I wanted to make something that was easier to clean, taller for them as they grew and easier to bring outside on warm days once they started getting bigger.
Using some ideas I’d found online, along with what I knew would work for us, I put together this DIY Chick Brooder for under $25.
DIY Chick Brooder
What you’ll need:

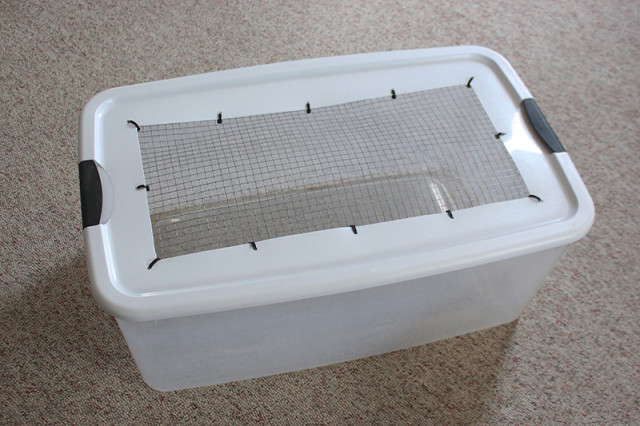
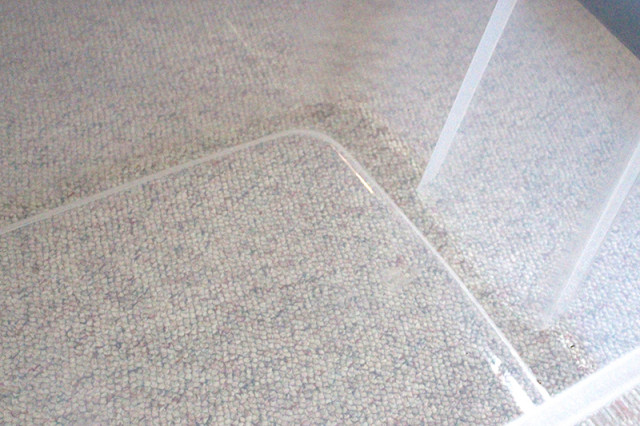
The plastic tote I found was 116 quarts (110 Litres) and had rounded corners. This one is about 33″ long and 20″ wide. You want to look for something with a relatively flat bottom, rounded corners and enough space for the chicks to have a resting area and a feeding area. You’ll also want it to be tall enough for when they start to get bigger but are still not quite ready to head out to the chicken coop.
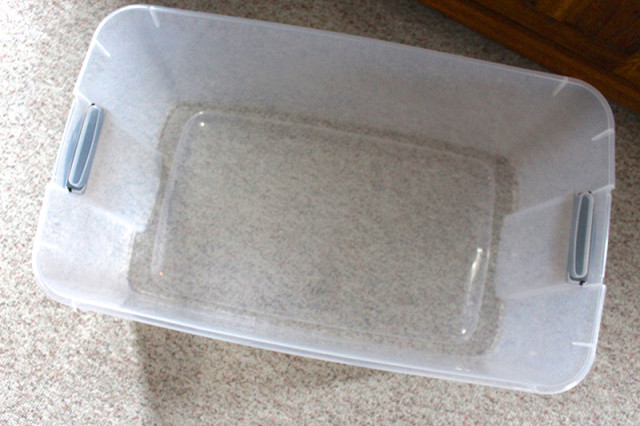
It’s important to have rounded corners, as chicks can huddle together and smother themselves in corners. The rounded corners also make it easier for cleaning.
I liked that the tote was opaque as well so that the chicks could see their surroundings and get comfortable with being around humans.
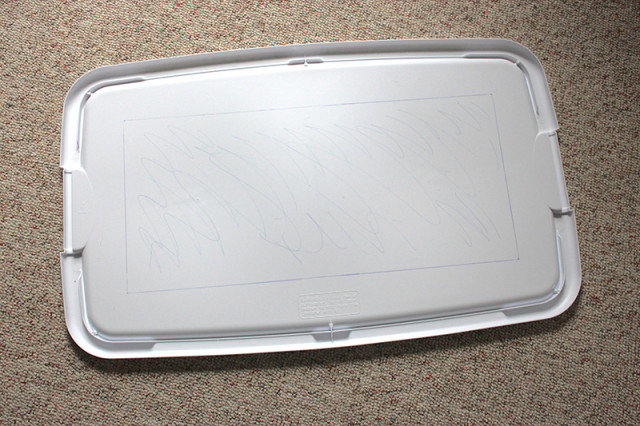
To give them ventilation and still protect them from drafts, you’ll need to cut a large opening in the top and cover it with hardware cloth. Using a ruler, mark a large rectangle for the opening on the top – I made mine 24″ x 11″. Use a utility knife to carefully cut out the rectangle.
Cut a piece of hardware cloth about 1″ larger than the opening all around. In this case, I used a piece that was 26″ x 13″. With the power drill, make holes about 1″ outside of the rectangle. This will be where you secure the hardware cloth to the lid with zip ties. Check that there are no sharp edges of hardware cloth that are sticking out underneath the lid, and turn them in with a pair of pliers.
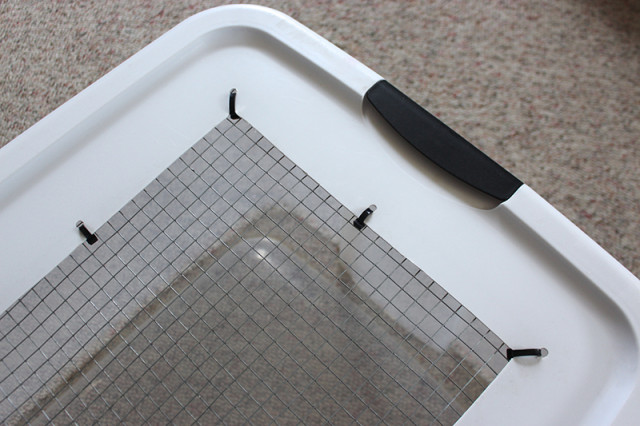
Attach the hardware cloth to the underside of the lid with zip ties, making sure they’re very tight and secure. Trim the ends of the zip ties off with the utility knife.
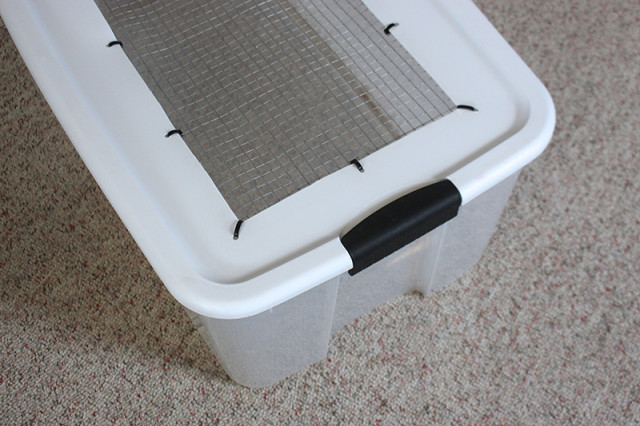
Another feature I really like about this DIY Chick Brooder is that you can lock the lid down with the handles, and deter kids and other pets from bothering your chicks.

I set up our brooder in a warm place in the house, with a heat lamp with a red bulb safely hanging above. I had a small thermometer inside to check the temperature regularly as well. I used drawer liner with newspapers underneath for their bedding and made sure to replace the newspaper daily and wash the drawer liner. I found a plastic 1-quart chick feeder base and water feeder base, with mason jars attached. I also placed clean river rocks in the waterer to make sure the chicks didn’t drown themselves. When they got bigger, we added small sticks and rocks to let them explore.
For a closer look at the DIY Chick Brooder setup, check out this video:
-

- Fresh Eggs Carton Tag Template
-

- Keeping Backyard Chickens Warm in Winter
-

- Sunny Side Up Chicken Apron

Love this design. Did you leave them in this brooder til they were 6 wks old?
Is your lamp hanging off a lamp stand?
Thank you so much for sharing this video.
It is EXACTLY what I was looking for.
I have some silkie chick eggs in my incubator. They are going to hatch in 2 weeks time. This brooder will be just perfect for them :).